
Learn how to make ice cream without an ice cream maker using this simple no-churn technique. Read on for easy-to-follow instructions and tips and tricks!
Do you need an ice cream machine to make ice cream? No! In this post, I’ll teach you how to make silky smooth ice cream without using an ice cream maker OR churning it by hand.
Does Ice Cream Have to be Churned?
Churning refers to continuously rotating the liquid ice cream base as it chills to prevent large ice crystals from forming.
This ultimately creates the smooth and luxurious texture that makes ice cream everyone’s favorite!
An ice cream maker automates the churning cycle with a rotating paddle that keeps the liquid ice cream base moving as it chills.
That said, I don’t have an ice cream maker, so I really wanted to come up with a better way to make homemade ice cream without a machine.
Hand Churned vs. No Churn
The usual instructions for making ice cream without an ice cream maker tell you to place it in the freezer and then churn it every hour to ensure it freezes evenly without any ice crystals.
I tried churning a few ice cream recipes by hand before realizing churning every hour for six hours straight isn’t fun.
As you can imagine, the ice cream became more and more challenging to churn the longer it sat in the freezer.
By the next day, the hand-churned ice cream would inevitably be an indestructible rock-hard block. There was absolutely no way for me to break off a piece.
I left the ice cream out on the counter, hoping it would get softer. But after 30 minutes, the edges barely melted, and the middle hadn’t thawed one bit.
So I returned to the drawing board and found a way to make ice cream without churning by hand.
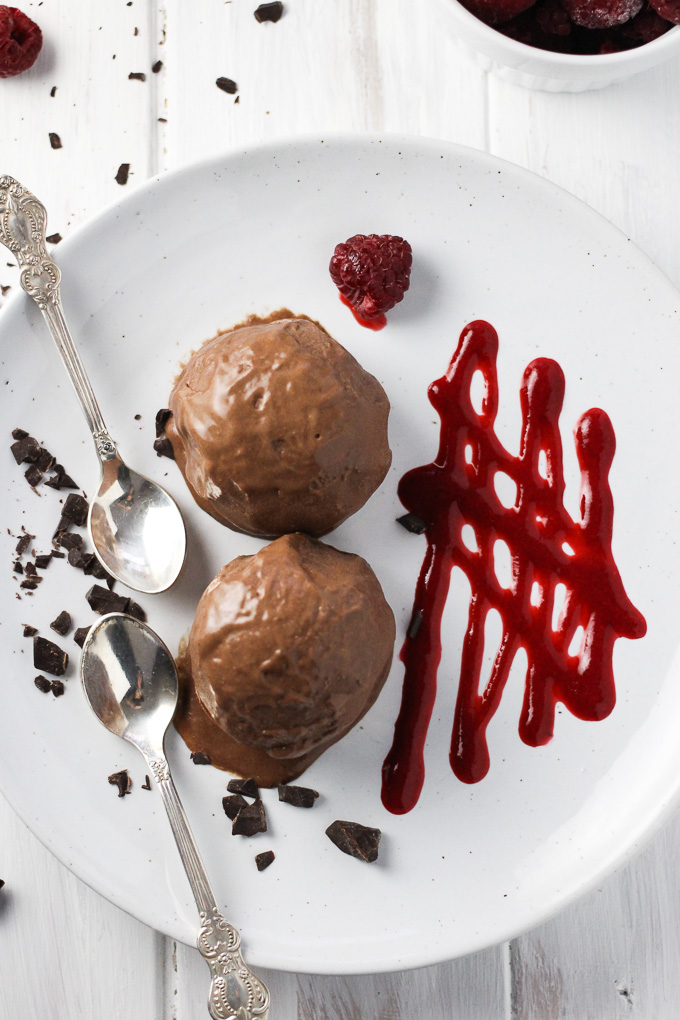
This no-churn method results in a thick and creamy gelato-like consistency, even if your ice cream base is made without dairy and much sugar.
In short, my no-churn method involves freezing the ice cream base into cups using a muffin pan.
Then, whenever you want a scoop of creamy homemade ice cream, all you have to do is grab a cup out of the freezer and give it a quick spin in a food processor.
And voila – creamy, dreamy, and downright delicious soft ice cream!
What You’ll Need
- a powerful food processor or high-speed blender
- a muffin pan
- an ice cream base recipe
How to Make Ice Cream without an Ice Cream Maker
Here are the step-by-step instructions:
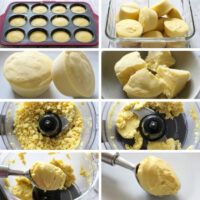
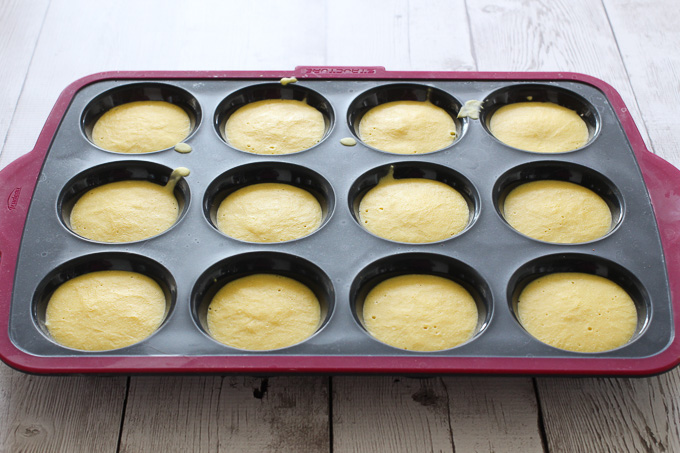
Step 1. Freeze the ice cream base in a muffin pan.
Make the ice cream base. Divide the ice cream mixture evenly between the muffin cups.
Place the muffin pan into the freezer and let the ice cream freeze for about 3 hours or until completely frozen. You can also leave it in the freezer overnight.
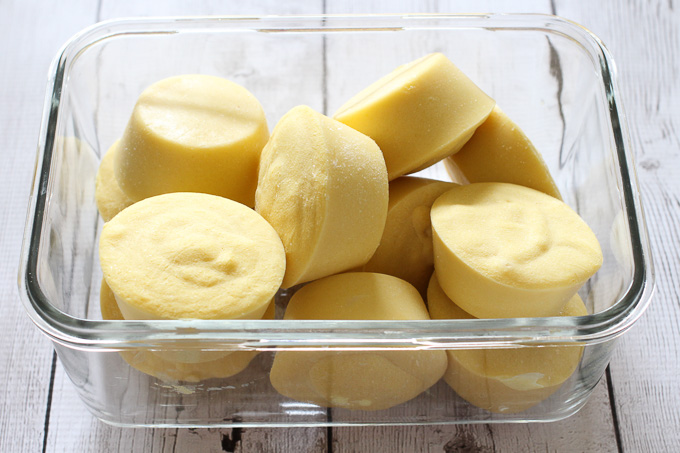
Step 2. Transfer to a container to store.
Pop the frozen ice cream cups out of the muffin pan and transfer them to a glass container or a plastic bag. Cover the glass container with a tight lid or seal the plastic bag, and place it in the freezer.
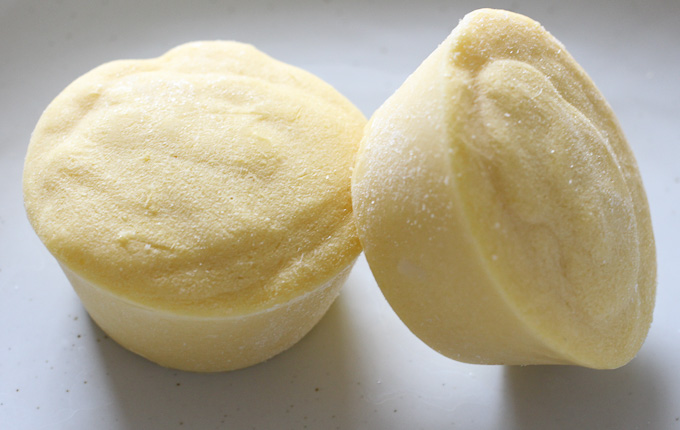
Step 3. Prepare to blend.
Once ready to serve, take the ice cream cups out of the freezer. I find that one cup is equal to one large scoop of ice cream.
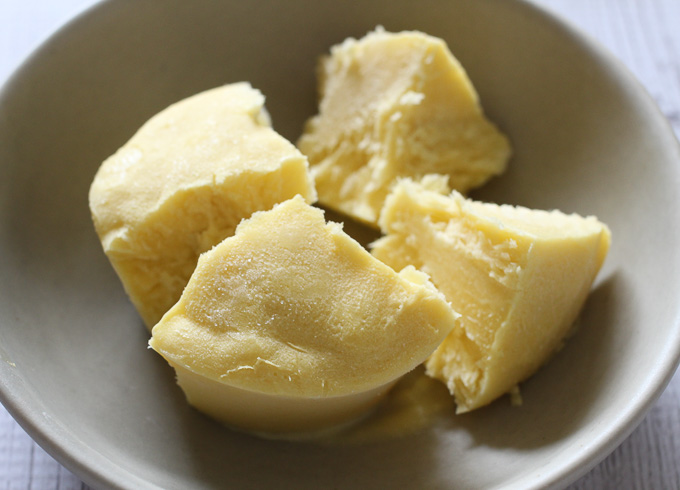
Step 4. Break into chunks if needed.
Depending on your food processor, you might want to break the cups before you process them. My food processor is not very powerful and wouldn’t process a whole ice cream cup, so I just break them up with a sharp knife.
Step 5. Start processing in a food processor.
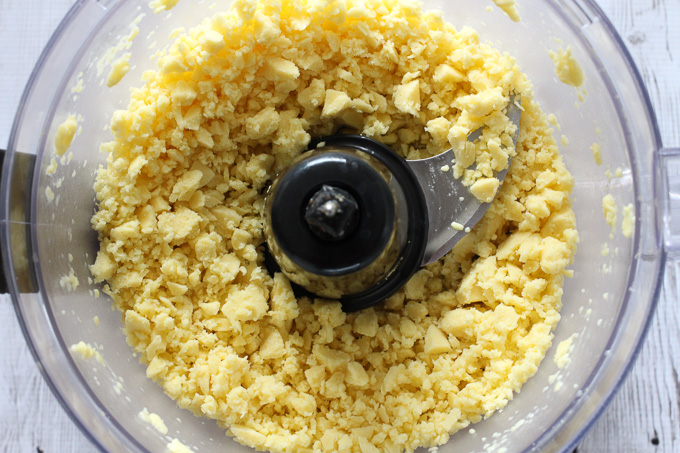
Place the ice cream chunks into a food processor and start processing them. First, you will notice that the mixture falls apart into crumbs, and you will seriously doubt that this could ever become ice cream.
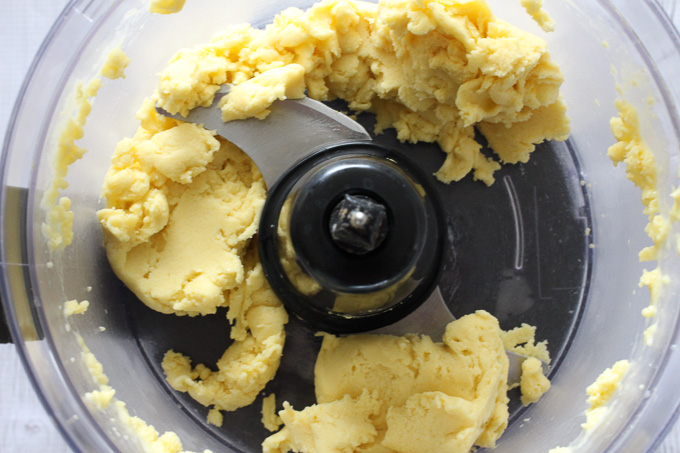
Step 6. Prozess until smooth.
Just keep processing, and suddenly, you will see that the crumbs stick together and magically turn into a soft serve with a creamy texture.
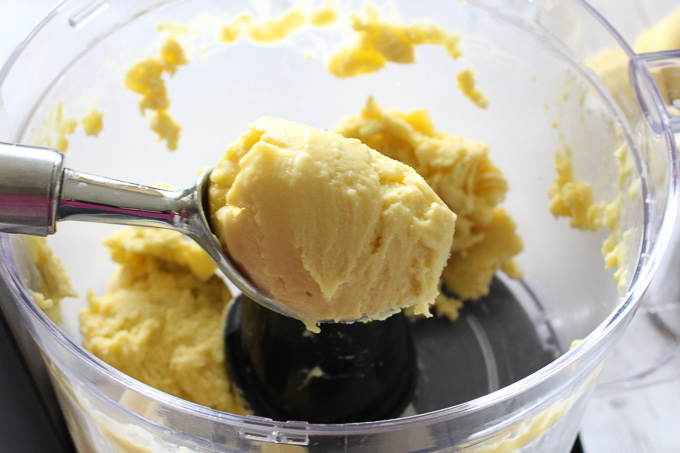
Step 7. Scoop and serve.
At this point, scoop the ice cream, add your favorite toppings, and serve.
Expert Tips
Muffin pan tip – I have a silicone pan, and the ice cream cups pop right out. If you’re having trouble removing them from a regular muffin pan, fill the sink with an inch or so of warm water. Then, submerge the bottom of the pan into the water for a few seconds. Then they should easily slide out.
Use a high-power food processor – If you don’t have one, you may need to break the frozen cups into smaller chunks using a sharp knife before processing. If the blades still seem like they’re struggling, add a small amount of warm water to soften it up some.
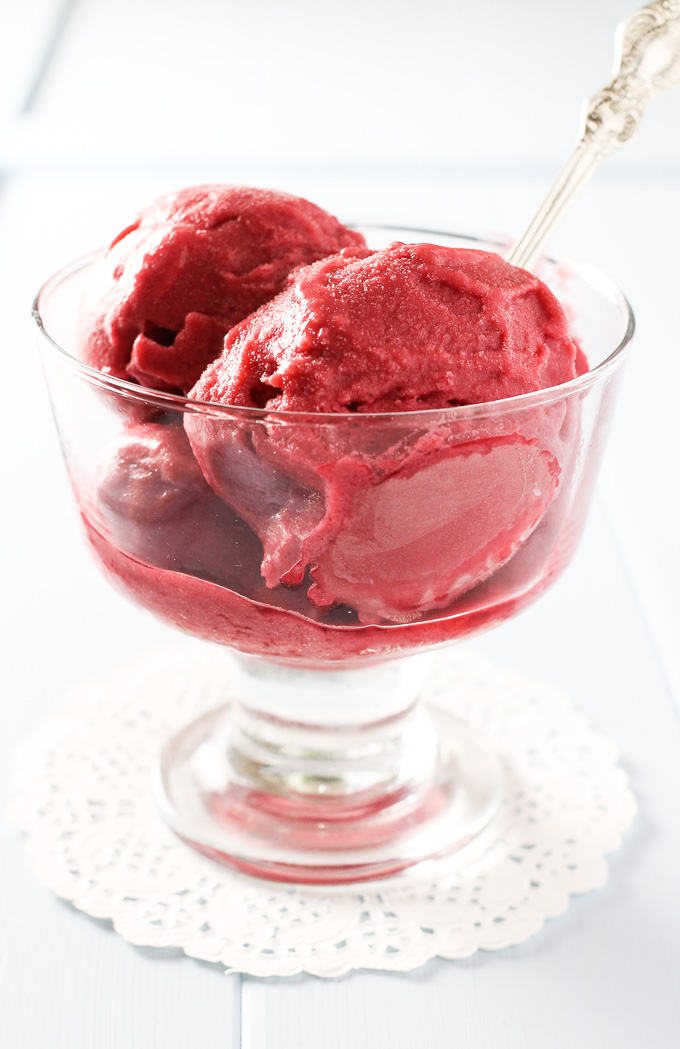
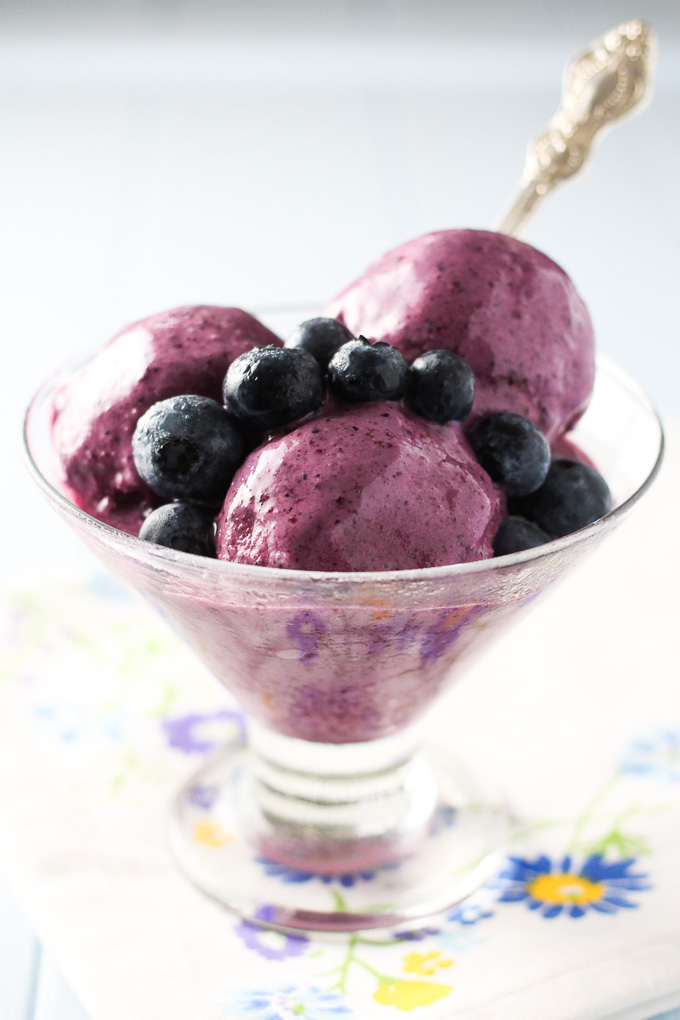
Ice cream base recipe tip – This no-churn method works with both dairy-based and dairy-free recipes. You can try this Vegan Mango Ice Cream, this Chocolate Ice Cream, this Blueberry Frozen Yogurt, or this Raspberry Ice Cream.
Frequently Asked Questions
How long does this ice cream last?
If the ice cream cups are frozen properly in an airtight container or plastic bag, they will last 2-3 months -though they’ll probably disappear much sooner!
Do I have to use a muffin pan?
No. You do not have to freeze the ice cream base in muffin cups. However, the portioned servings are super convenient! Instead, you can use a large ice cube mold.
What size muffin pan should I use?
You can use a regular 12-cup muffin pan. A mini muffin pan would also work if you make ice cream for kids or prefer smaller portions.
More Helpful How-to Guides
- How to Make Green Tea Taste Good
- How to Thicken Soup without Flour
- How to Sweeten Oatmeal without Sugar
- How to Make Mango Puree
- How to Make Overnight Steel Cut Oats
How to Make Ice Cream Without Ice Cream Maker
Equipment
Ingredients
- ingredients for your favorite ice cream base recipe
- blender or food processor
- 12-cup muffin pan
Instructions
- Make the ice cream base. Divide the mixture evenly between the muffin cups. Place the muffin pan into the freezer and let the ice cream freeze for about 3 hours or until completely frozen. You can also leave it in the freezer overnight.
- Pop the frozen ice cream cups out of the muffin pan and transfer them to a glass container or a plastic bag. Cover the glass container with a tight lid or seal the plastic bag, and place it in the freezer.
- Once ready to serve, take the ice cream cups out of the freezer. I find that one cup is equal to one large scoop of ice cream.
- Depending on your food processor, you might want to break the cups before you process them. My food processor is not very powerful and wouldn’t process a whole ice cream cup, so I break them up with a sharp knife.
- Place the ice cream chunks into a food processor and start processing them. First, you will notice that the mixture falls apart into crumbs, and you will seriously doubt that this could ever become ice cream.
- Just keep processing, and suddenly, you will see that the crumbs stick together and magically turn into a soft serve with a creamy texture.
- Scoop the ice cream and serve.
The nutrition facts are an estimate. Variations in ingredient brands, portion sizes, or substitutions can affect the final nutritional values. For the most accurate information, please use a nutrition calculator or consult with a healthcare provider. Always ensure that each of the ingredients is allowed in your diet.

Meet Maria
Maria Ushakova is a holistic nutritionist and food blogger. She focuses on developing easy recipes using real food ingredients. She believes that healthy food is delicious and anyone can learn how to cook it. Maria’s work has appeared on numerous popular websites as well as in print.