

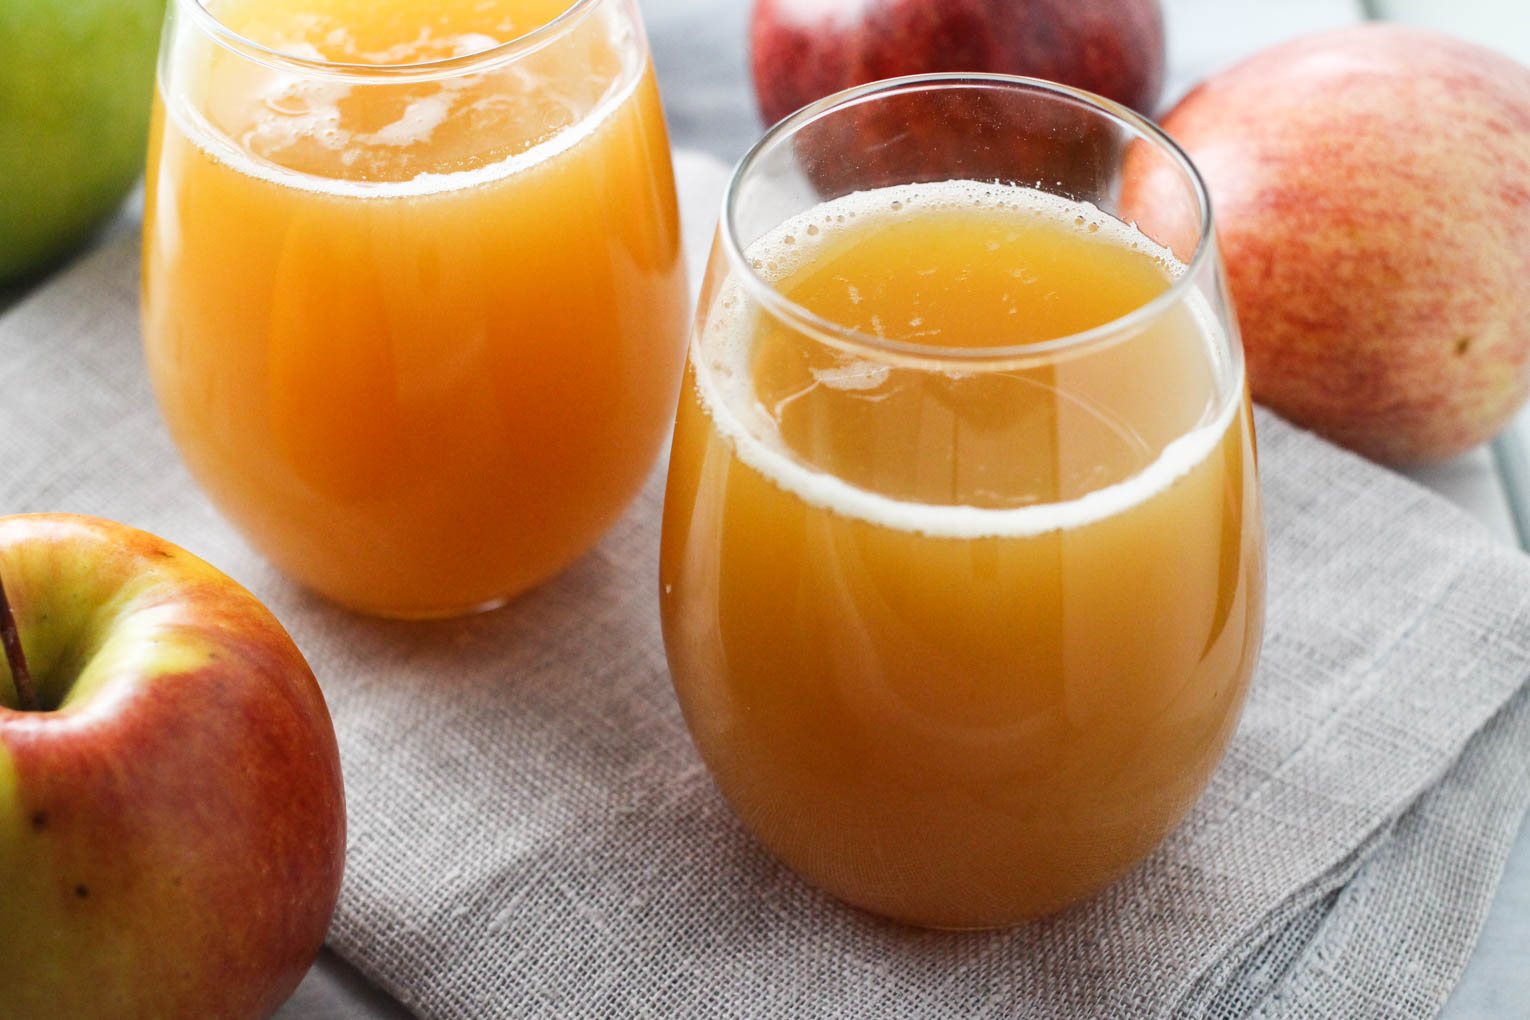
Use these easy-to-follow instructions to learn how to make apple juice with a blender instead of a fancy fruit juicer.
Perfect for enjoying fresh apple juice or for use in smoothies, salad dressing, sauces, and more.
Looking for a way to make cold-pressed apple juice without a juicer?
Look no further than your standard blender.
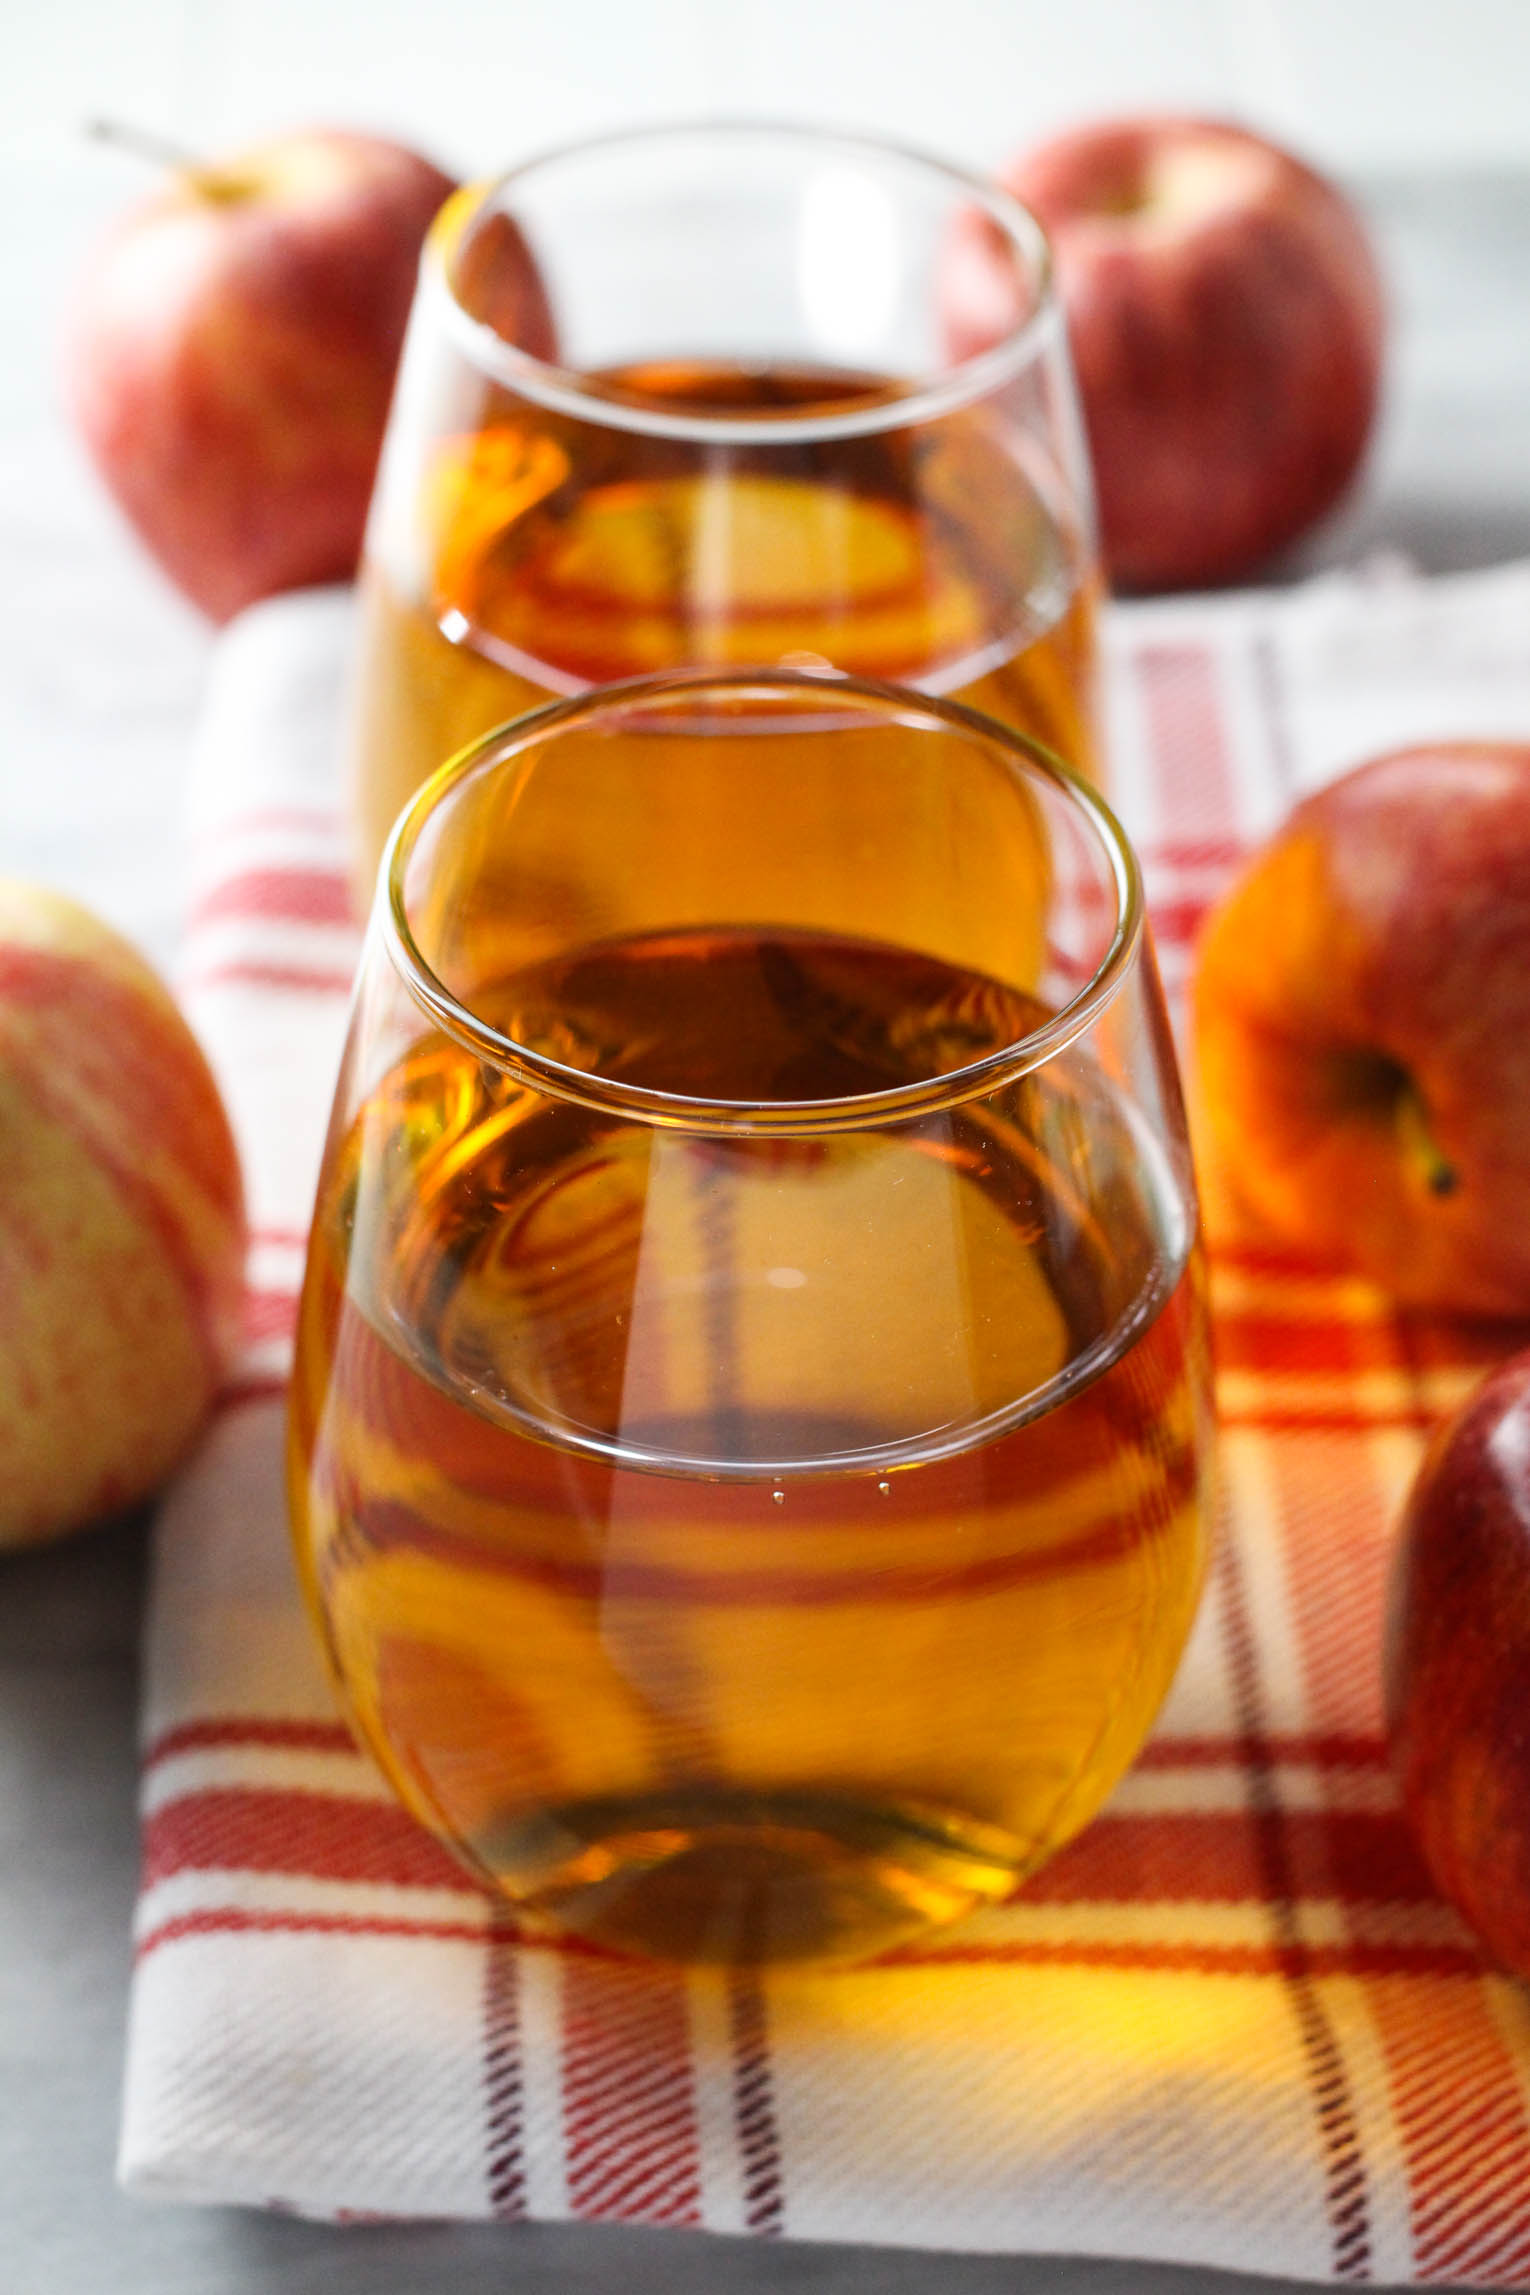
This quick and easy apple juice recipe uses apples, water, and a blender to make a delicious and nutritious batch of fresh-squeezed fruit juice in minutes.
Apple juice is a delightful drink, of course, but you can also use it in various smoothies, fruity mocktails and cocktails, salad dressings, sauces, and even baked goods.
Sure, you could use store-bought apple juice, but it often contains sneaky additives, preservatives, and sugars.
The best part?
Since this is a no-heat cold-pressed juicing technique, the beneficial antioxidant compounds are left intact, so the raw apple juice retains many of the benefits you’d get from biting into a crisp-succulent apple.
If you’re a fan of apple-flavored sweet treats, you’ll love my Healthy Apple Cake, Flourless Apple Crisp, and Baked Apples with Ricotta Cheese, but first, let’s make homemade apple juice!
Why You’ll Love This Recipe
Here are some of the many reasons you’ll love making apple juice in a blender:
- You’re in control of the type and quality of apples. Plus, you can adjust the sweetness and flavor and incorporate other fresh fruit juices to suit your preferences.
- Juicing fresh apples ensures maximum nutritional benefits.
- Squeezing fresh juice at home is typically more affordable than buying it from the store.
- Juicers are a pain to clean, but the clean-up required for this cold-pressed blender method is a breeze.
- Making homemade juice can be fun for the whole family, especially during the fall after a long day of apple picking.
Ingredients You’ll Need
At the core 😉 of this apple juice recipe are only two ingredients:
- Apples – When it comes to homemade apple juice, the type of apple you choose can significantly impact the final flavor. You can use apples of the same variety or make a balanced blend of sweet and tart apples.
- Water (optional) – Adding water is optional, but blending the apples with cold water makes it easier to strain them through a sieve. Filtered water is best here as it doesn’t leave behind the flavor impurities tap and bottled water tend to have.
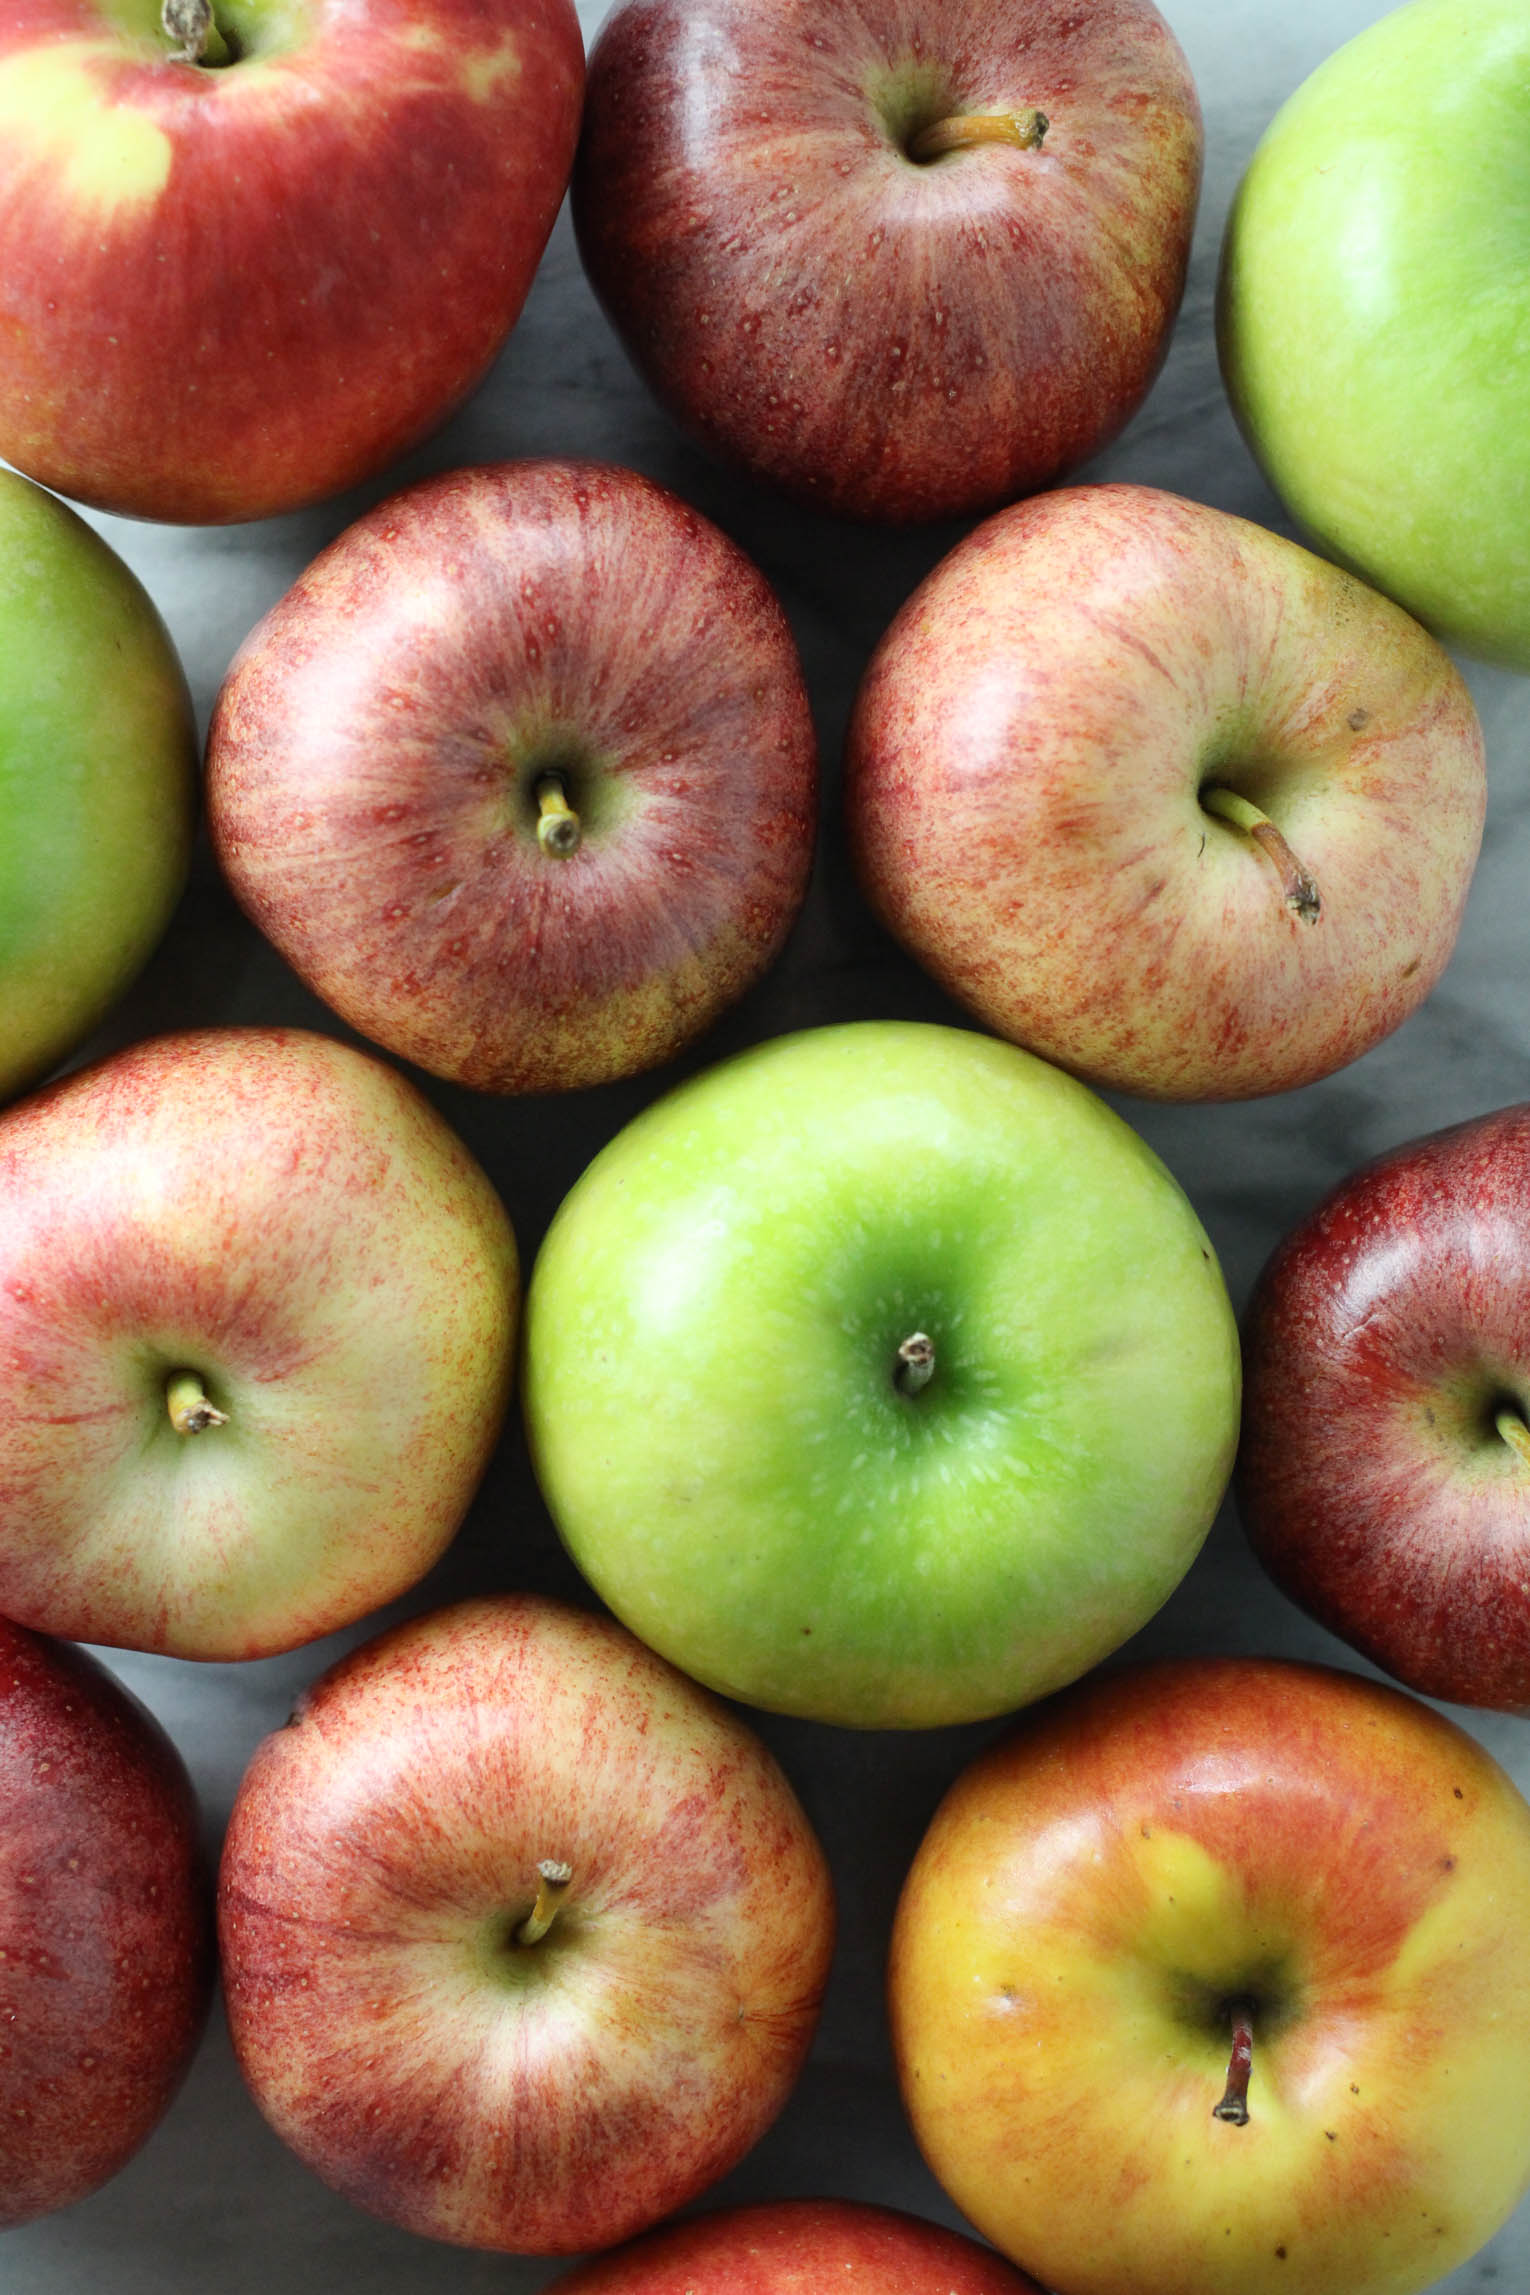
Best Apples for Juicing
Here are the qualities to look for while you’re at the store or the apple orchard picking apples for apple juice:
- Texture: Firmer apples tend to release more juice, while softer apples yield more mealy pulp.
- Quality: Organic apples are always a good idea. Also, skip over the apples with dry, wrinkly skin or those with any browning or discoloration. It’s also best to use unwaxed apples.
- Sweet vs. tangy flavor: The wide variety of apples available offers a spectrum of flavors, from super sweet apples to super sour. Apples like Gala, Honeycrisp, Fuji, Red Delicious, or Golden Delicious have sweeter juice, whereas apples like Granny Smith, Braeburn, Red Prince, Pink Lady, or Empire are more tart and tangy.
How to Make Homemade Apple Juice with a Blender
No juicer? No problem!
Follow these step-by-step instructions to make cold-pressed apple juice with a blender or food processor.
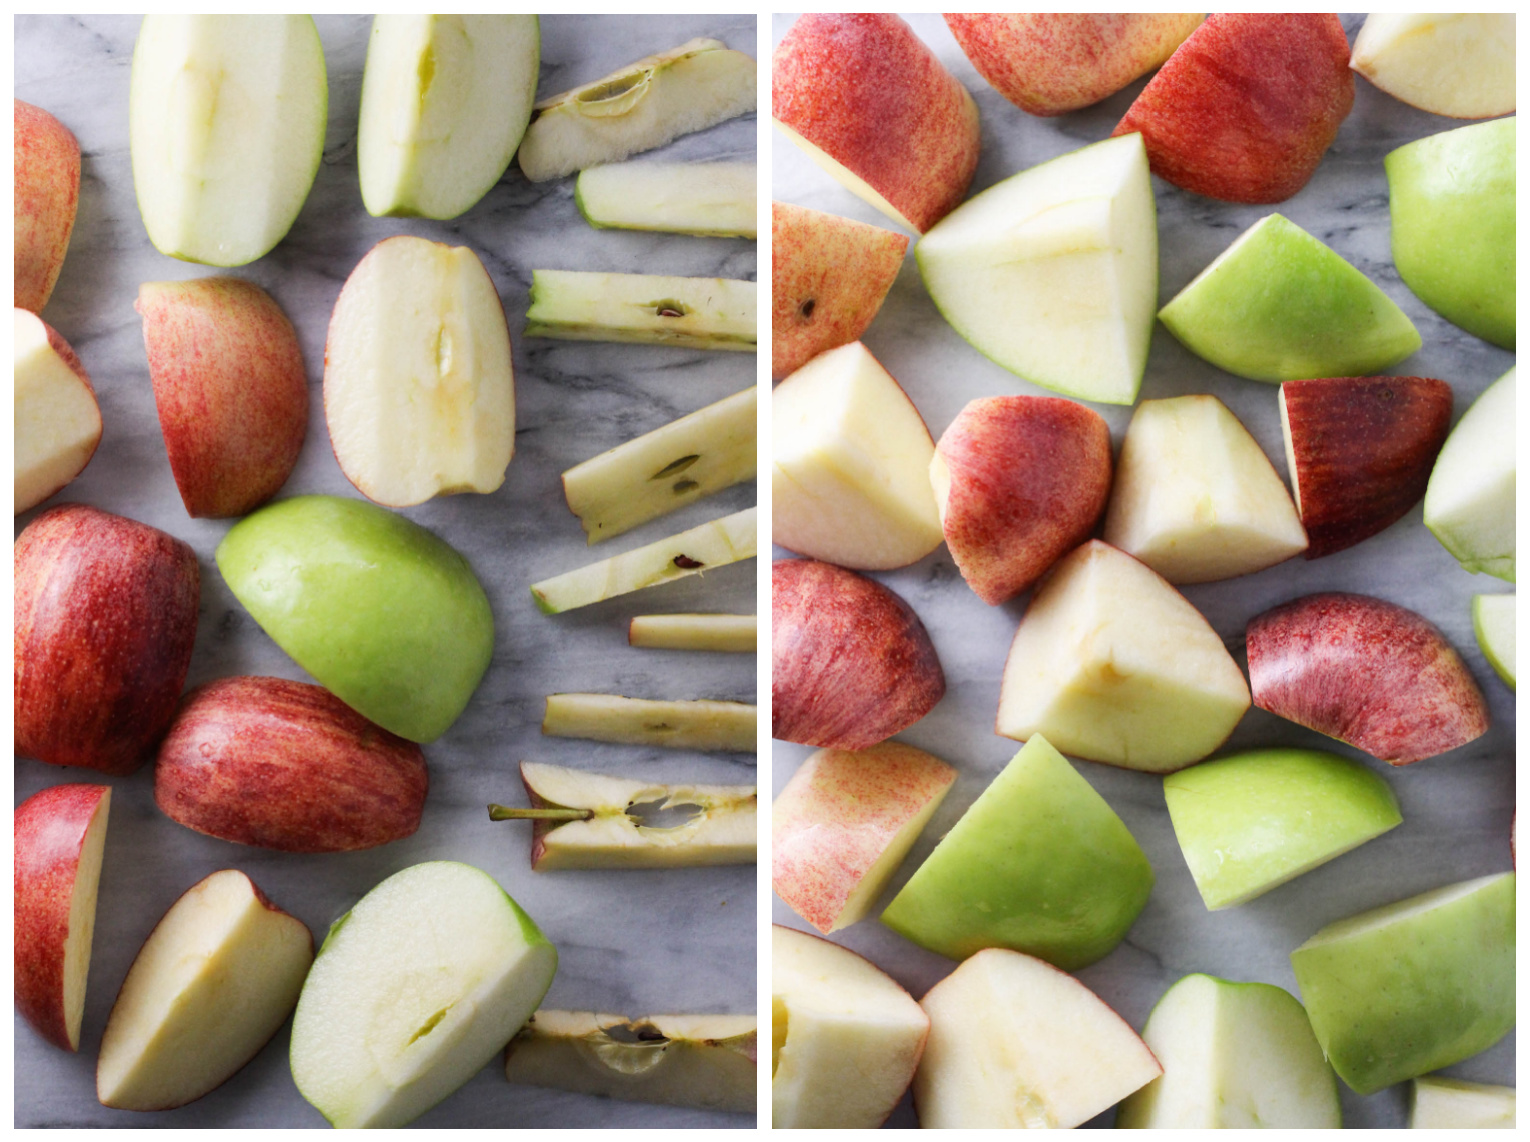
Step 1: Prepare the apples for juicing.
Wash the apples well and peel the skin (if the apples are unwaxed, peeling isn’t necessary). Remove the seeds and core, and chop the apples into chunks.
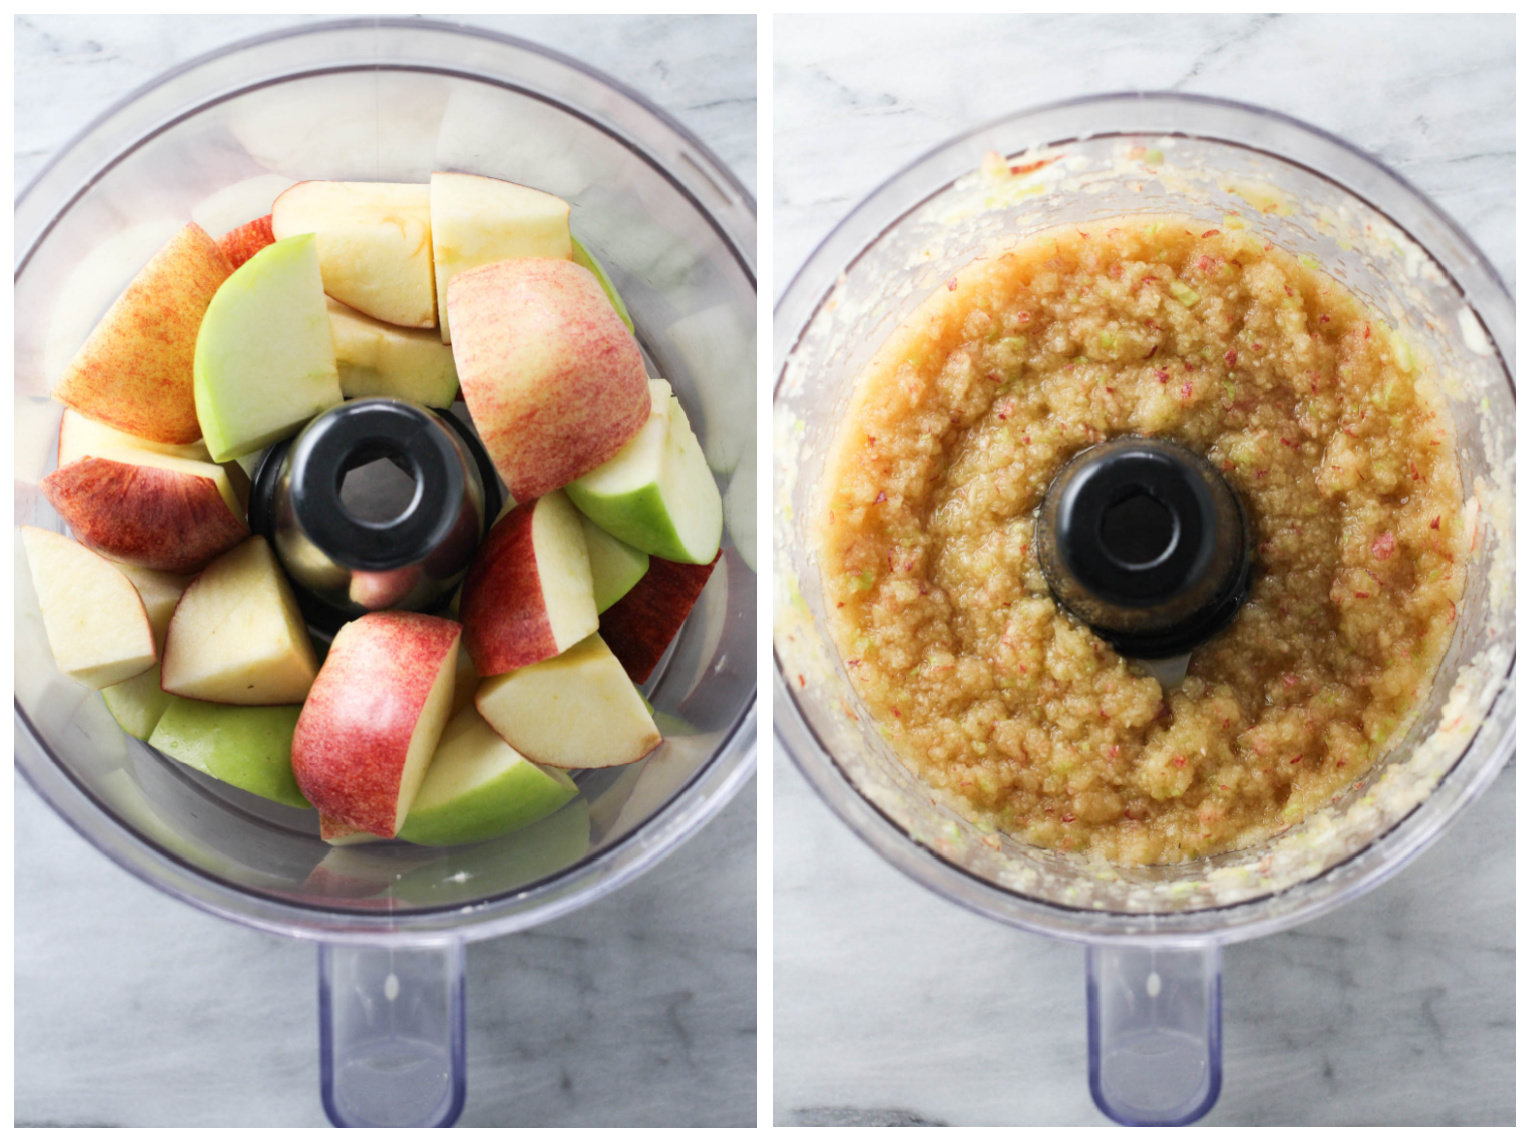
Step 2: Puree the apples.
Place the apple chunks in a blender or food processor. Add the water and pulse the mixture a few times. Then blend until smooth and thoroughly pureed.
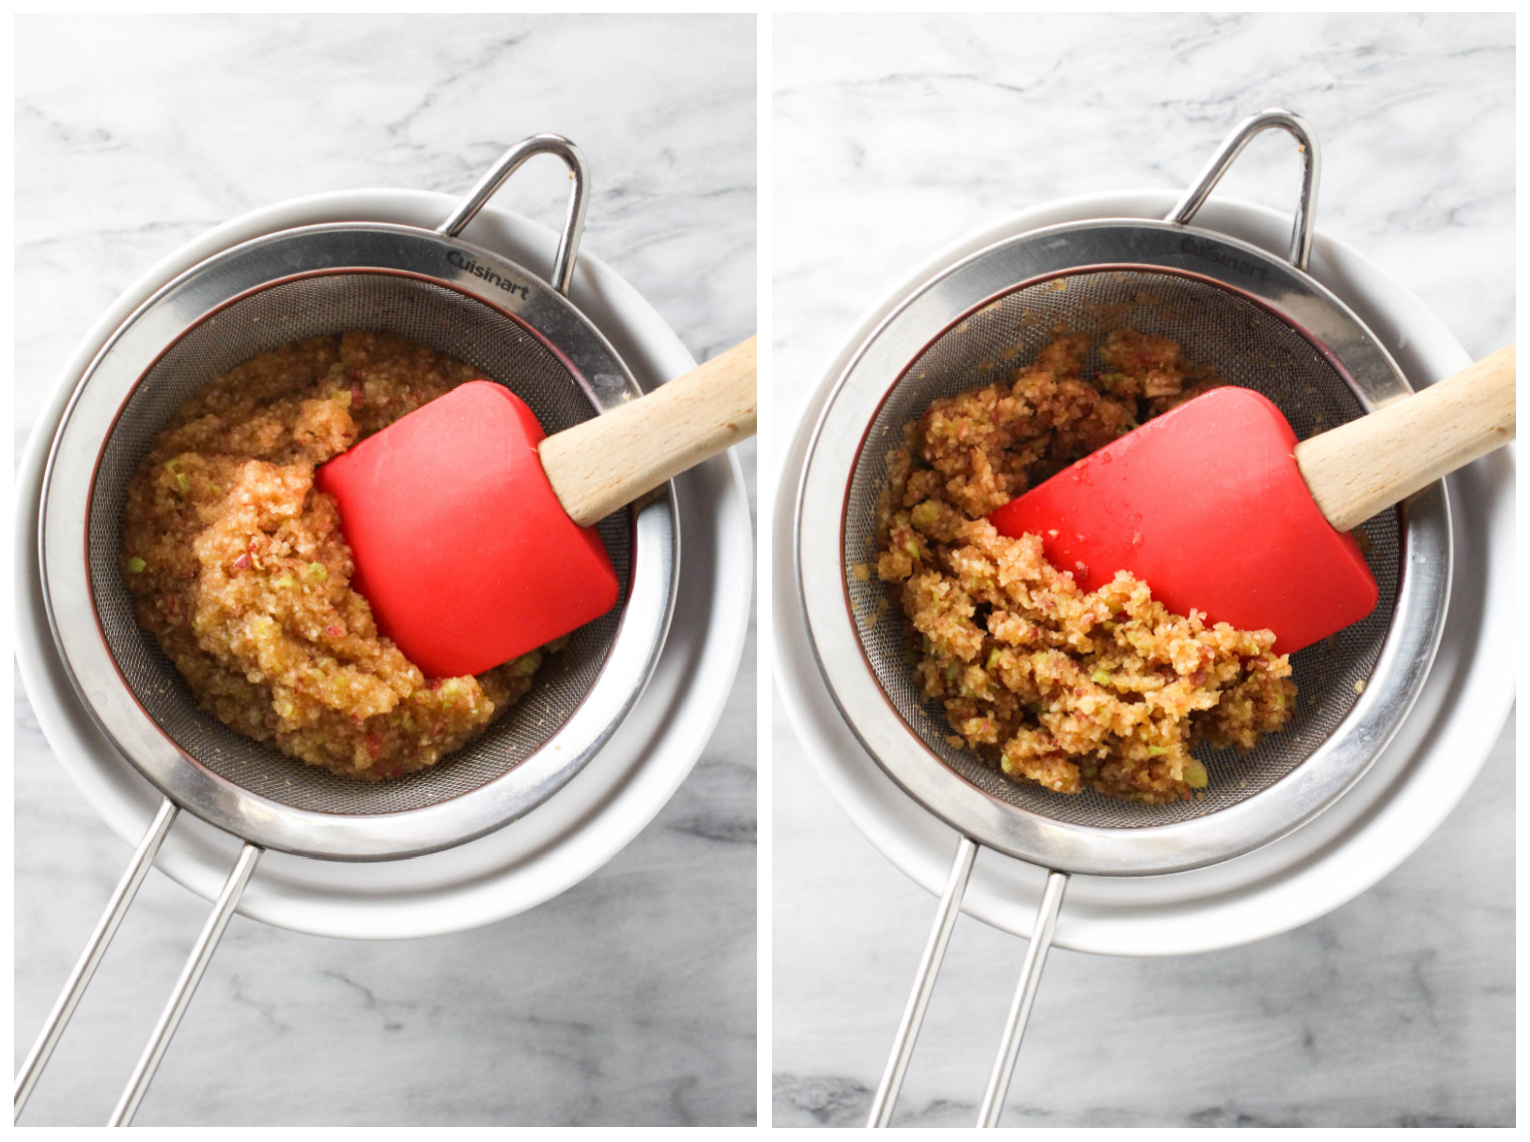
Step 3: Strain the juice.
Place a fine mesh strainer over a bowl. Transfer the apple puree to the strainer, and press it through to separate the juice from the pulp using a rubber spatula. Work in batches if you need to.
Alternatively, you can squeeze out the juice in a nut milk bag.
If the apple pulp still appears juicy, add it to the blender with ¼ to ⅓ cup of water and pulse it a few times before straining it again. This way, no apple juice goes to waste.
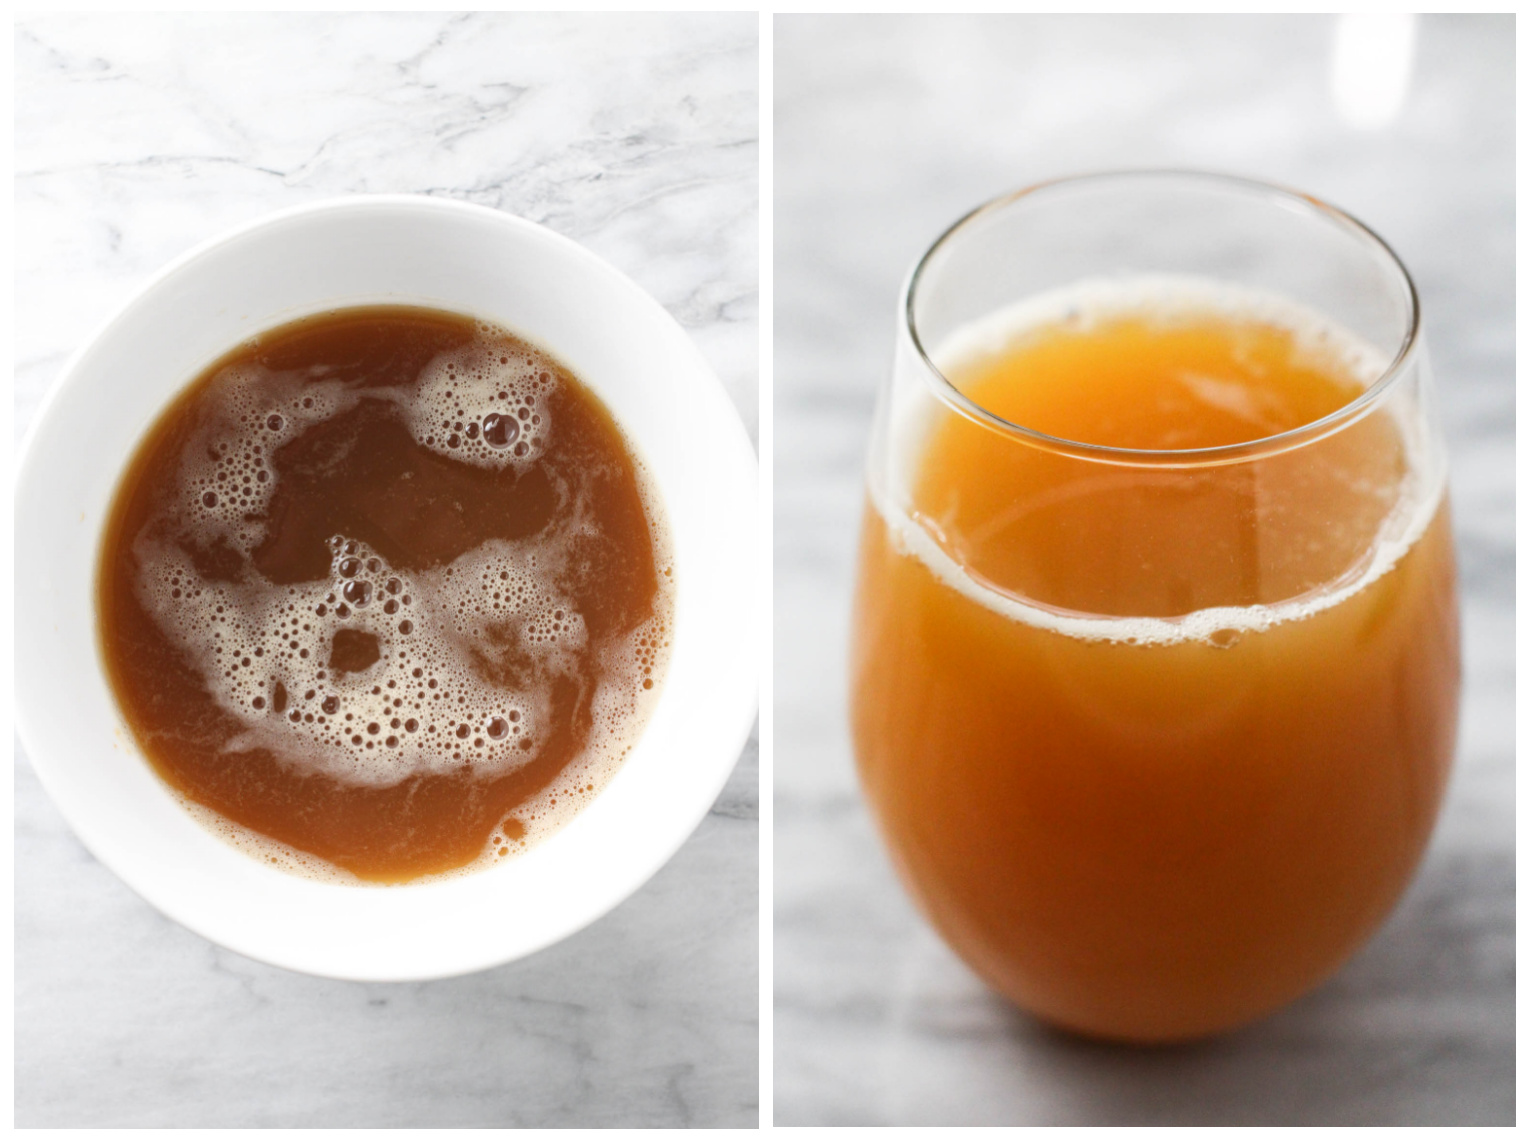
If you still have bits of apple pulp in the juice, you can strain it one more time through 3 to 4 layers of cheesecloth. Place the cheesecloth over the strainer and pour the juice over it.
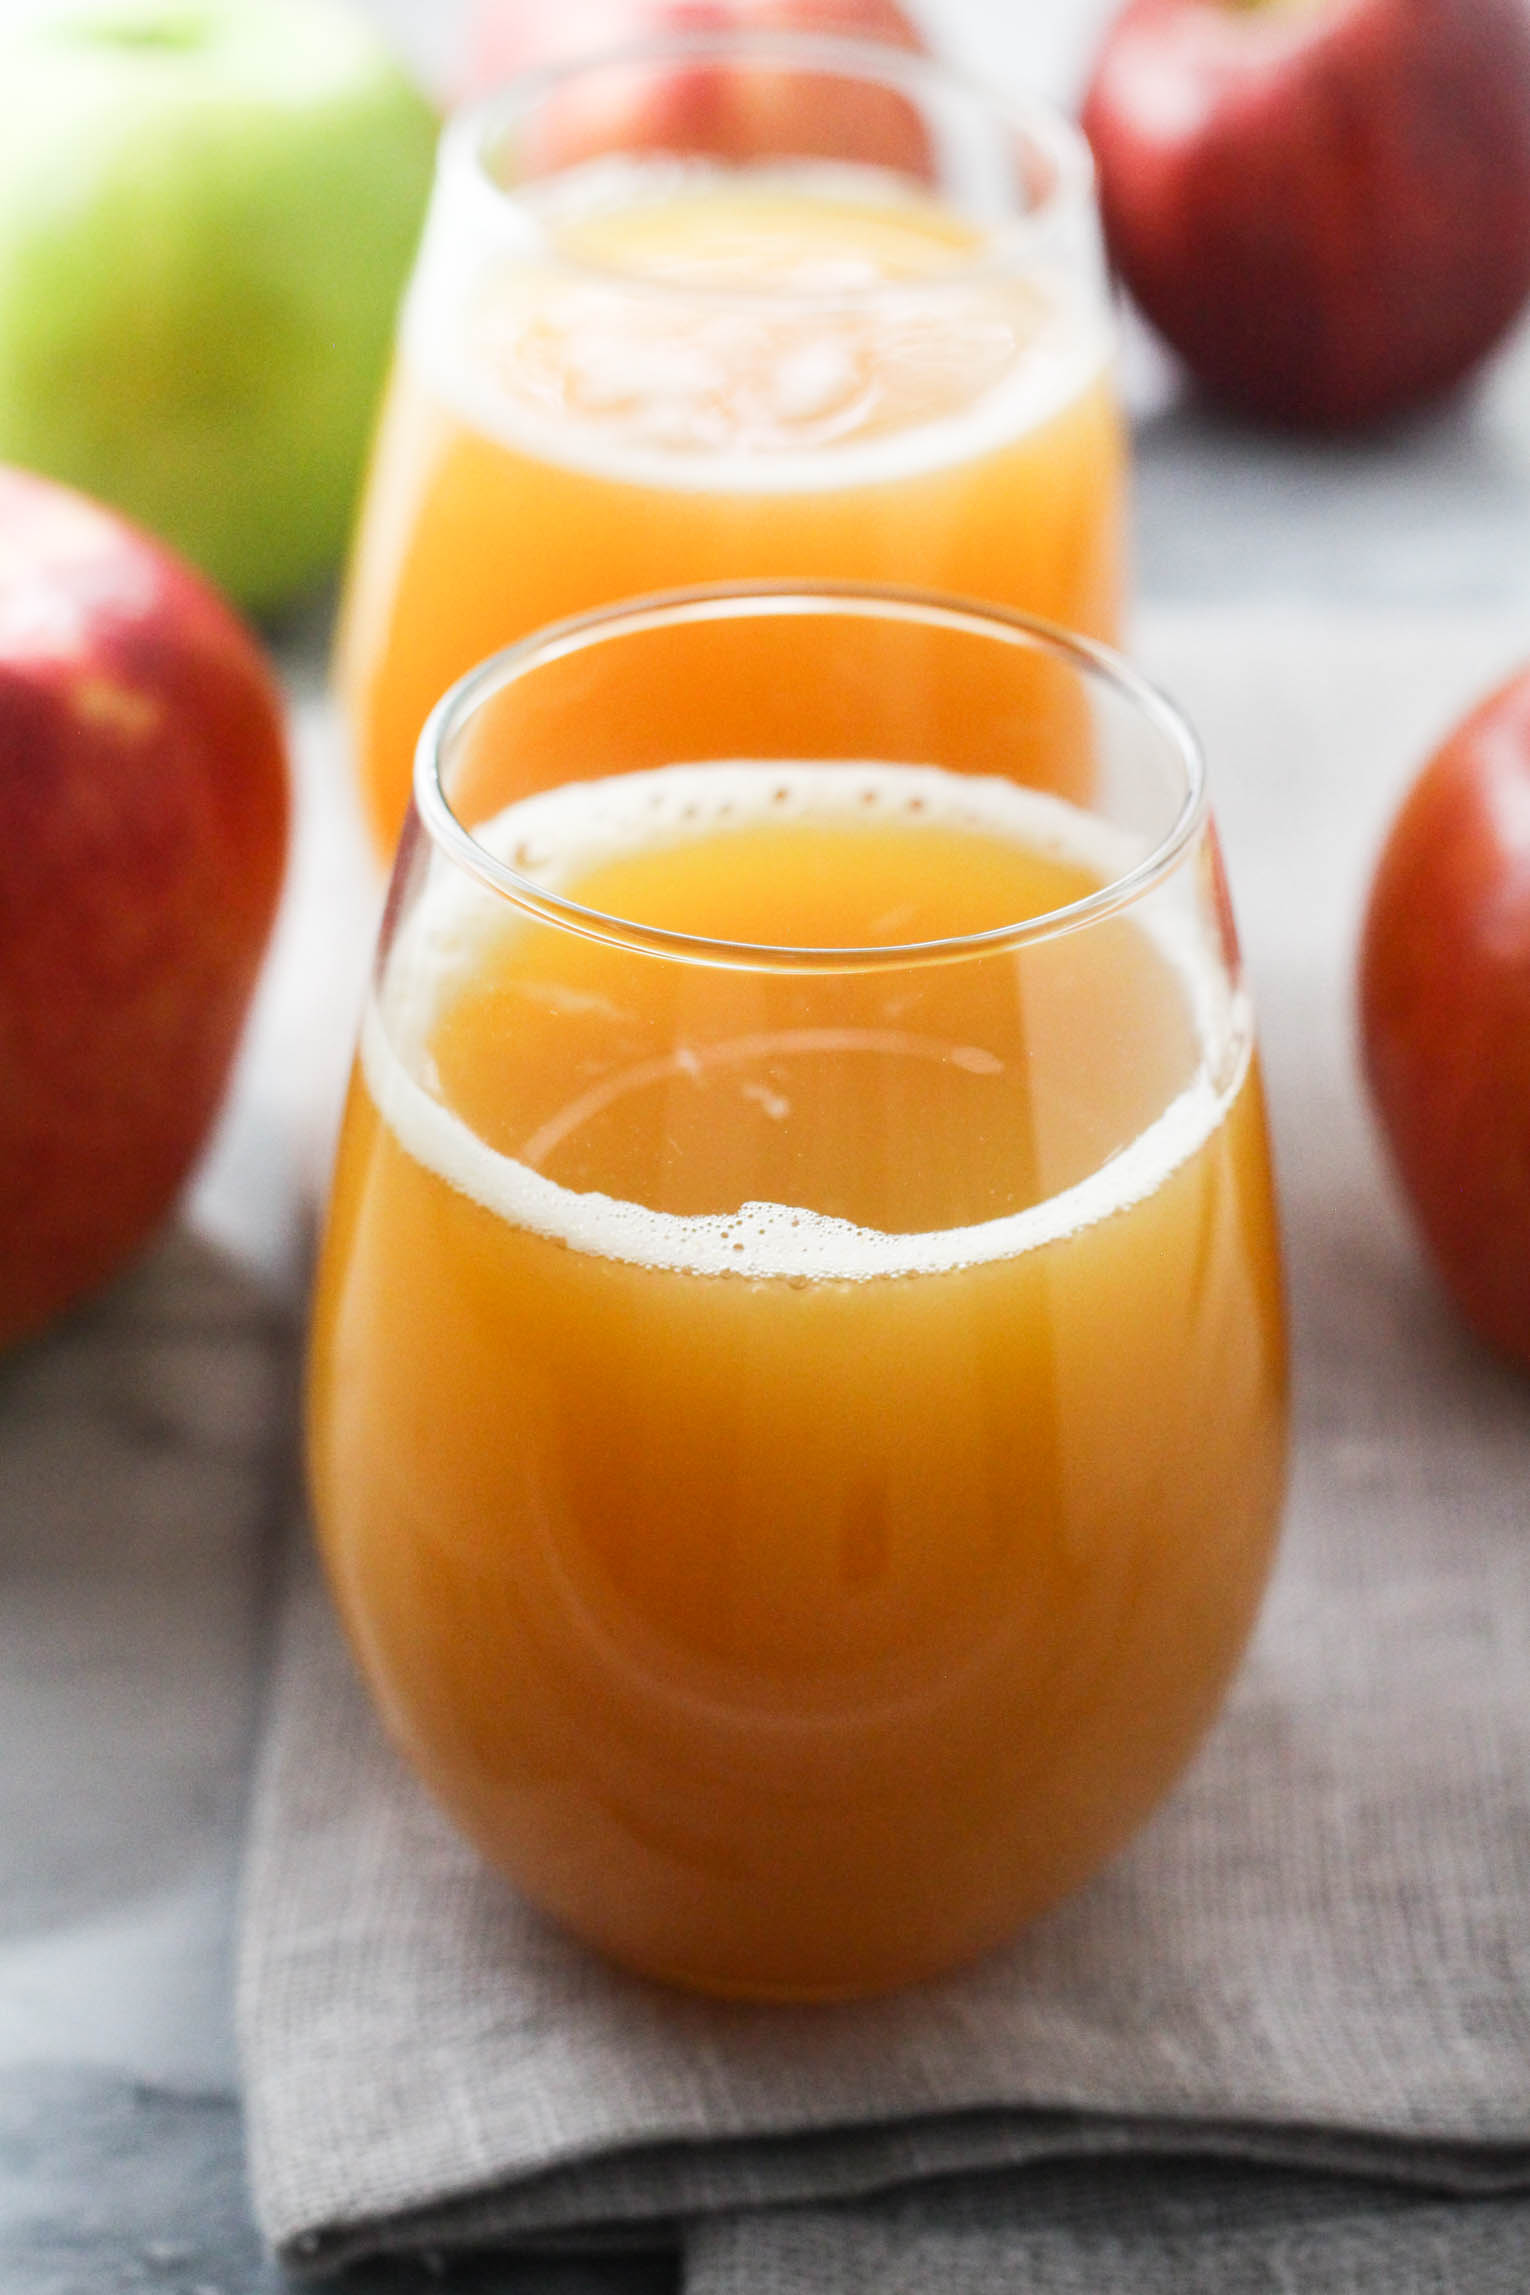
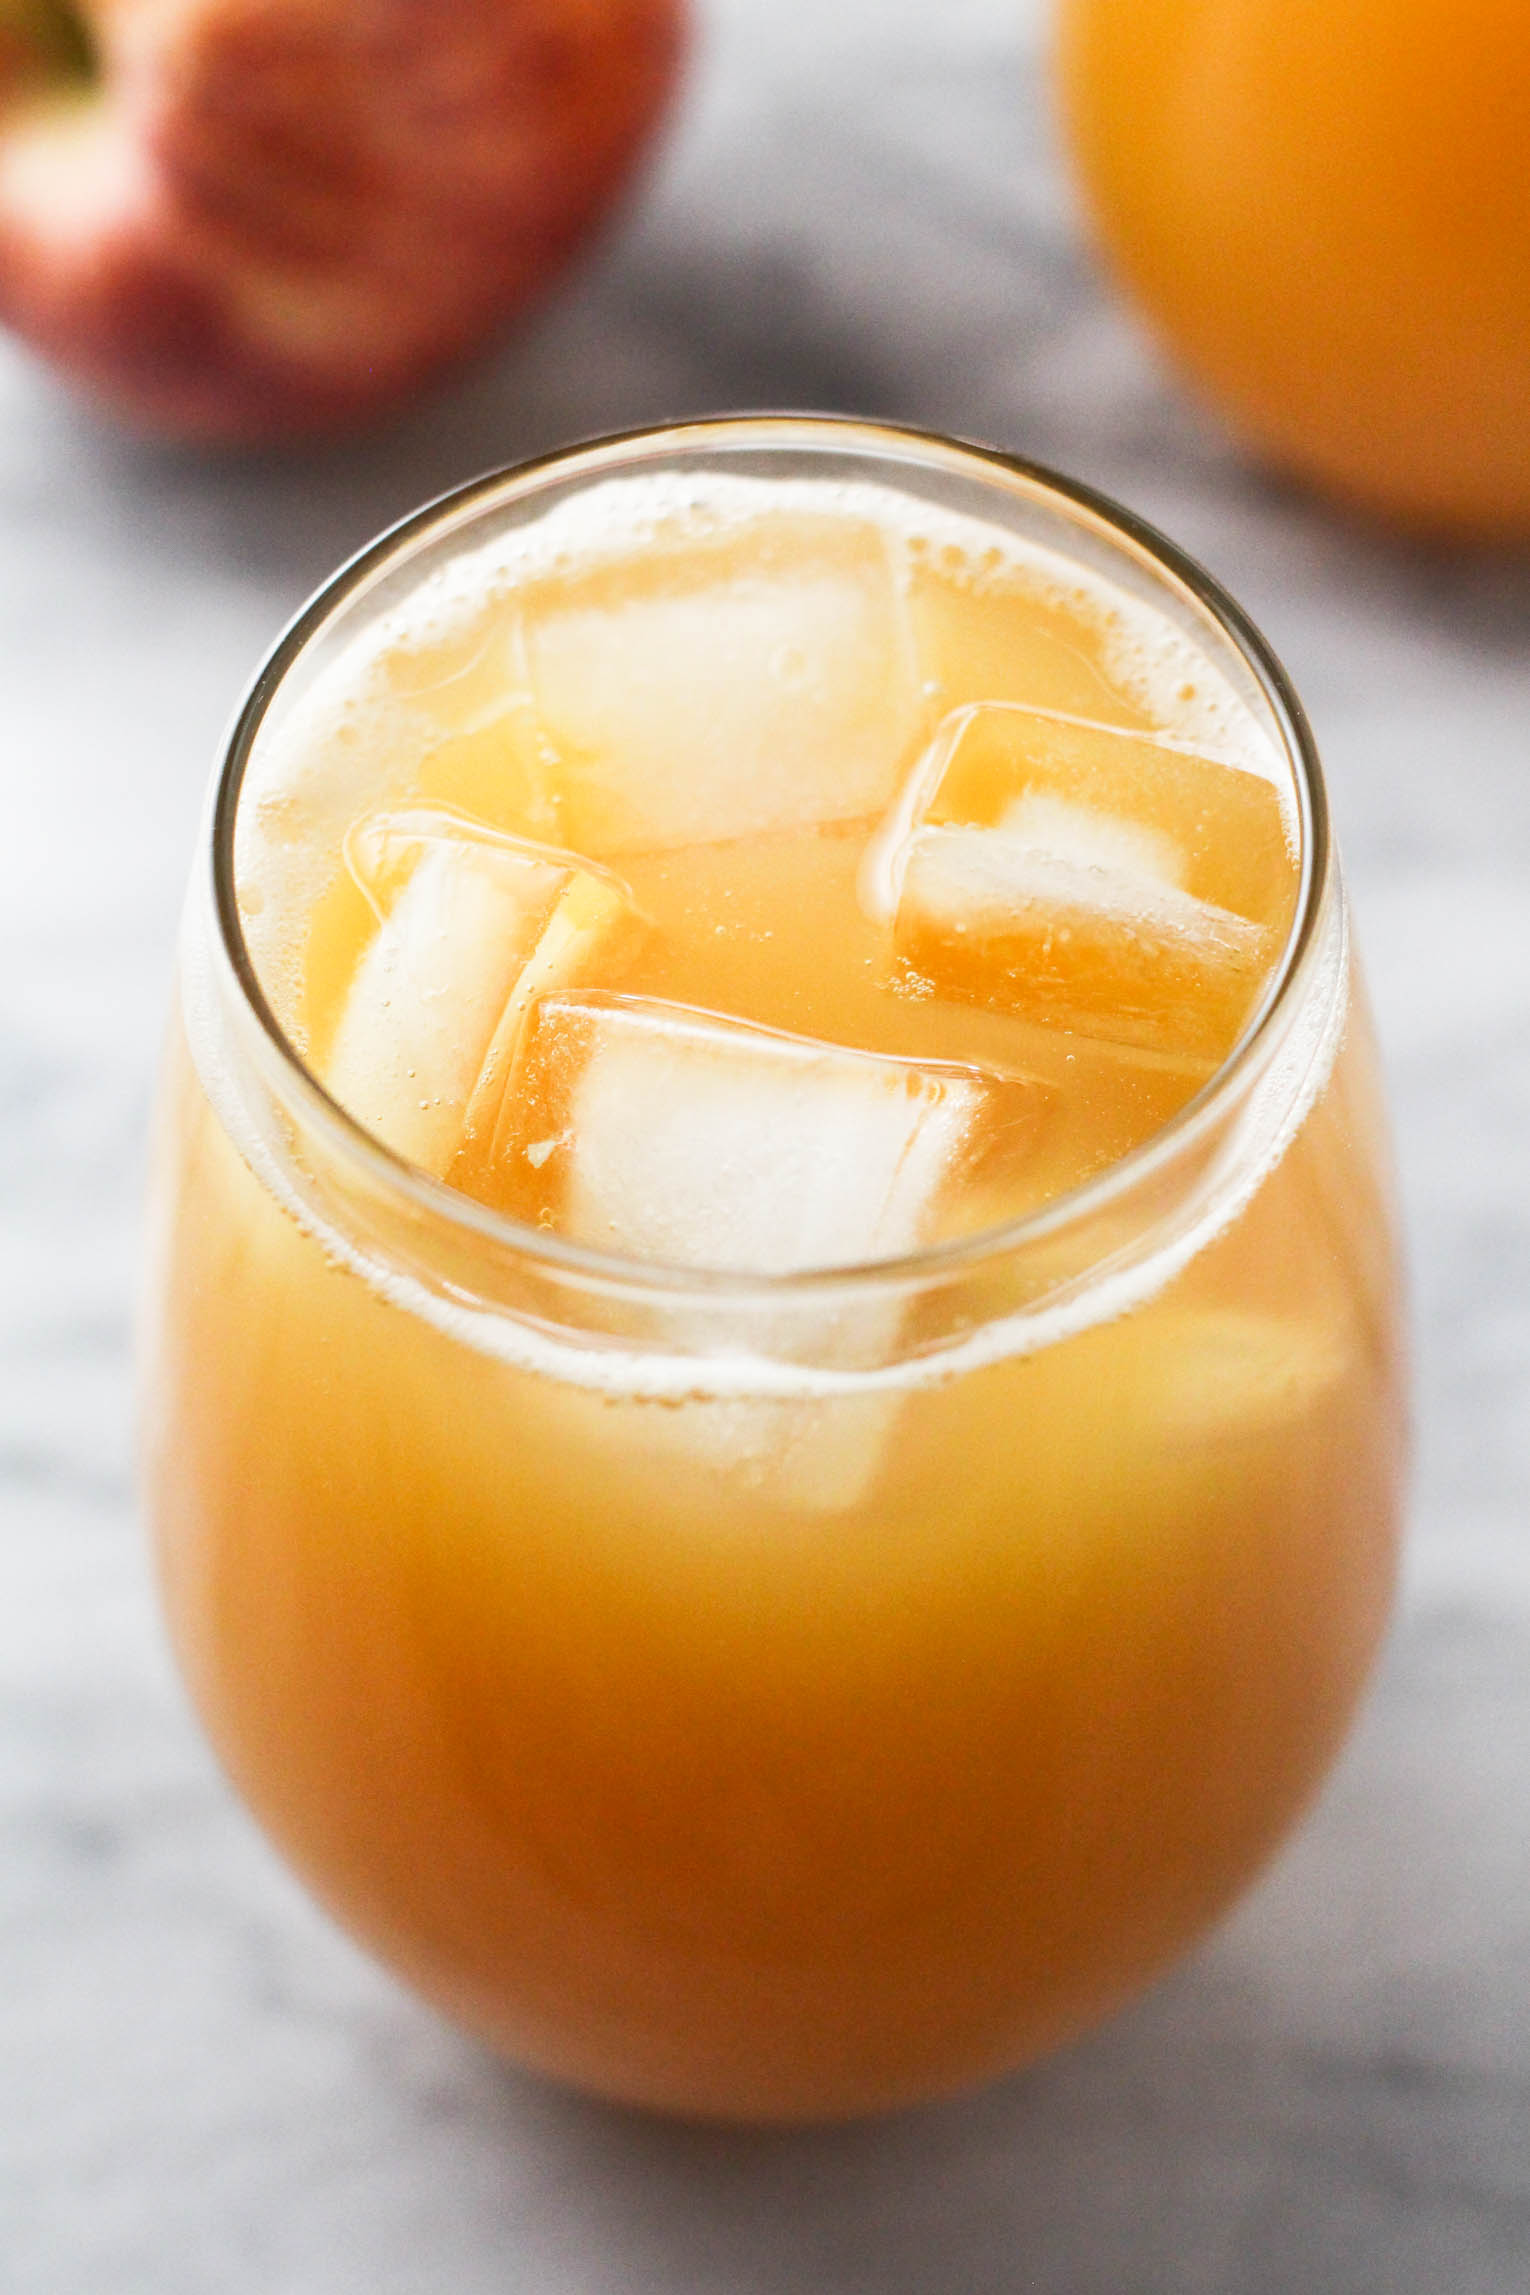
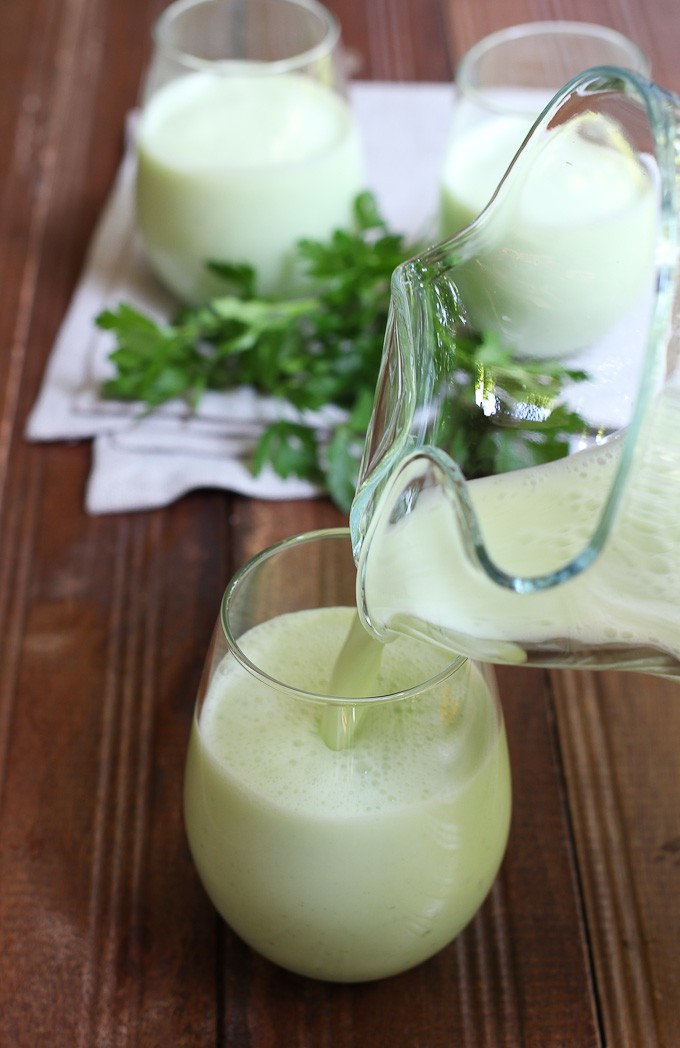
Step 4: Serve the juice.
Enjoy the strained apple juice as is, or pour it over ice cubes for a refreshing drink. If the apple flavor is too tart for your tastes, feel free to dilute it with filtered water.
Flavor Variations
Now that you’re an expert no-juicer apple juicer, you can easily customize your fresh-squeezed juice with fun flavors and natural sweetening agents.
Here’s some tasty inspiration:
- Citrus fruits – Try squeezing a lemon, lime, or orange into the apple juice for a bright, refreshing twist.
- Tropical fruits – Purée the apple chunks with chunks of mango, pineapple, papaya, guava, or passionfruit.
- Berries – Purée the apples with berries that pair well, like cherries, cranberries, blackberries, or raspberries.
- Vegetables – Infuse your apple juice with the added nutritional benefits of veggies like carrots, celery, cucumber, and beetroot.
- Leafy greens – For green apple juice, puree the apples with leafy greens such as kale, spinach, or Swiss chard.
- Spices – Puree the apples with a dash of cinnamon for a warm, cozy flavor. You can also puree the apples with fresh ginger for a kick of warming spice.
- Sweeteners – If you’re craving something sweeter, try sweetening your cold-pressed apple juice with non-refined sweeteners like honey, maple syrup, or date paste (pitted dates soaked in warm water until soft, then blended into a smooth paste).
- Sparkling apple juice – Add sparkling water to apple juice for a refreshing sparkling drink. The ratio of 1/2 part of juice and 1/2 part of sparkling water works best.
Storing & Freezing
Storing: Fresh-squeezed apple juice is best enjoyed immediately, but you can refrigerate it in a glass jar or bottle with a tight lid for up to 1 day. You may need to loosen it up with water, as it may thicken as it sits.
Freezing: To extend the shelf-life, freeze the apple juice in an ice cube tray, then transfer the cubes to a zip-top bag and keep it in the freezer for up to 3 months. You can use the cubes to chill your next glass of apple juice or blend the frozen cubes into smoothies.
Frequently Asked Questions
Here are a few related questions on how to make apple juice:
How many apples make a glass of apple juice?
It varies based on the size, variety, and freshness of the apples used, but generally, 2 large apples yield a roughly 8-ounce glass of apple juice.
What can I do with the leftover pulp after juicing apples?
Apple pulp can be repurposed, making it a valuable ingredient to save after juicing apples.
It’s an excellent addition to baked goods, like muffins and banana bread, for added fiber and texture. You could also add it to smoothies or use it to make apple cider vinegar or apple jelly.
What is the difference between waxed and unwaxed apples?
The main difference between waxed and unwaxed apples is the presence or absence of a layer of preservative wax on the skin.
What is the difference between apple juice and apple cider?
The main difference between apple juice and apple cider is filtration. Apple juice is usually filtered to remove pulp or solids, whereas apple cider is left unfiltered, resulting in a cloudy, pulpy liquid.
Do you need to core the apples before juicing?
Yes. Coring apples before juicing is an important step to improve the quality of the juice, remove potential toxins present in apple seeds, and reduce the wear and tear on the blades of your blender.
More Juice and Fruity Drink Recipes
Here are a few other healthy drink recipes you might like:
How to Make Apple Juice with a Blender
Equipment
- Food Processor (or blender)
- Fine Mesh Strainers (or nut milk bag)
- Rubber Spatula (optional)
Ingredients
- 2 medium apples
- ⅓ cup water (optional)
Instructions
- Wash the apples thoroughly. If the apples are waxed, peel the skin. Remove any bruised or dark spots. Remove the seeds and the core, and chop the apples into chunks.
- Place the apple chunks into the food processor or blender and add ⅓ cup of water (if using). Pulse a few times and then process until the apples are pureed.
- Place a mesh strainer over a bowl. Transfer the pureed apple juice into the strainer and then press it with a rubber spatula to squeeze out the juice from the pulp. Work in batches if needed. Alternatively, you can use a nut milk bag.
- If you find that the juice still has bits of apple pulp in it, you can strain it one more time through 3 to 4 layers of cheesecloth. Place the cheesecloth over the strainer and pour the juice over it.
- Serve as is or over ice. Store in the fridge for up to 1 day.
Recipe Notes
The nutrition facts are an estimate. Variations in ingredient brands, portion sizes, or substitutions can affect the final nutritional values. For the most accurate information, please use a nutrition calculator or consult with a healthcare provider. Always ensure that each of the ingredients is allowed in your diet.

Meet Maria
Maria Ushakova is a holistic nutritionist and food blogger. She focuses on developing easy recipes using real food ingredients. She believes that healthy food is delicious and anyone can learn how to cook it. Maria’s work has appeared on numerous popular websites as well as in print.
I made this tonight. From about 10 apples (assorted sizes) I got about 500ml. Not a lot for the mess my kitchen was in. The juice was nice but that depends on the apples I suppose.
As I can get 1 litre for £2 from the supermarket there’s no competition I’m afraid. At least I know I can do it.
@Valerie, There is no comparison unless the store makes the juice on the spot. Store-bought juice is usually pasteurized and often has added sugar. So, many enzymes and nutrients are long gone. Having said that, I think the blender method is best when you only want to juice a few apples. I would say up to 4 to 6. When you have more apples, it’s better to use a juicer.