No juicer? No problem! Follow this comprehensive guide to learn how to squeeze fresh juice using a blender or food processor, which fruits and veggies work best, and how to store your homemade juice for lasting freshness.
If you’ve ever craved a refreshing glass of fresh-squeezed juice but didn’t have a fancy electric juicer, you’re not alone!
Fortunately, you can still enjoy delicious, fresh-pressed fruit and veggie juice without investing in expensive equipment.
With your everyday high-speed blender or food processor, making nutrient-rich juice at home is not only possible but also convenient, cost-effective, and easy to clean up!
Whether you’re looking to embrace a healthier lifestyle without the hassle or just want to sip on an invigorating, fresh beverage, mastering juicing with a blender or food processor opens up a world of possibilities.
Plus, you can customize your juices with your favorite fresh fruits and veggies. So, what are you waiting for? This article covers everything you need to start enjoying fresh juice today!
What You’ll Need
With these standard kitchen tools, you’re well on your way to enjoying a glass of delicious juice from the comfort of your kitchen:
- Blender or food processor – To break down the produce into a smooth puree. Check the manufacturer’s handbook to ensure your blender or food processor is powerful enough to handle the task without overheating or damaging the motor.
- Fine-mesh strainer – To strain the pureed fruit and vegetables and separate the juice from the pulp. If you don’t have a fine-mesh strainer, use cheesecloth or a nut milk bag to press every last drop of juice from the puree.
- Rubber spatula – To press the pureed produce through the strainer and extract as much juice as possible.
- Large bowl – To catch the juice as you strain it.
Best Fruits and Vegetables for Juicing
When it comes to juicing, choosing the right fruits and vegetables is key to a refreshing and flavorful, nutrient-packed drink. Mix and match the following fruits and vegetables to find your favorite flavor combinations.
Fruits
These fruits are not only packed with nutrients, but their natural sweetness and flavor can help mask any bitter flavors from the vegetables or greens in your juice:
- Apples
- Apricots
- Blueberries
- Cantaloupe
- Dragon Fruit
- Figs
- Grapes
- Grapefruit
- Honeydew melon
- Kiwi
- Lemons & limes
- Mango
- Oranges
- Papaya
- Passion fruit
- Peaches
- Pears
- Pineapple
- Plums
- Pomegranate Seeds
- Raspberries
- Strawberries
- Watermelon
Vegetables
These vegetables bring both bold flavors and a wealth of health benefits to your juice. Mix and match different veggies with your favorite fruits to create exciting new flavors:
- Arugula
- Beets & Beet Greens
- Bell Peppers
- Carrots
- Celery
- Collard Greens
- Cucumbers
- Kale
- Radishes
- Spinach
- Swiss Chard
- Tomatoes
- Zucchini
How to Make Juice with a Blender
Juicing your favorite fruits and veggies without a juicer is easier than you may think! Follow these steps, and you’ll have a batch of fresh-pressed juice in no time:
Step 1: Prep the fresh produce.
Wash your fresh produce thoroughly. If juicing root vegetables like carrots or beets, peel the skin. For fruits like apples, pears, and stone fruits, remove the brown spots and any core, seeds, or inedible parts that could damage your blender. Chop everything into chunks.

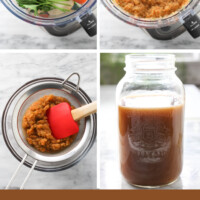
Step 2: Puree the prepped produce.
Place the chopped fruits and vegetables in the blender or food processor. Add ¼ cup to ½ cup of water, adjusting as needed to facilitate the pureeing process, and blend until smooth and well combined.


Step 3: Strain the puree.
Place a fine-mesh strainer over a bowl. Transfer the fruit and vegetable puree to the strainer, using a rubber spatula to push it through and extract as much juice as possible. If you don’t have a fine mesh strainer, use a nut milk bag or cheesecloth placed over a regular strainer.
If you find yourself with a lot of juice in the pulp, transfer it back to the blender, add a little more water, and blend again. Strain it one more time to make sure not a single drop of juice goes to waste!


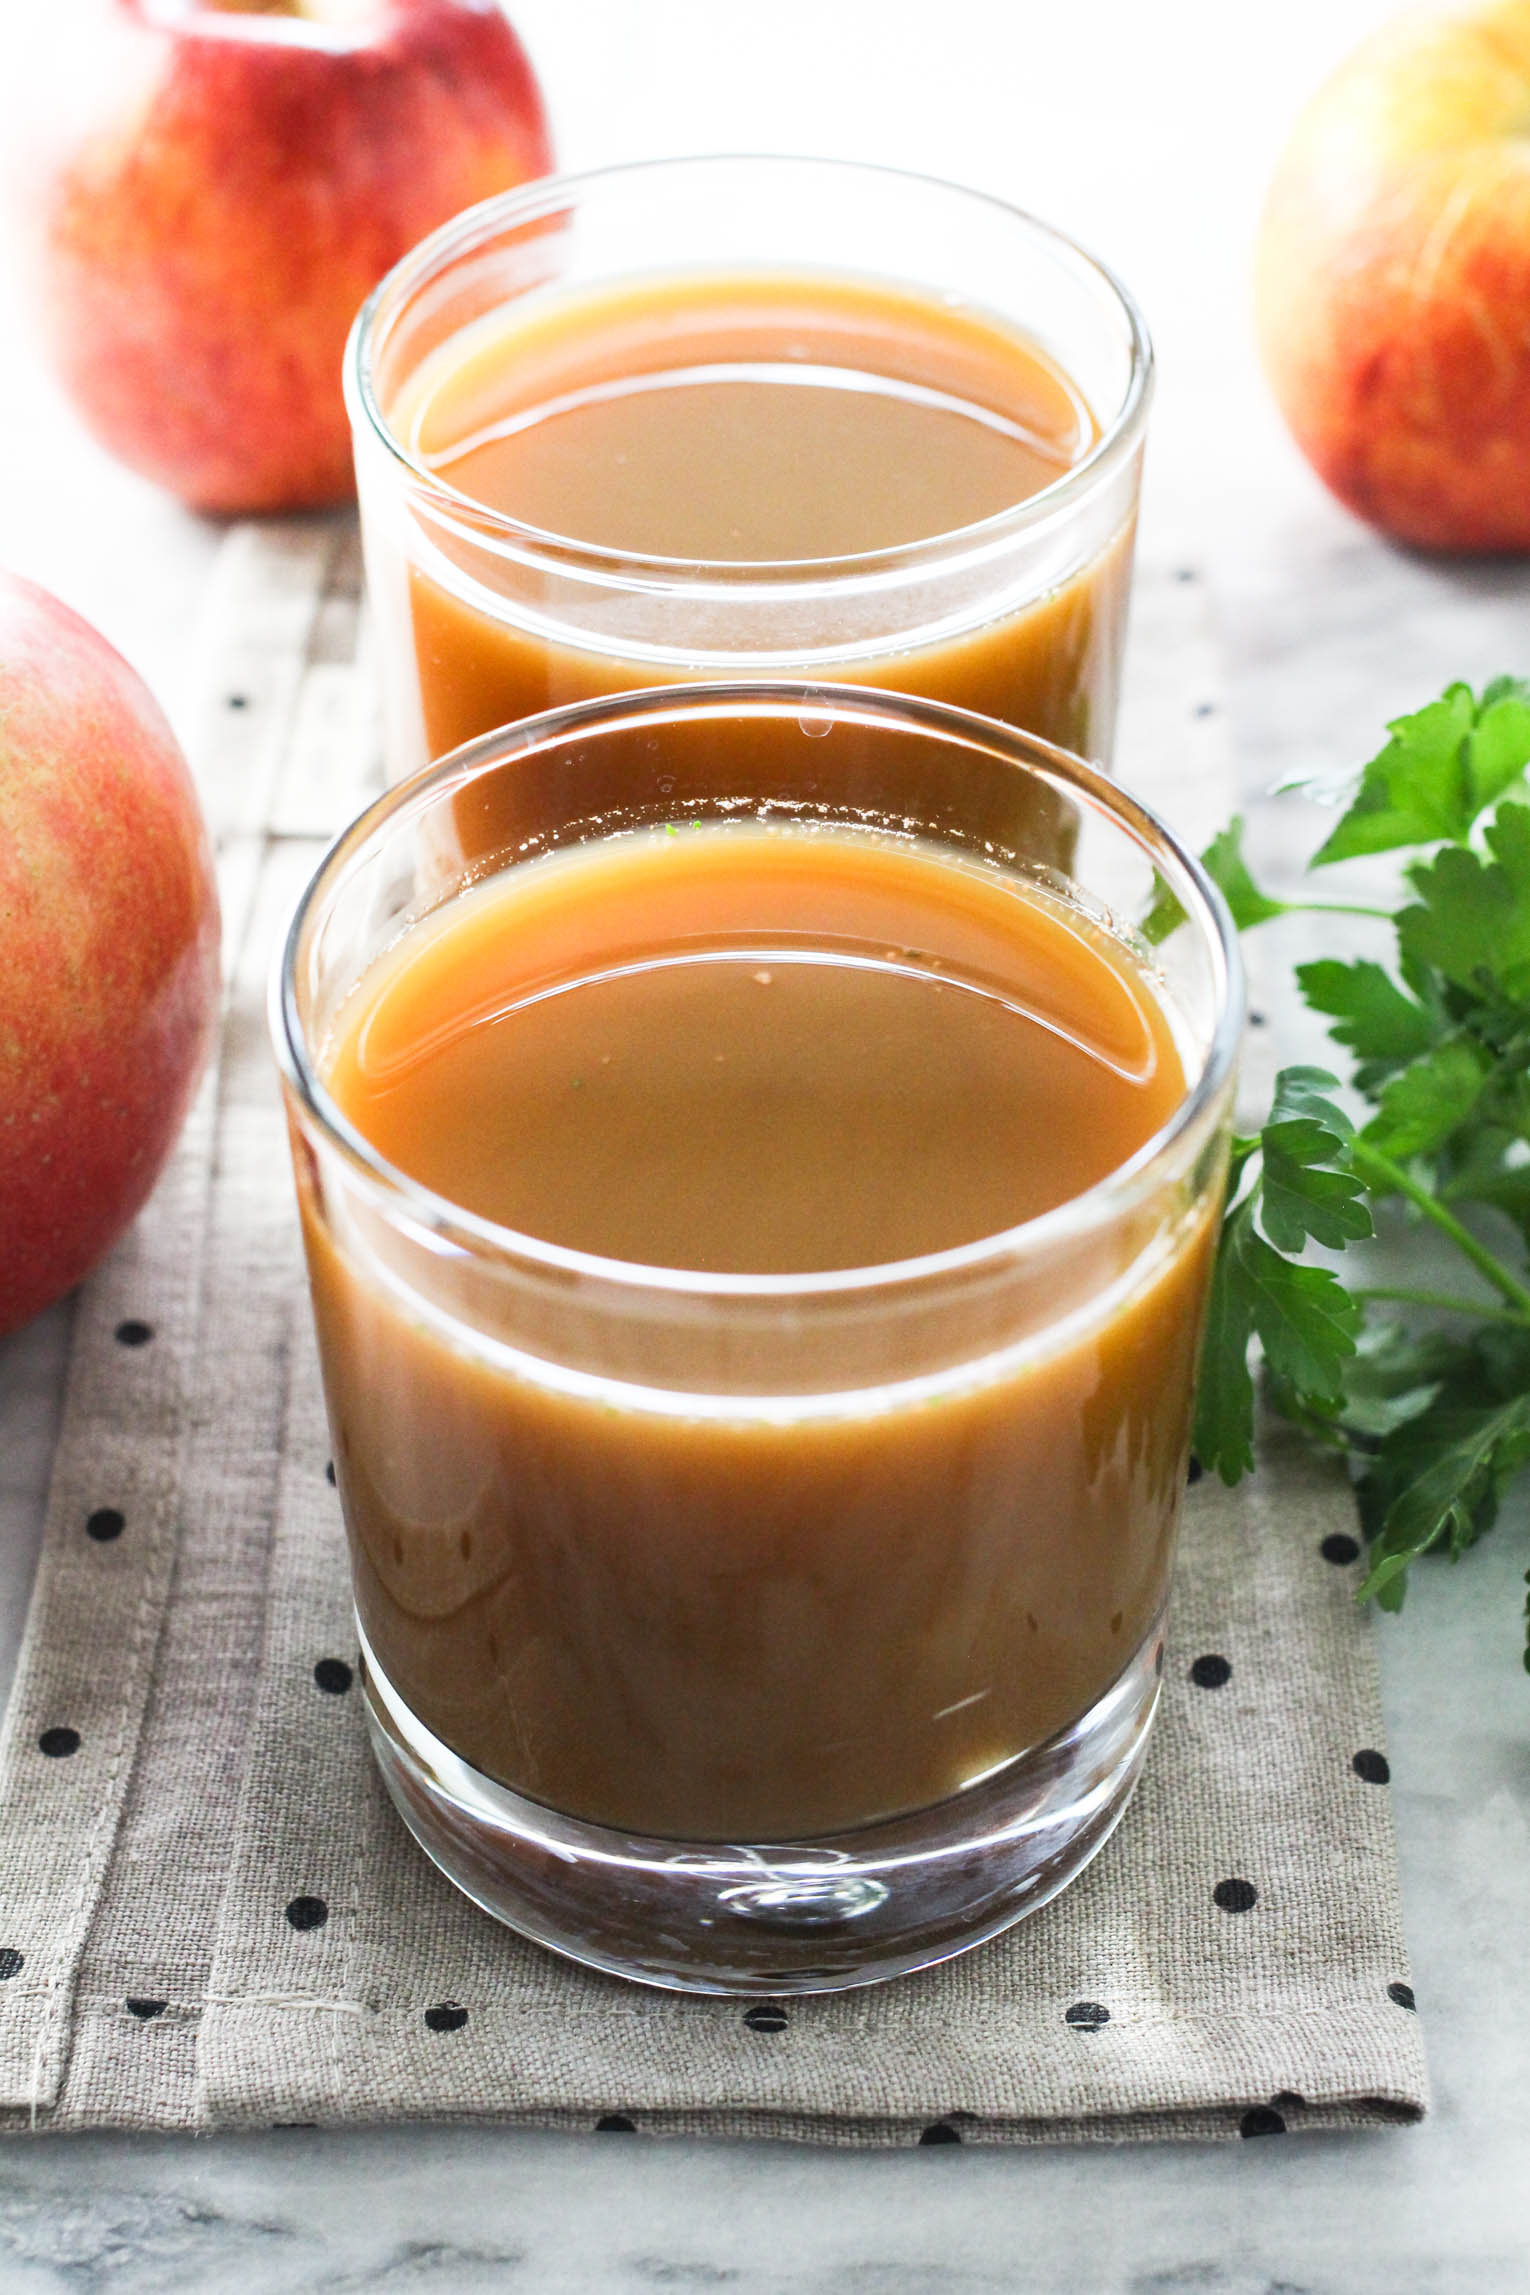
Step 4: Serve or store.
Drink the juice right away – or see below for proper storage instructions.


How to Store Homemade Juice
Fridge: To keep your juice as fresh as possible, refrigerate it immediately after making it in an airtight container, glass jar, or bottle. If possible, fill the container to the top to minimize air exposure and consume within 24 to 48 hours.
Freezer: To keep the juice longer, freeze it in freezer-safe glass jars, silicone ice cube trays, or BPA-free plastic containers, leaving space at the top for expansion. Keep it frozen for up to 3 months. When you’re ready, thaw the juice in the refrigerator overnight and give it a good shake or stir before drinking, as some separation may occur.

Recipe Tips
Keep these handy tips and tricks in mind when juicing with a blender:
- Use high-quality, clean produce. Choose fresh, perfectly ripened fruit and vegetables to ensure the best flavor and nutrients. Wash your produce thoroughly to remove dirt, pesticides, or unpleasant residues.
- Blend in batches. If you have a lot of produce, blend it in smaller batches to avoid overloading your blender and to ensure everything is blended into a smooth puree, which makes the straining step more effective.
- Add water gradually. Start with ¼ cup of water, adding more as needed to efficiently puree the fruits and veggies until smooth. Note that produce with high water content, like pineapple or cucumber, will need less water, while denser options, like carrots, may require more.
- Enhance flavor and nutrition. Try pureeing fresh herbs like mint, basil, or parsley. You can also add fresh ginger, turmeric, or a pinch of cayenne pepper to your juice. A splash of fresh lemon or lime juice, or coconut water will brighten the flavor.
- Clean your equipment ASAP. To make cleanup easier, rinse your blender, strainer, and other tools immediately after use. This prevents pulp and juice residue from drying and sticking to your equipment.
FAQ
Ready to Make Juice without a Juicer?
If you’re excited about juicing without a juicer, you will love these delicious and refreshing juice recipes! Try them all to choose your favorite flavor:
- Apple Juice
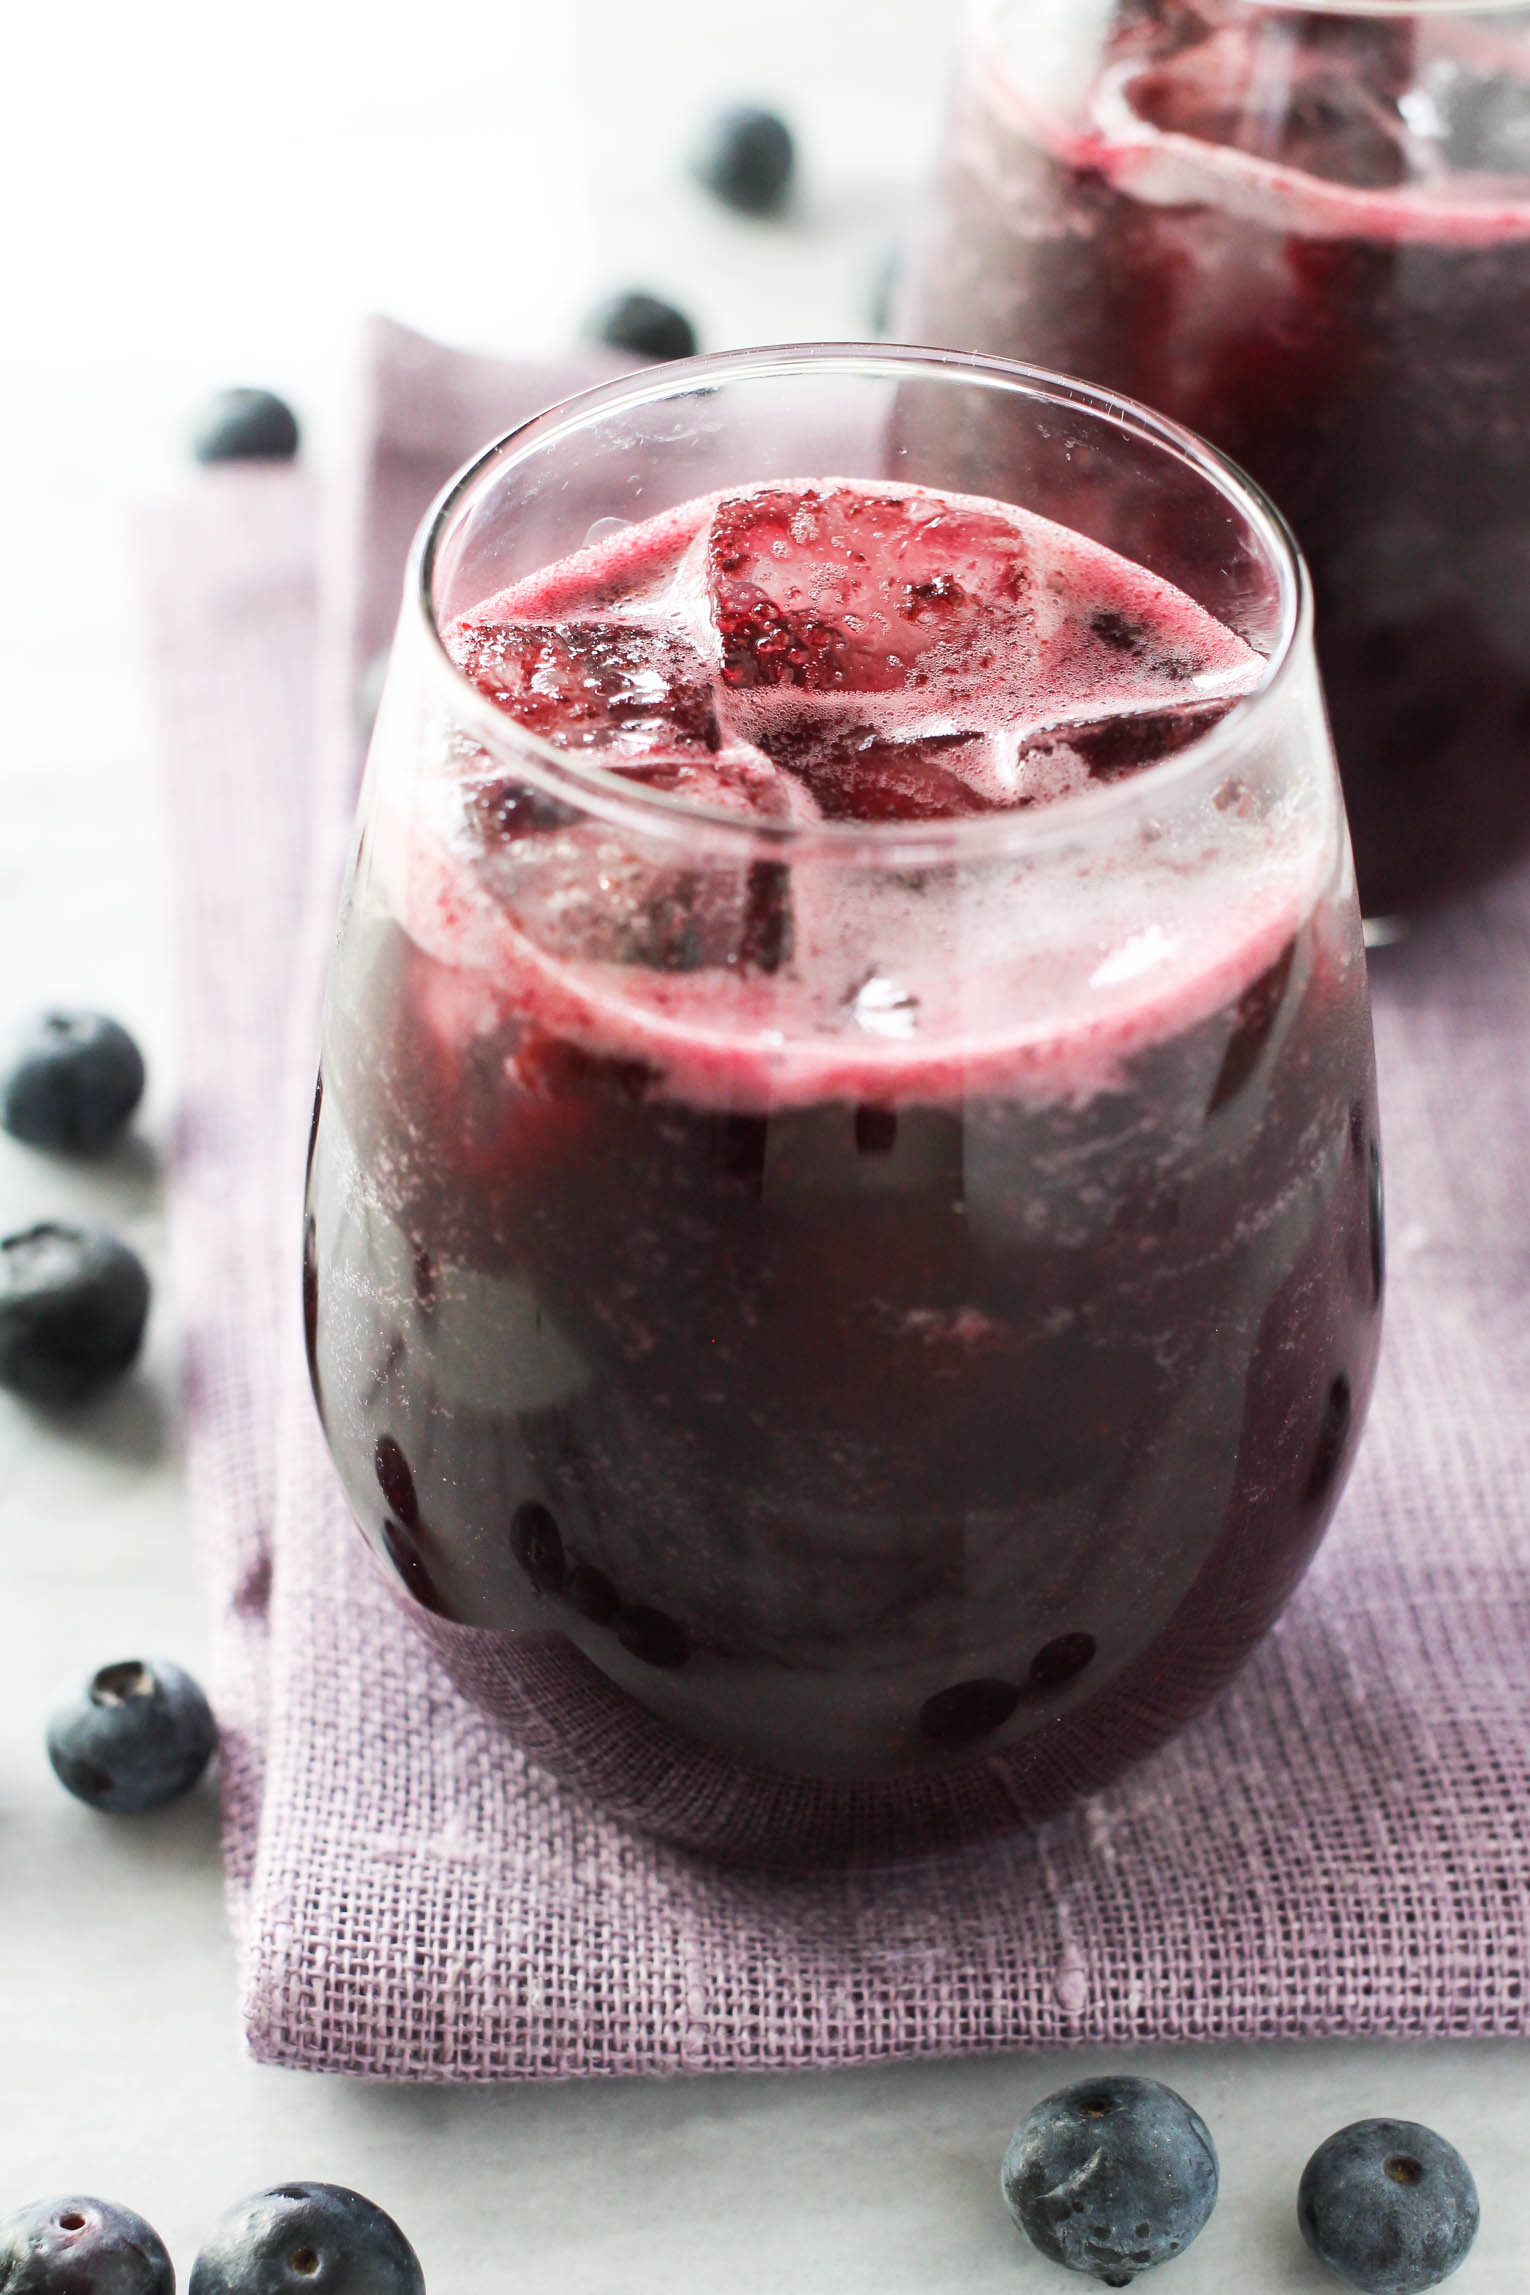
- Blueberry Juice
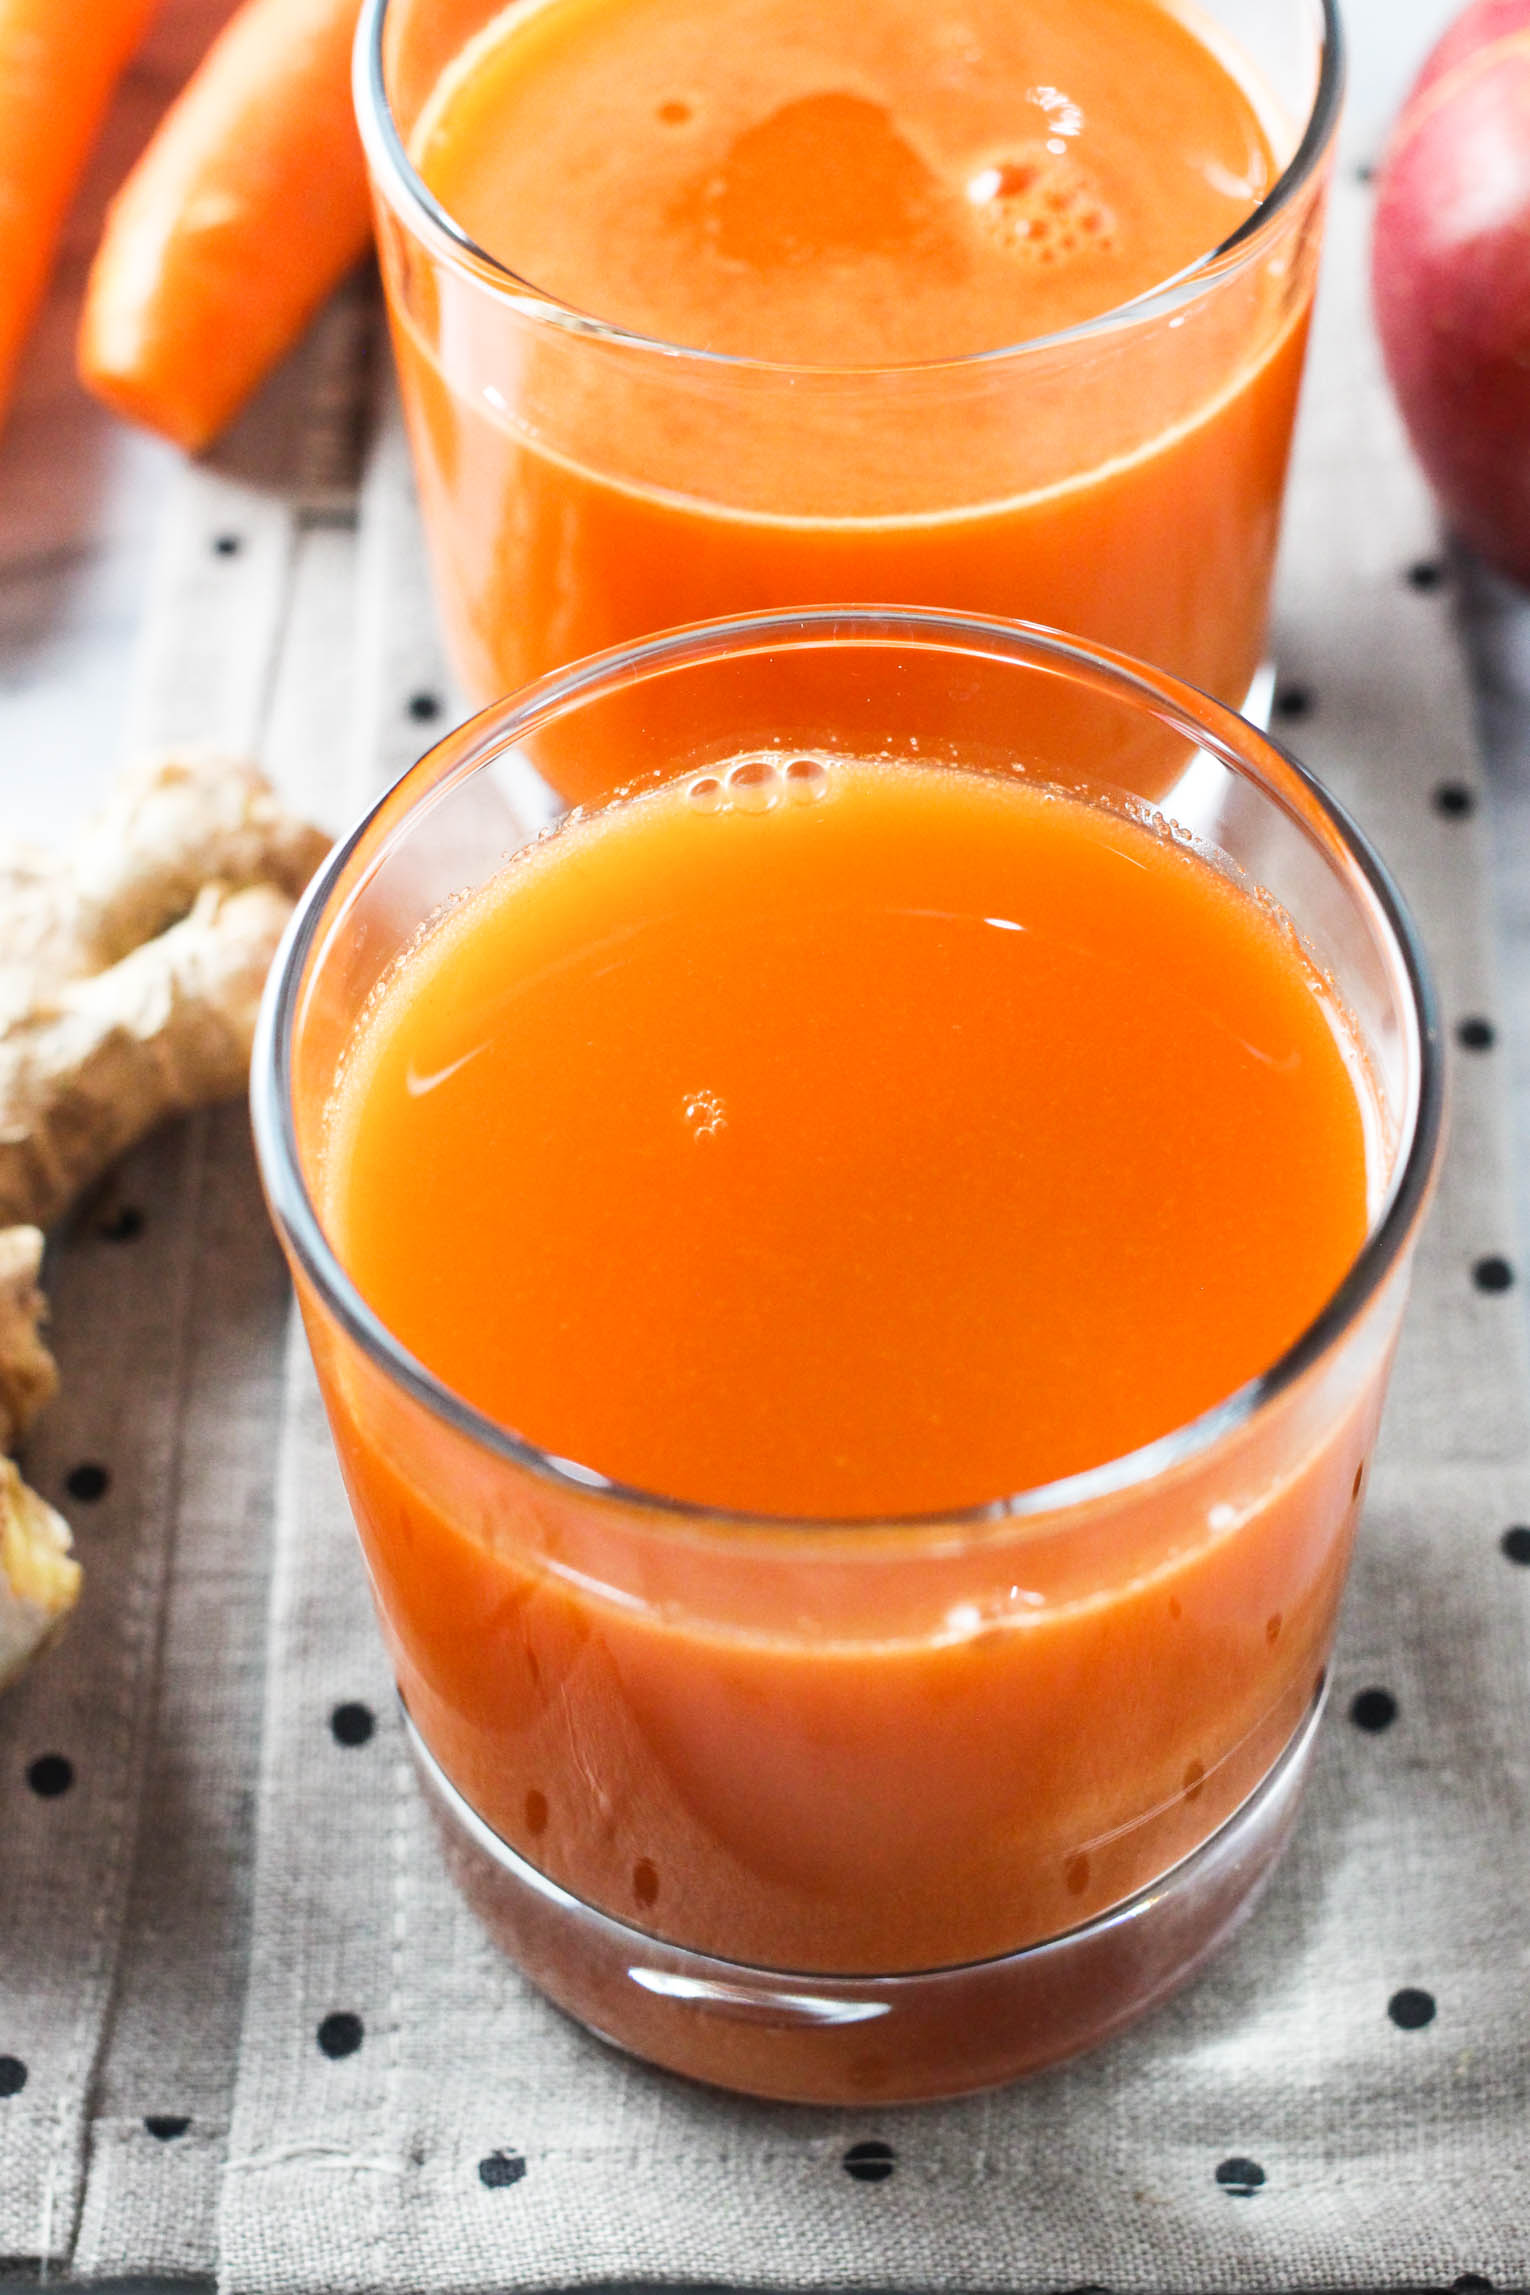
- Carrot Apple Ginger Juice
- Pineapple Juice
- Sea Buckthorn Juice
- Strawberry Juice
- Mango Juice

How to Juice Without a Juicer
Equipment
- Food Processor (or blender)
- Fine Mesh Strainers (or nut milk bag)
- Rubber Spatula (optional)
Ingredients
- your choice of fruits, vegetables, leafy greens, and herbs (or the sample juice ingredients)
- water
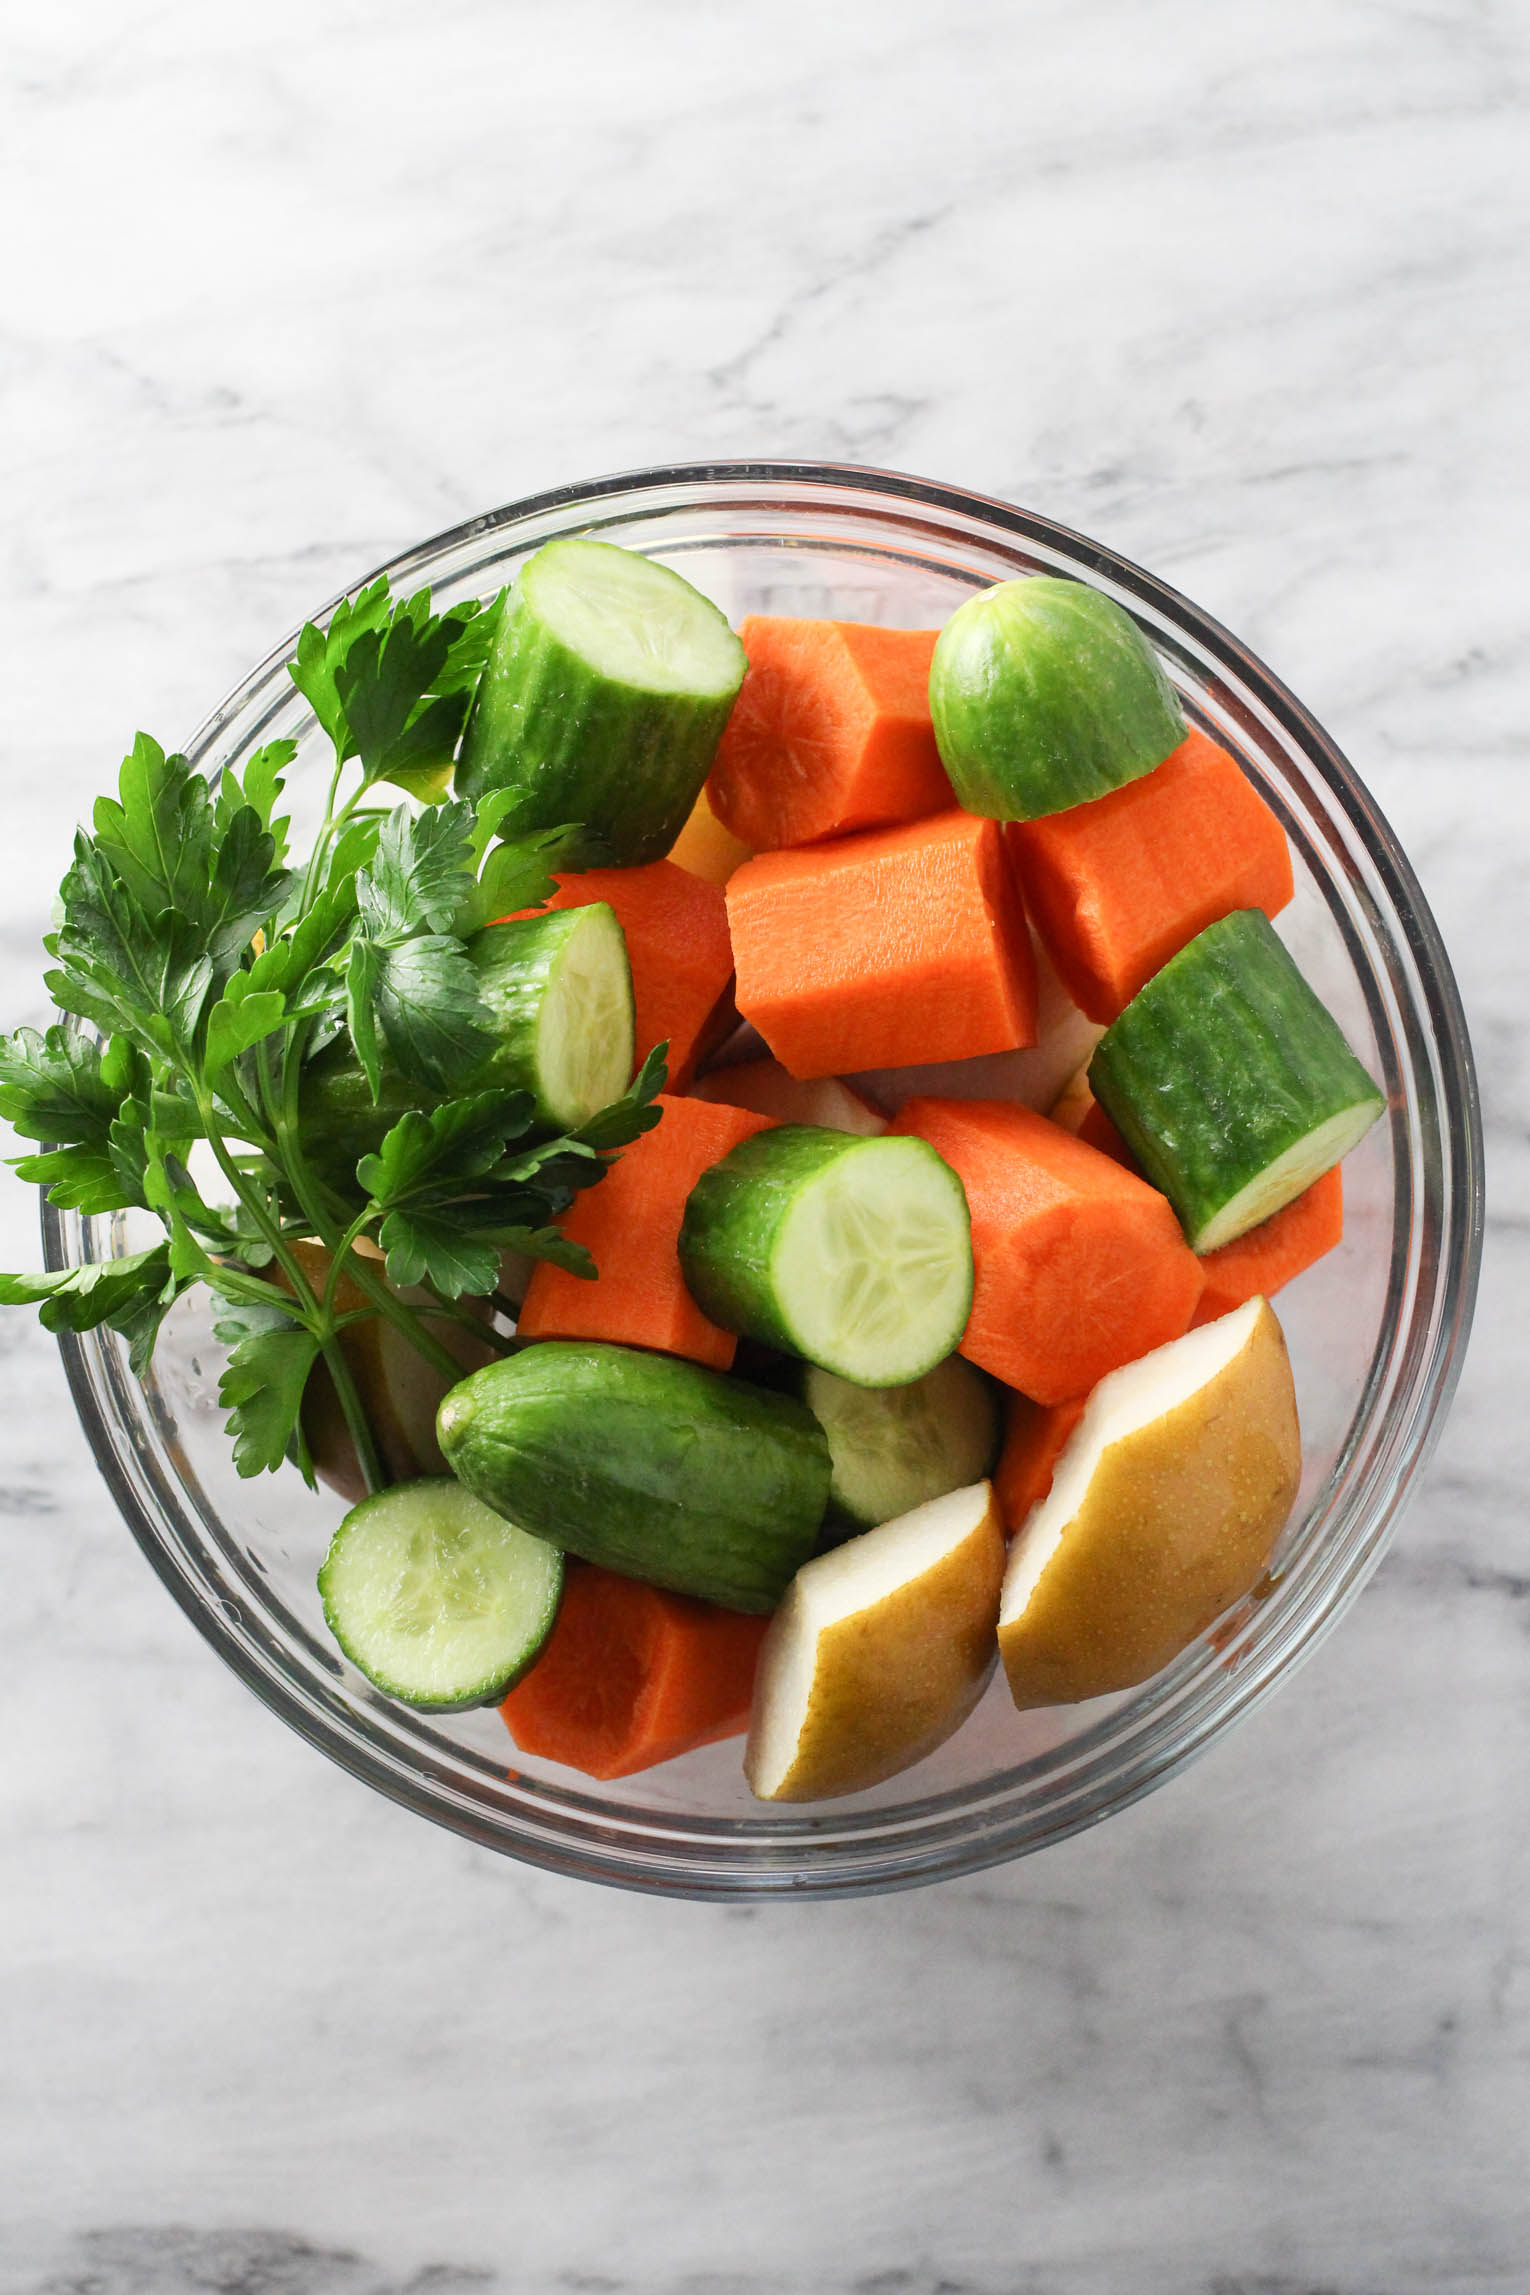
Sample Juice Ingredients
- 1 pear
- 1 apple
- 2 small cucumbers (or ½ English cucumber)
- 2 medium carrots
- 1 handfull parsley
Instructions
- Start by thoroughly washing all your fruits, vegetables, leafy greens, and herbs. If you're juicing root vegetables like carrots or beets, peel off the skins. For fruits such as apples, pears, and stone fruits, remove any brown spots, cores, seeds, or inedible parts. Then, chop everything into manageable chunks.
- Place everything in your blender or food processor. Add ¼ to ½ cup of water, adjusting as needed to help the ingredients blend smoothly. Blend until the mixture is well combined and smooth.
- Set a fine-mesh strainer over a bowl. Pour the puree into the strainer, using a rubber spatula to gently press it through and extract as much juice as possible. If you don't have a fine-mesh strainer, a nut milk bag or cheesecloth over a regular strainer will work as well.
- If a lot of juice is left in the pulp, return it to the blender with a bit more water and blend again. Strain it once more to ensure you don’t miss any juice.
- Serve as is or over ice.
Recipe Notes
- Use fresh, clean produce: Choose ripe, high-quality fruits and veggies. Wash everything thoroughly to remove dirt and residues.
- Blend in batches: Work with smaller amounts to avoid overloading the blender and ensure a smooth puree.
- Add water slowly: Start with ¼ cup and increase as needed. Juicy produce needs less water; denser items need more.
- Boost flavor & nutrition: Add herbs (mint, basil), spices (ginger, turmeric), or a splash of lemon/lime juice or coconut water.
- Clean up right away: Rinse the blender and tools immediately to make cleanup quick and easy.
The Best Fruits and Vegetables for Juicing:
- Fruits: apples, apricots, blueberries, cantaloupe, dragon fruit, figs, grapes, grapefruit, honeydew melon, kiwi, lemons & limes, mango, oranges, papaya, passion fruit, peaches, pears, pineapple, plums, pomegranate seeds, raspberries, strawberries, watermelon.
- Vegetables: arugula, beets & beet greens, bell peppers, carrots, celery, collard greens, cucumbers, kale, radishes, spinach, swiss chard, tomatoes, zucchini.
Storing
- Fridge: Store juice in an airtight glass jar or bottle and refrigerate right after making. Fill to the top to limit air exposure. Best consumed within 24–48 hours.
- Freezer: Freeze in freezer-safe jars, silicone trays, or BPA-free containers, leaving space for expansion. Keeps up to 3 months. Thaw in the fridge overnight and shake before drinking.
The nutrition facts are an estimate. Variations in ingredient brands, portion sizes, or substitutions can affect the final nutritional values. For the most accurate information, please use a nutrition calculator or consult with a healthcare provider. Always ensure that each of the ingredients is allowed in your diet.

Meet Maria
Maria Ushakova is a holistic nutritionist and food blogger. She focuses on developing easy recipes using real food ingredients. She believes that healthy food is delicious and anyone can learn how to cook it. Maria’s work has appeared on numerous popular websites as well as in print.