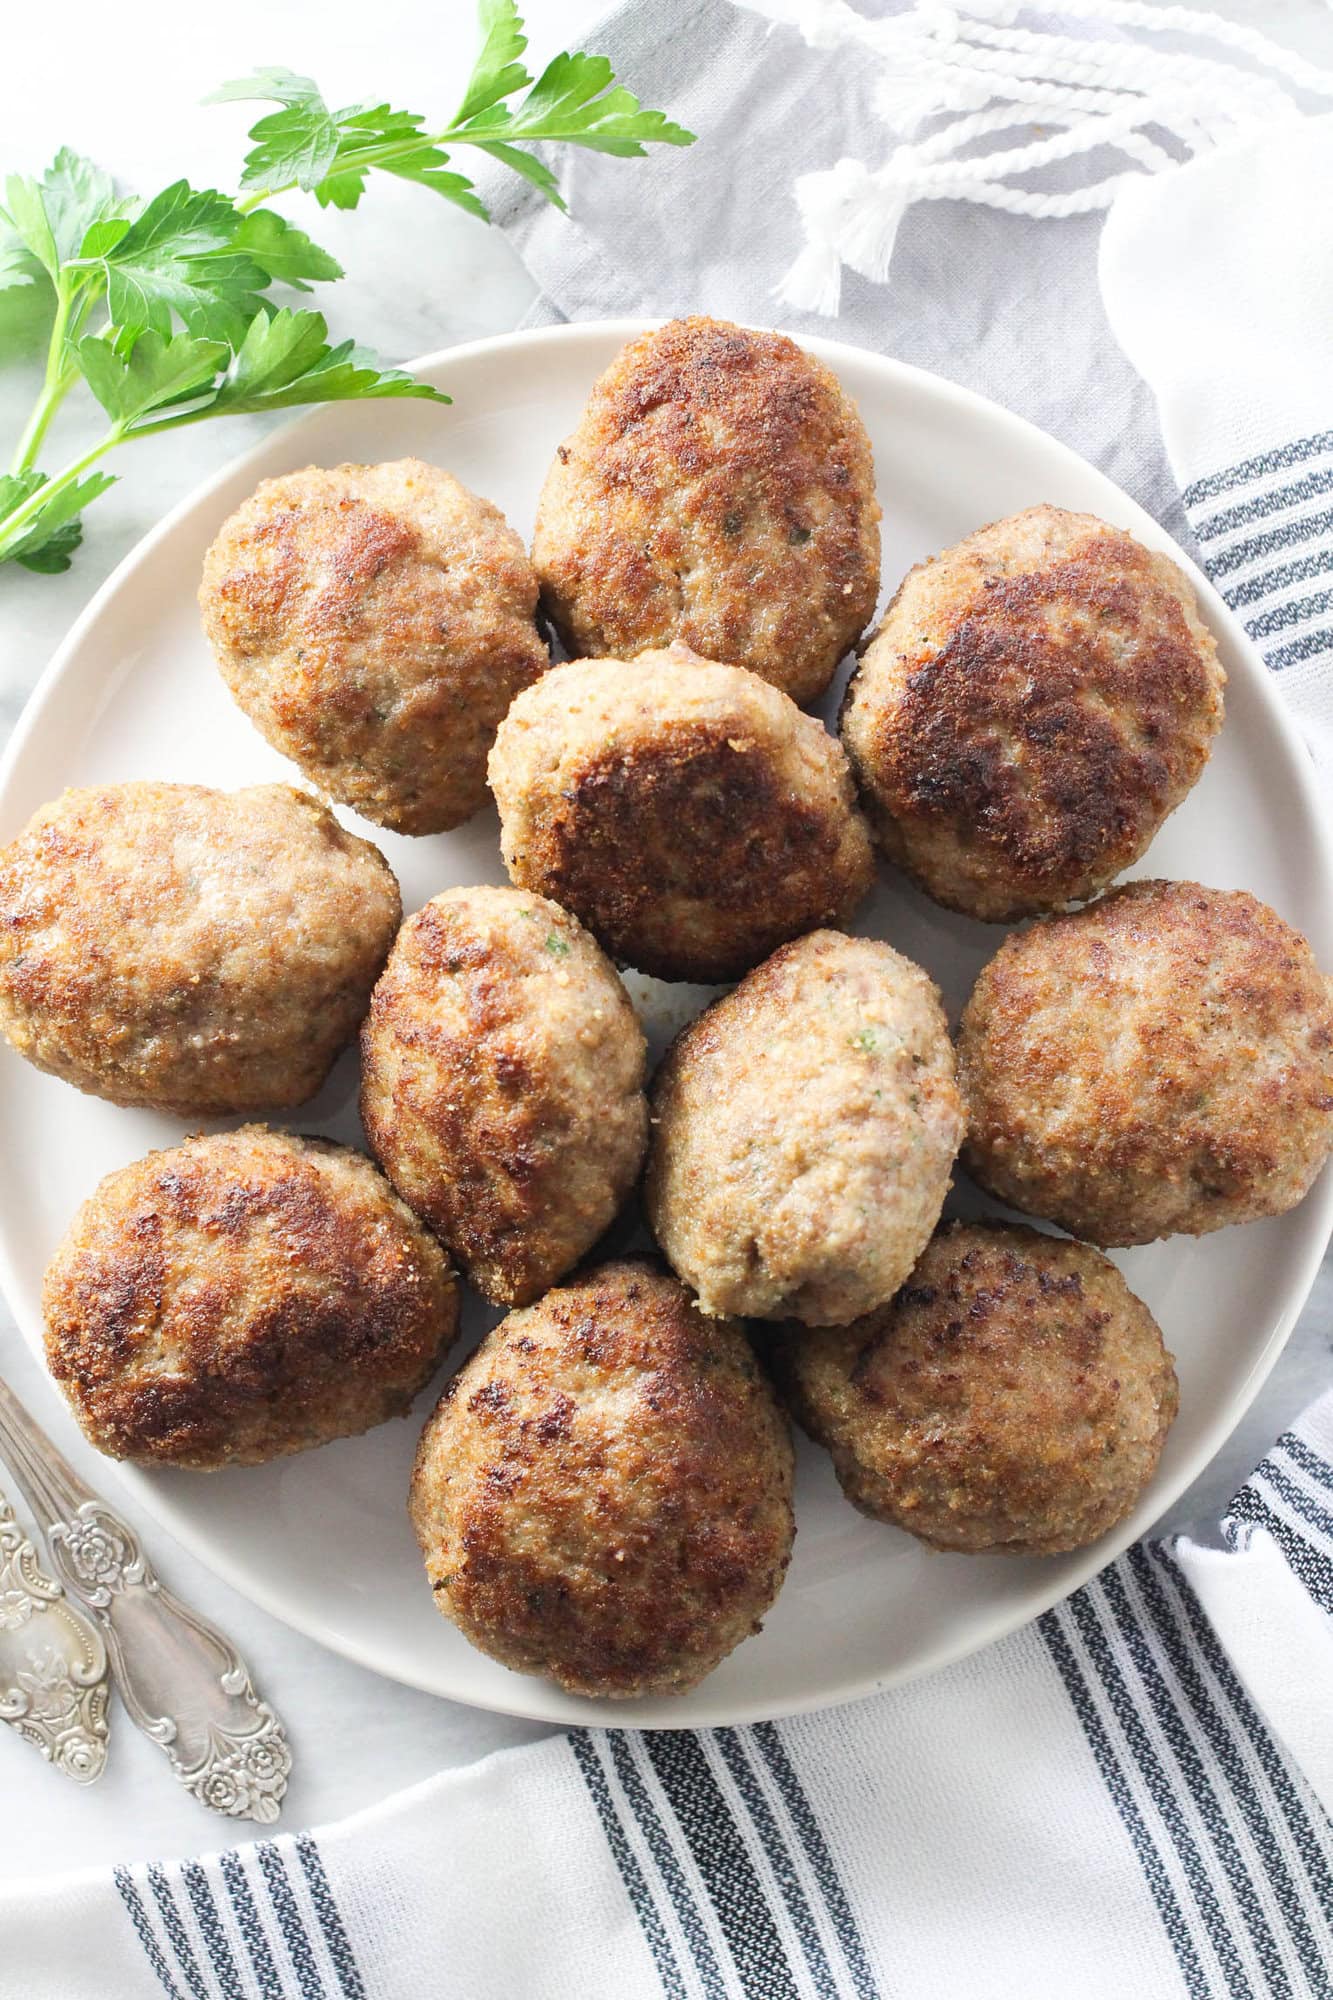
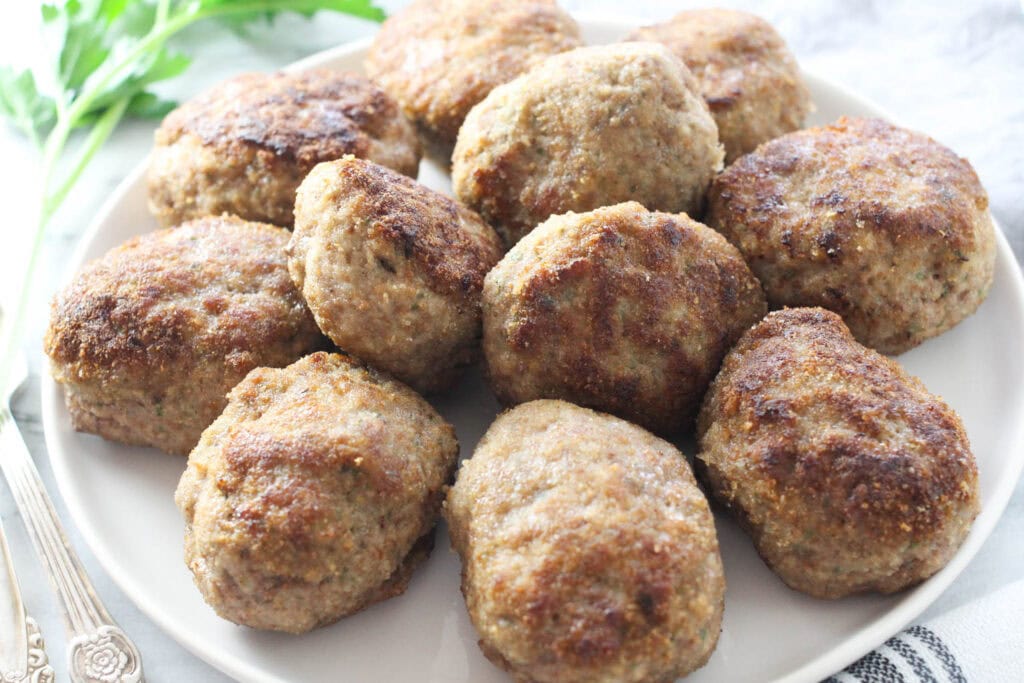
Traditional Kotlety (also spelled kotleti or котлеты) are the ultimate Russian comfort food for a reason. Tender, juicy, and made with simple ingredients, these classic Russian meat cutlets are easy to prepare and perfect for everyday meals.
In this recipe, I’m sharing a failproof method that guarantees a golden crust and fork-tender, juicy interiors every time.
Whether you’re looking to explore traditional Slavic cuisine or simply searching for a breaded meat patty that’s every bit as tender and flavorful as the ones from your childhood, this recipe is sure to become a new favorite.
What is Kotlety?
While the name Kotleta (pronounced ko-TLE-ta) technically stems from the French word for a thin slice of meat (côtelette), the Russian version evolved into something quite different: a pan-fried, hand-formed ground meat patty.
What really distinguishes Russian Kotlety from similar ground meat patties is the soaked bread, or panade.
This simple addition ensures that as the meat cooks, the bread absorbs and retains the natural juices, keeping the patties airy and light rather than becoming a dense, tough puck.
It’s the key to juicy Russian meat cutlet, especially when using lean ground meats.
Why This Recipe is Better Than the Rest
Many Russian home cooks still pan-fry their patties from start to finish. But, since kotlety are shaped into thick ovals, that technique carries a high margin for error; you often end up with a burnt exterior before the middle is safely cooked.
In my kitchen, the pan-to-oven method is the true secret to success.
By briefly searing the breaded patties in a skillet and then finishing them in the oven, you end up with a perfectly cooked, juicy interior and a golden-brown crust every single time. This method takes the guesswork out of the process!
Ingredient Notes
Here’s what you’ll need to make Russian meat patties:
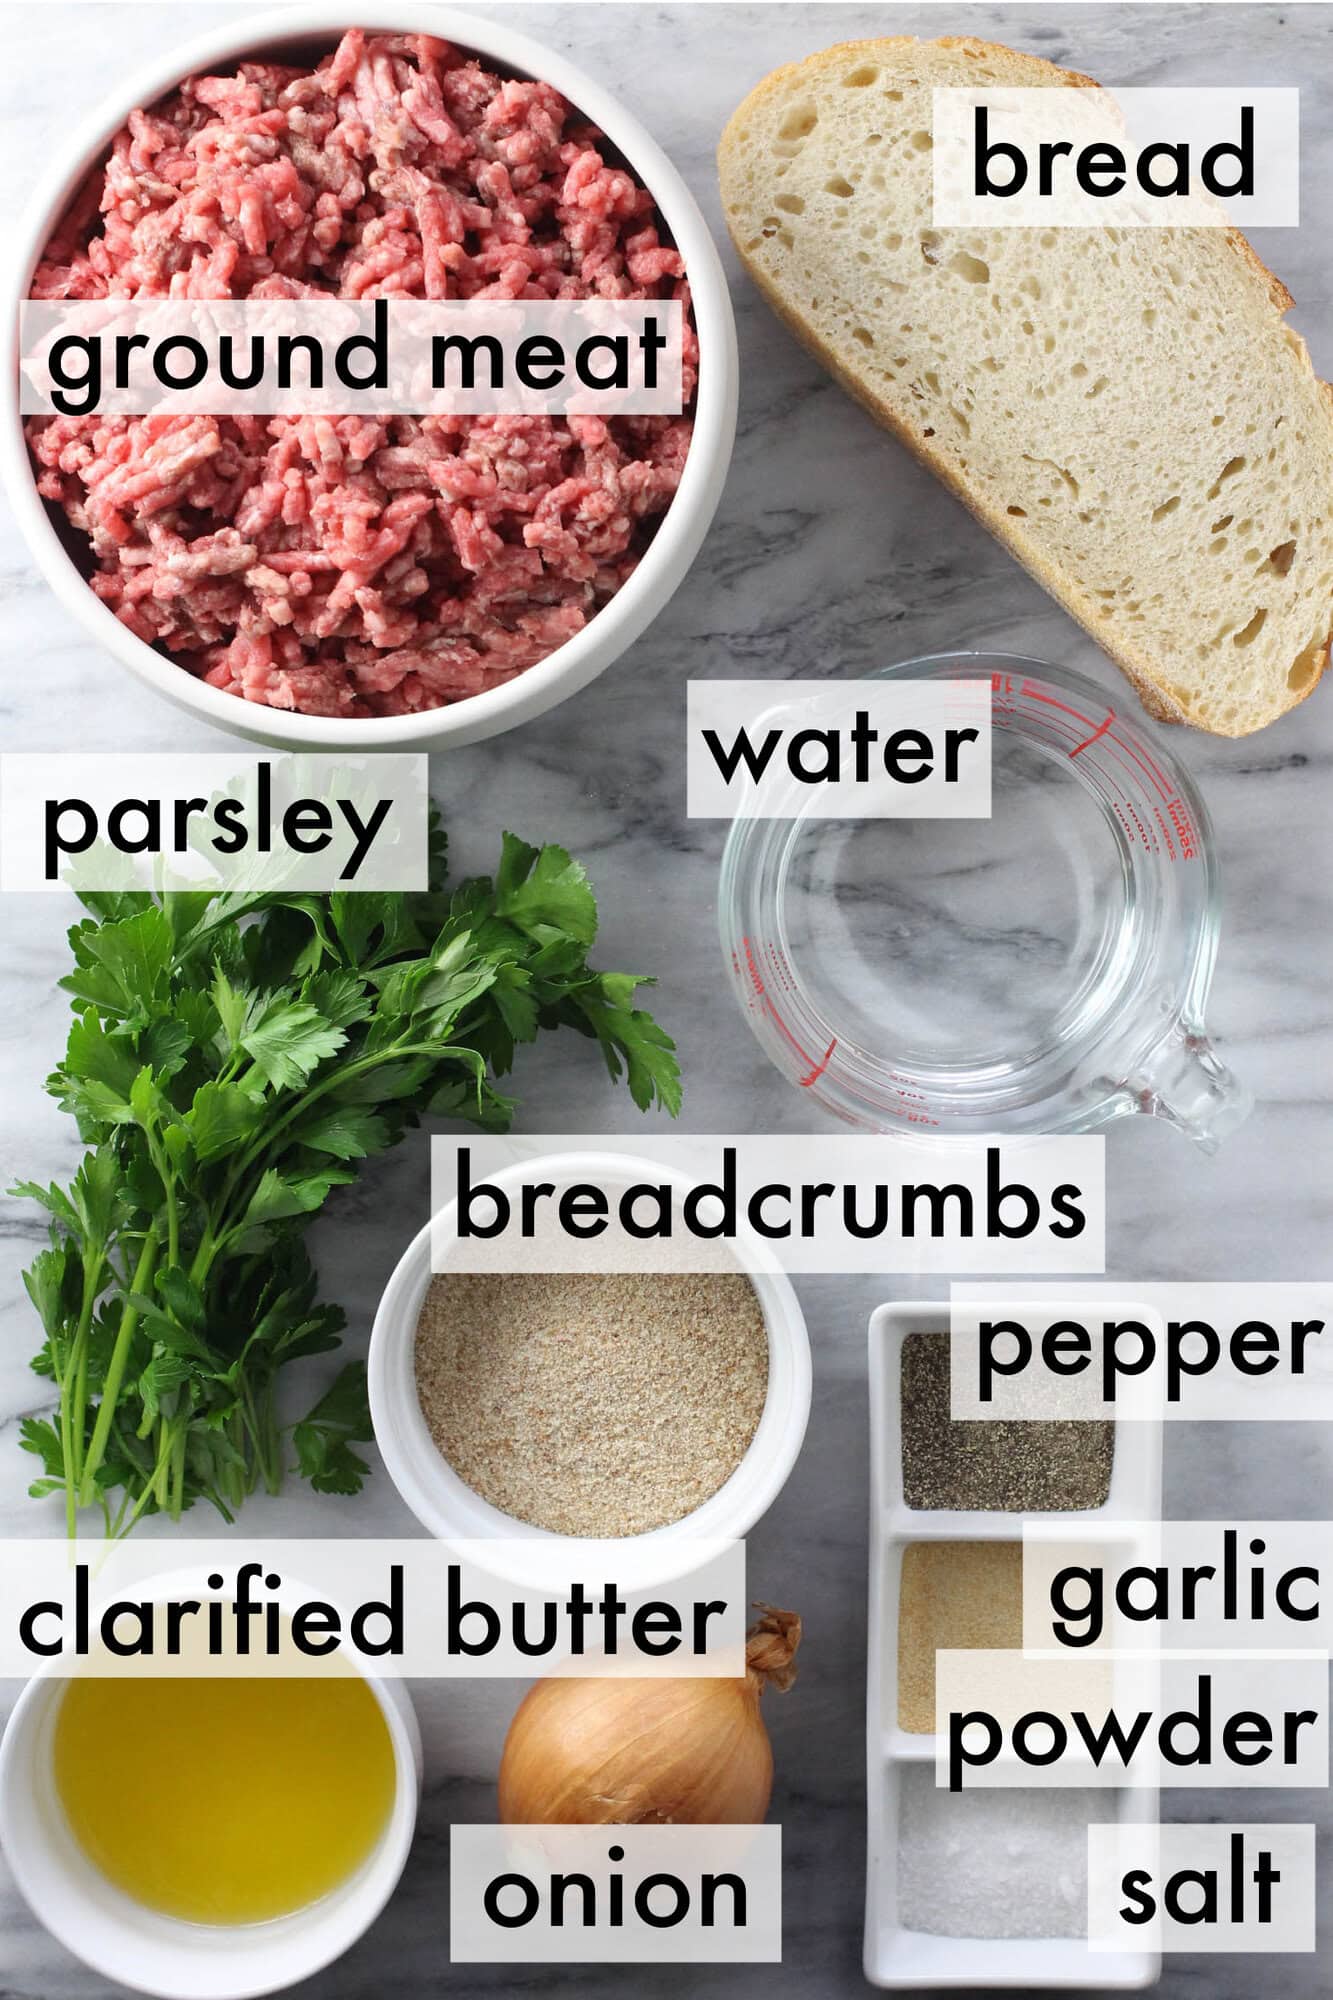
Each ingredient in this recipe plays an important role in creating tender, juicy kotlety with the perfect texture and flavor.
- Bread – For the “panade” we talked about above, you’ll need four sandwich-size slices of stale bread, crusts removed. While white bread is standard, I usually have whole-wheat on hand, so that’s what I use.
- Water – While some recipes call for milk, I find that soaking the bread in water works just as well and makes the dish accessible to those avoiding dairy.
- Onion – Instead of dicing, I puree a peeled and quartered onion directly into the soaked bread to evenly distribute flavor and moisture without the harsh crunch of raw onion.
- Fresh parsley – Adds a fresh, herbaceous flavor and a bit of moisture to help create the soft, cohesive mixture we’re looking for. Fresh parsley works best here; dried won’t give the same result.
- Ground meat – In the spirit of tradition, I use a mix of ground beef and ground pork. The fat from the pork helps keep the cutlets moist while the beef adds iron-rich, savory depth. See my ‘Quick Tip’ below for more options.
- Garlic – While not strictly required, I often add garlic powder to the meat mixture because I love the milder flavor. However, about two cloves of very finely grated fresh garlic work too.
- Salt and pepper – Salt is an essential flavor enhancer, while black pepper provides a subtle warmth that complements the savory meats perfectly.
- Breadcrumbs – Dredging the cutlets in breadcrumbs gives them their classic, golden-crisp exterior. Flour also works here.
- Cooking fat – For the best sear, use a fat that can handle the heat. Clarified butter or beef tallow are traditional, but avocado oil or olive oil are also excellent choices.
Quick tip: Mix and match your meats! While a 50/50 beef and pork blend is classic, you can easily customize your meats. You could do a mix of ground beef and lamb, ground pork and venison or bison, or ground beef and chicken or turkey. Whatever combo you choose, make sure it isn’t too lean.
How to Make Juicy Russian Meat Cutlets
Follow these steps to ensure your kotlety turn out melt-in-your-mouth moist with gorgeous golden-brown crusts every time:
Step 1: Hydrate and purée the panade.
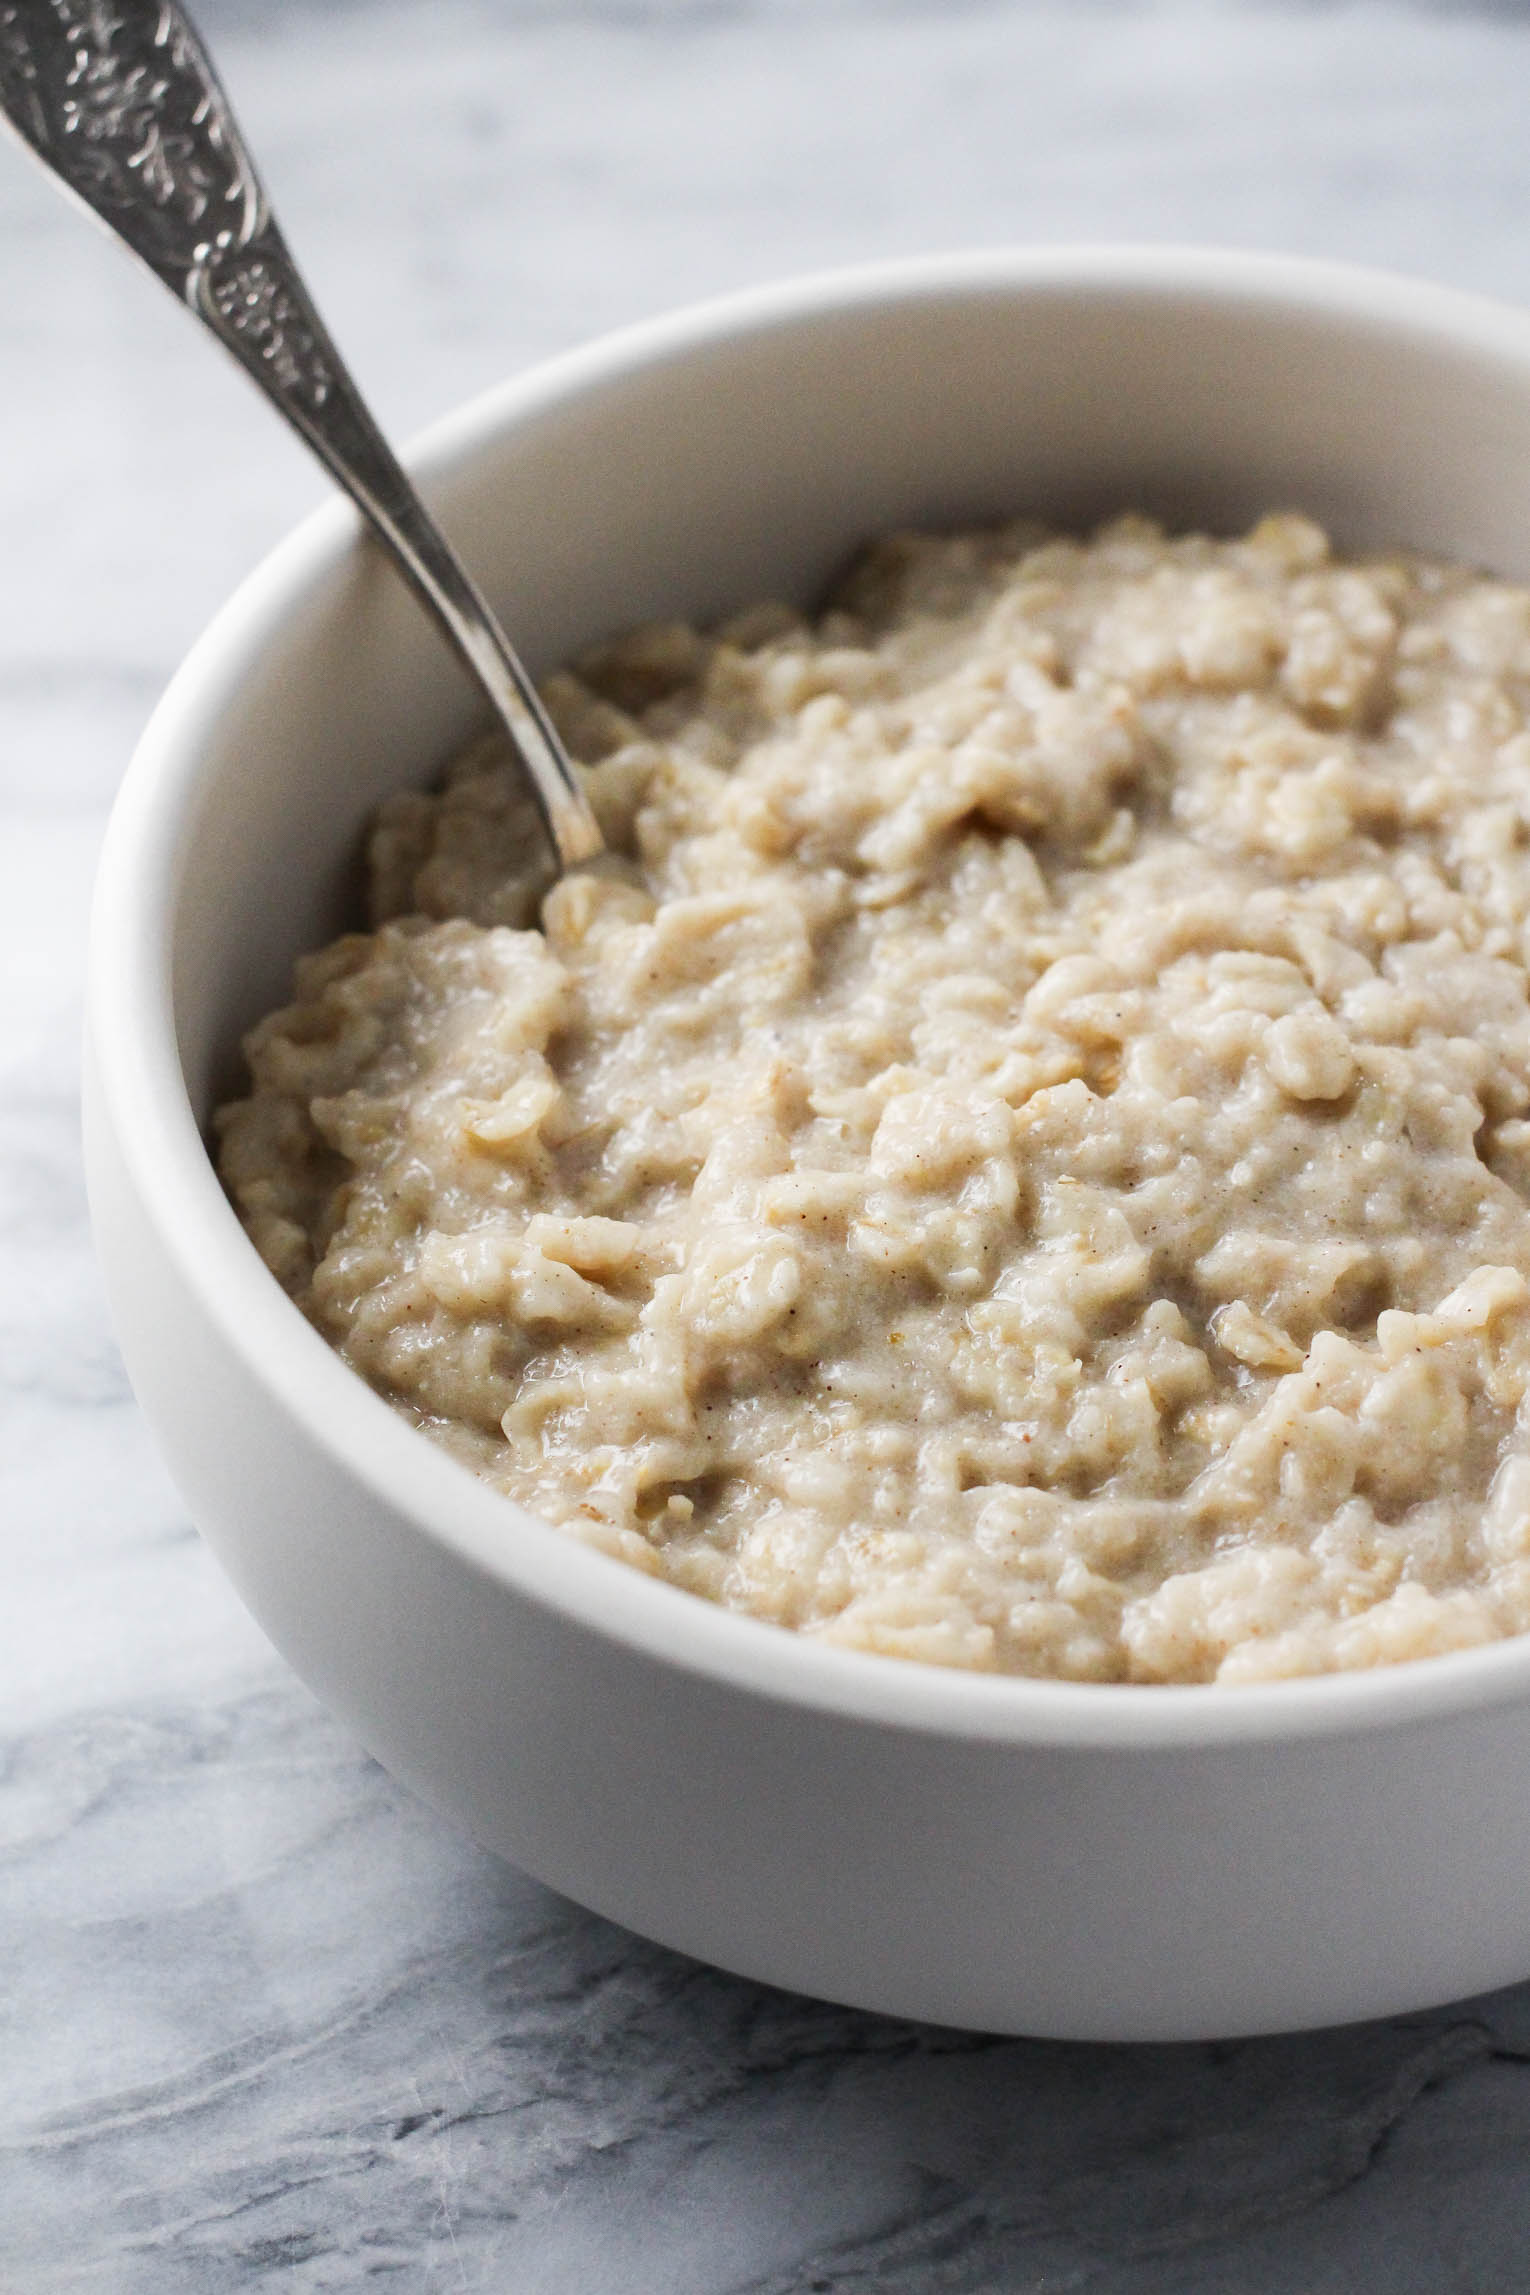
Start by tearing your bread slices into small pieces, then soak them in a bowl of water for 2 to 3 minutes.
When you’re ready, gently squeeze out the excess liquid by pressing the bread between your palms or against the side of the bowl. You want the bread to be damp and soft, like a sponge.
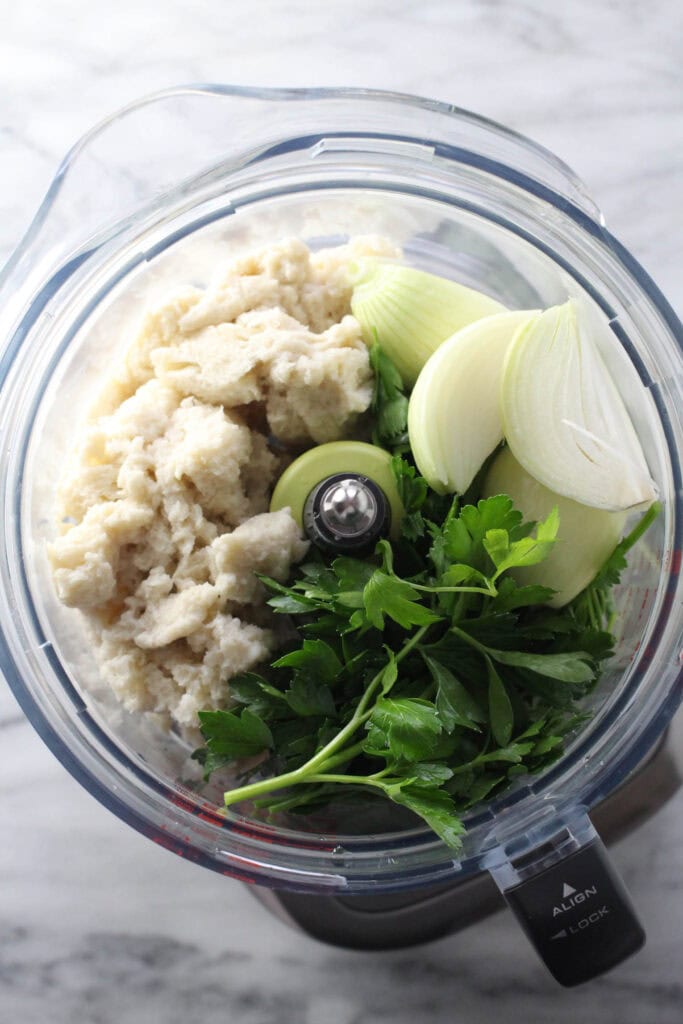
Transfer the soaked bread to a food processor (or keep it in the bowl and use an immersion blender). Add the onion and parsley, and pulse until finely blended but still textured.

Step 2: Combine the meat, panade, and spices.
Place the ground beef and pork in a large bowl. Add the puréed bread mixture, garlic powder (optional), salt, and black pepper. Then, knead everything together with your hands for 3 to 4 minutes, or until the mixture is well combined, sticky, and the color has lightened slightly.

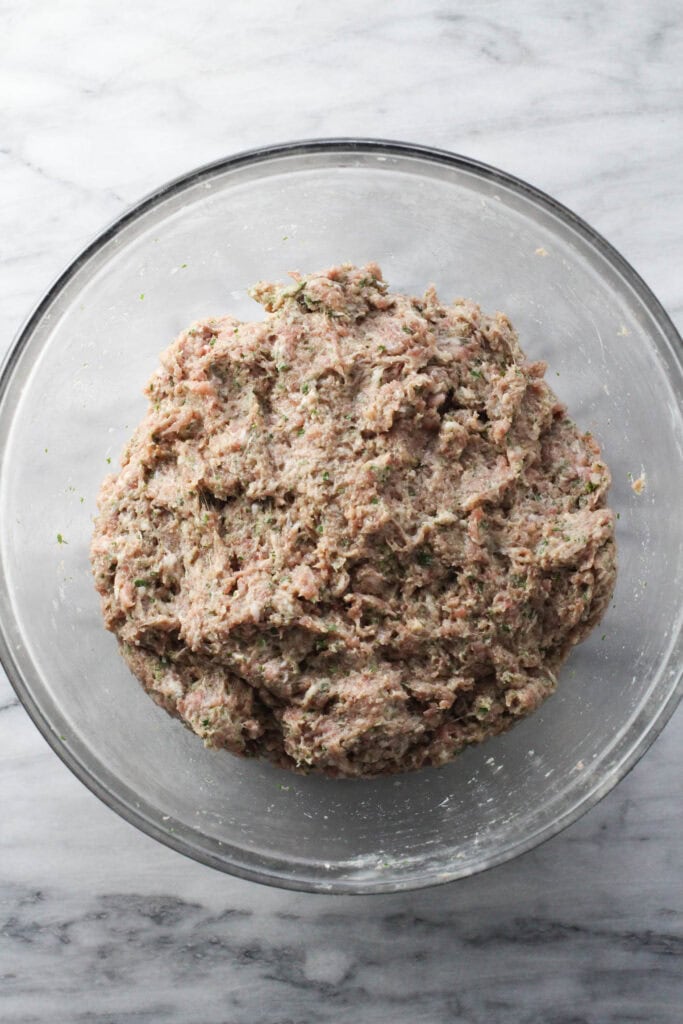
Quick tip: Knead the meat mixture until it changes from deep red to a pale pink and feels sticky or tacky. That’s the perfect point to stop – the proteins are developed, and your cutlets will hold together well.
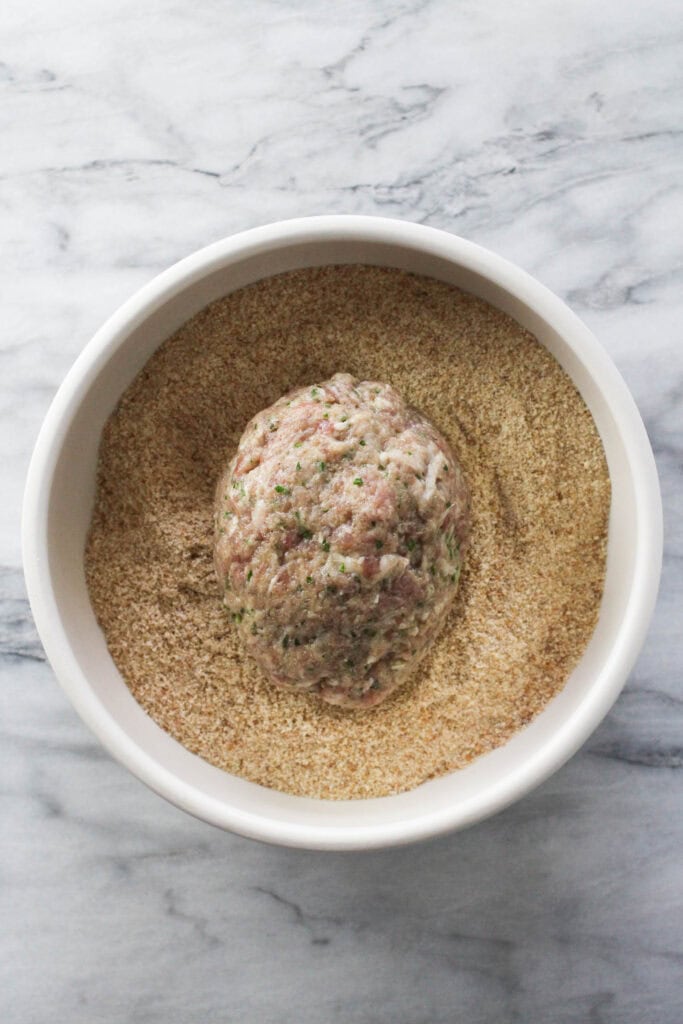
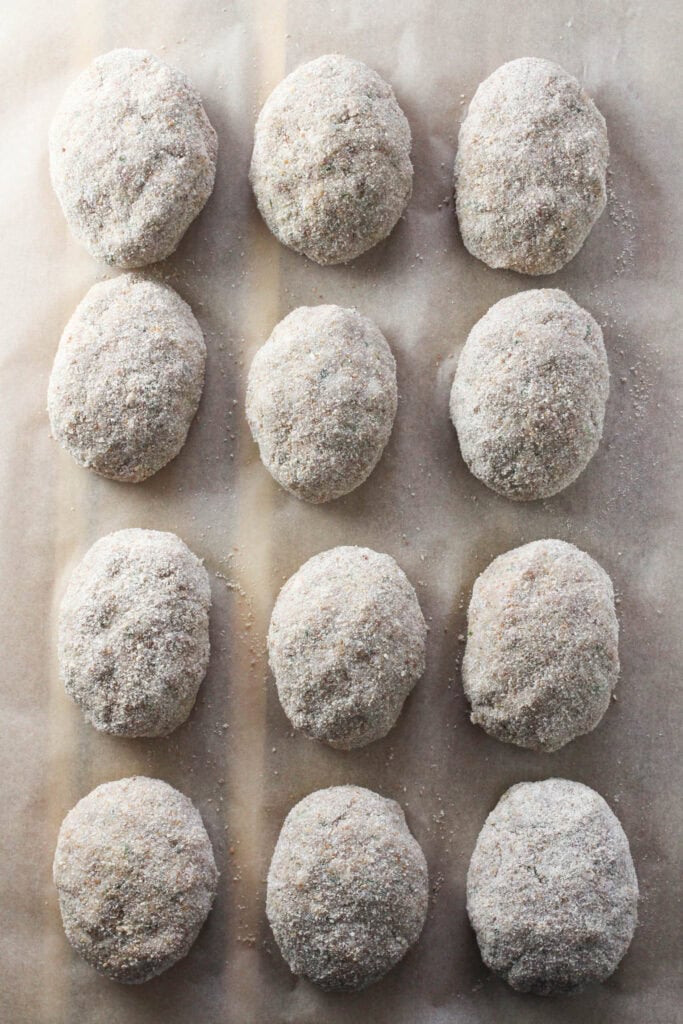
Step 3: Shape the cutlets and coat.
With wet hands, form the meat mixture into oval-shaped patties. Then, gently dredge each one in the breadcrumbs until evenly coated on all sides, and place on a clean plate or a parchment-lined tray.
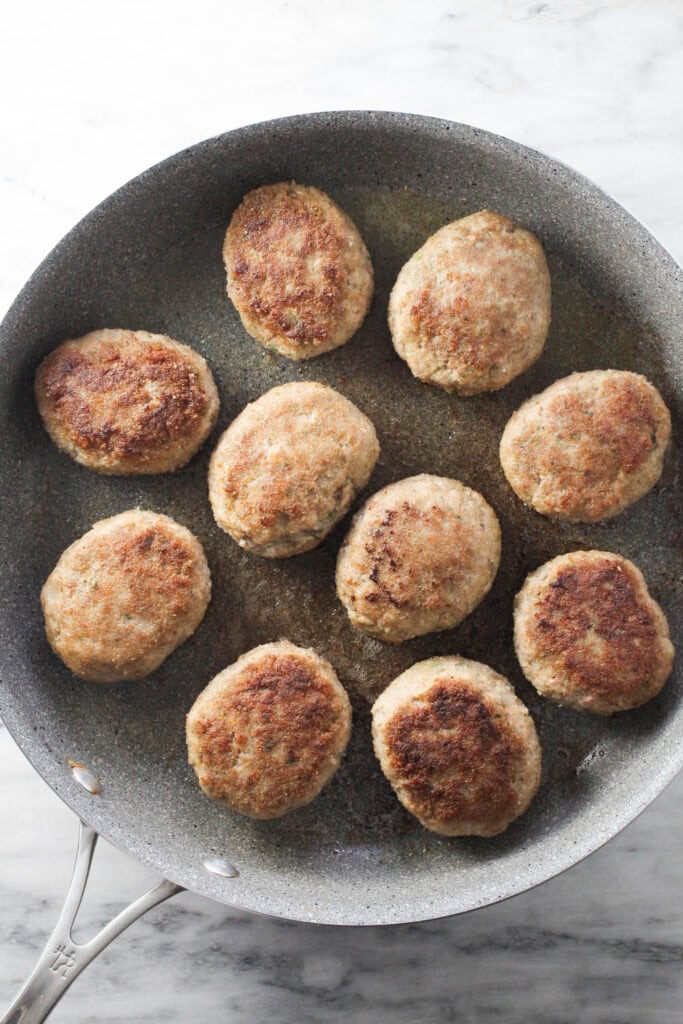
Step 4: Cook the breaded cutlets.
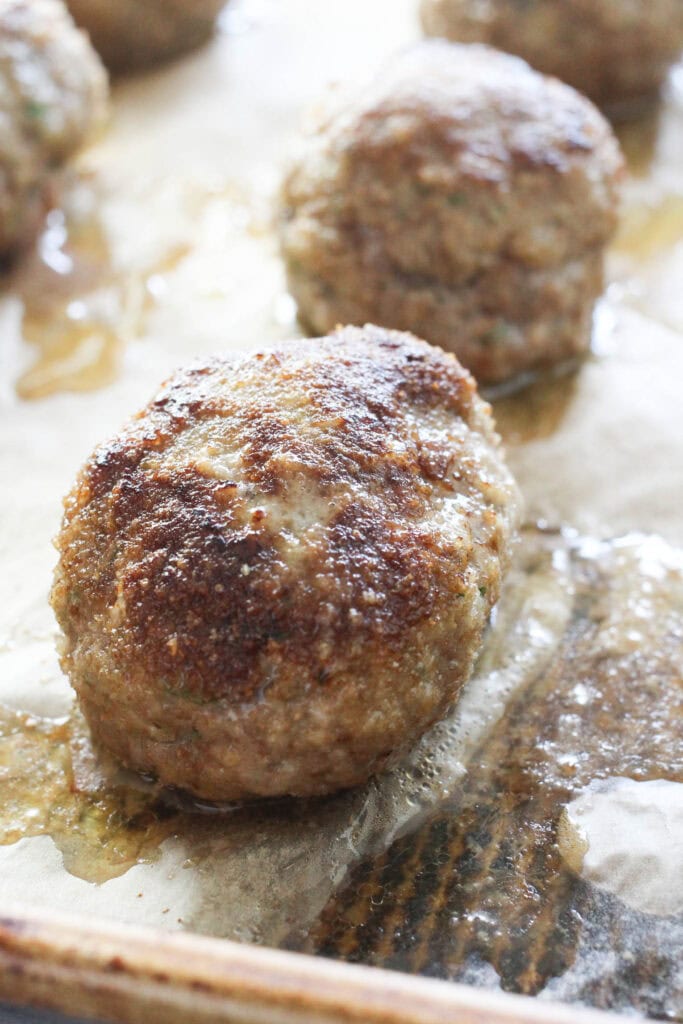
Heat your cooking fat in a large skillet over medium to medium-high heat, and fry the patties in batches until they are a deep golden brown, about 3 to 4 minutes per side, then place them on a baking sheet.
Once all the patties are seared and transferred to the baking sheet, pop them in the oven at 375°F (190°C) and bake for 15 to 20 minutes, until the internal temperature reaches 160°F (71°C).
Recipe Tips
For perfectly juicy cutlets with a golden-brown crust, here’s what makes all the difference:
- Always remove the crusts – Since the crusts are much firmer than the interior, they won’t puree into the smooth, paste-like panade we’re looking for. Leaving them on can result in tough, bready chunks inside your patties.
- No food processor – No problem! Simply grate your onion on the fine side of a box grater, finely mince your parsley, then mix them with the soaked bread using your hands until you have a uniform paste.
- Kneading is crucial – By kneading the meat mixture for several minutes, you develop the proteins just enough that the patties hold their shape without needing any extra binders. It also helps lock in the juices during cooking.
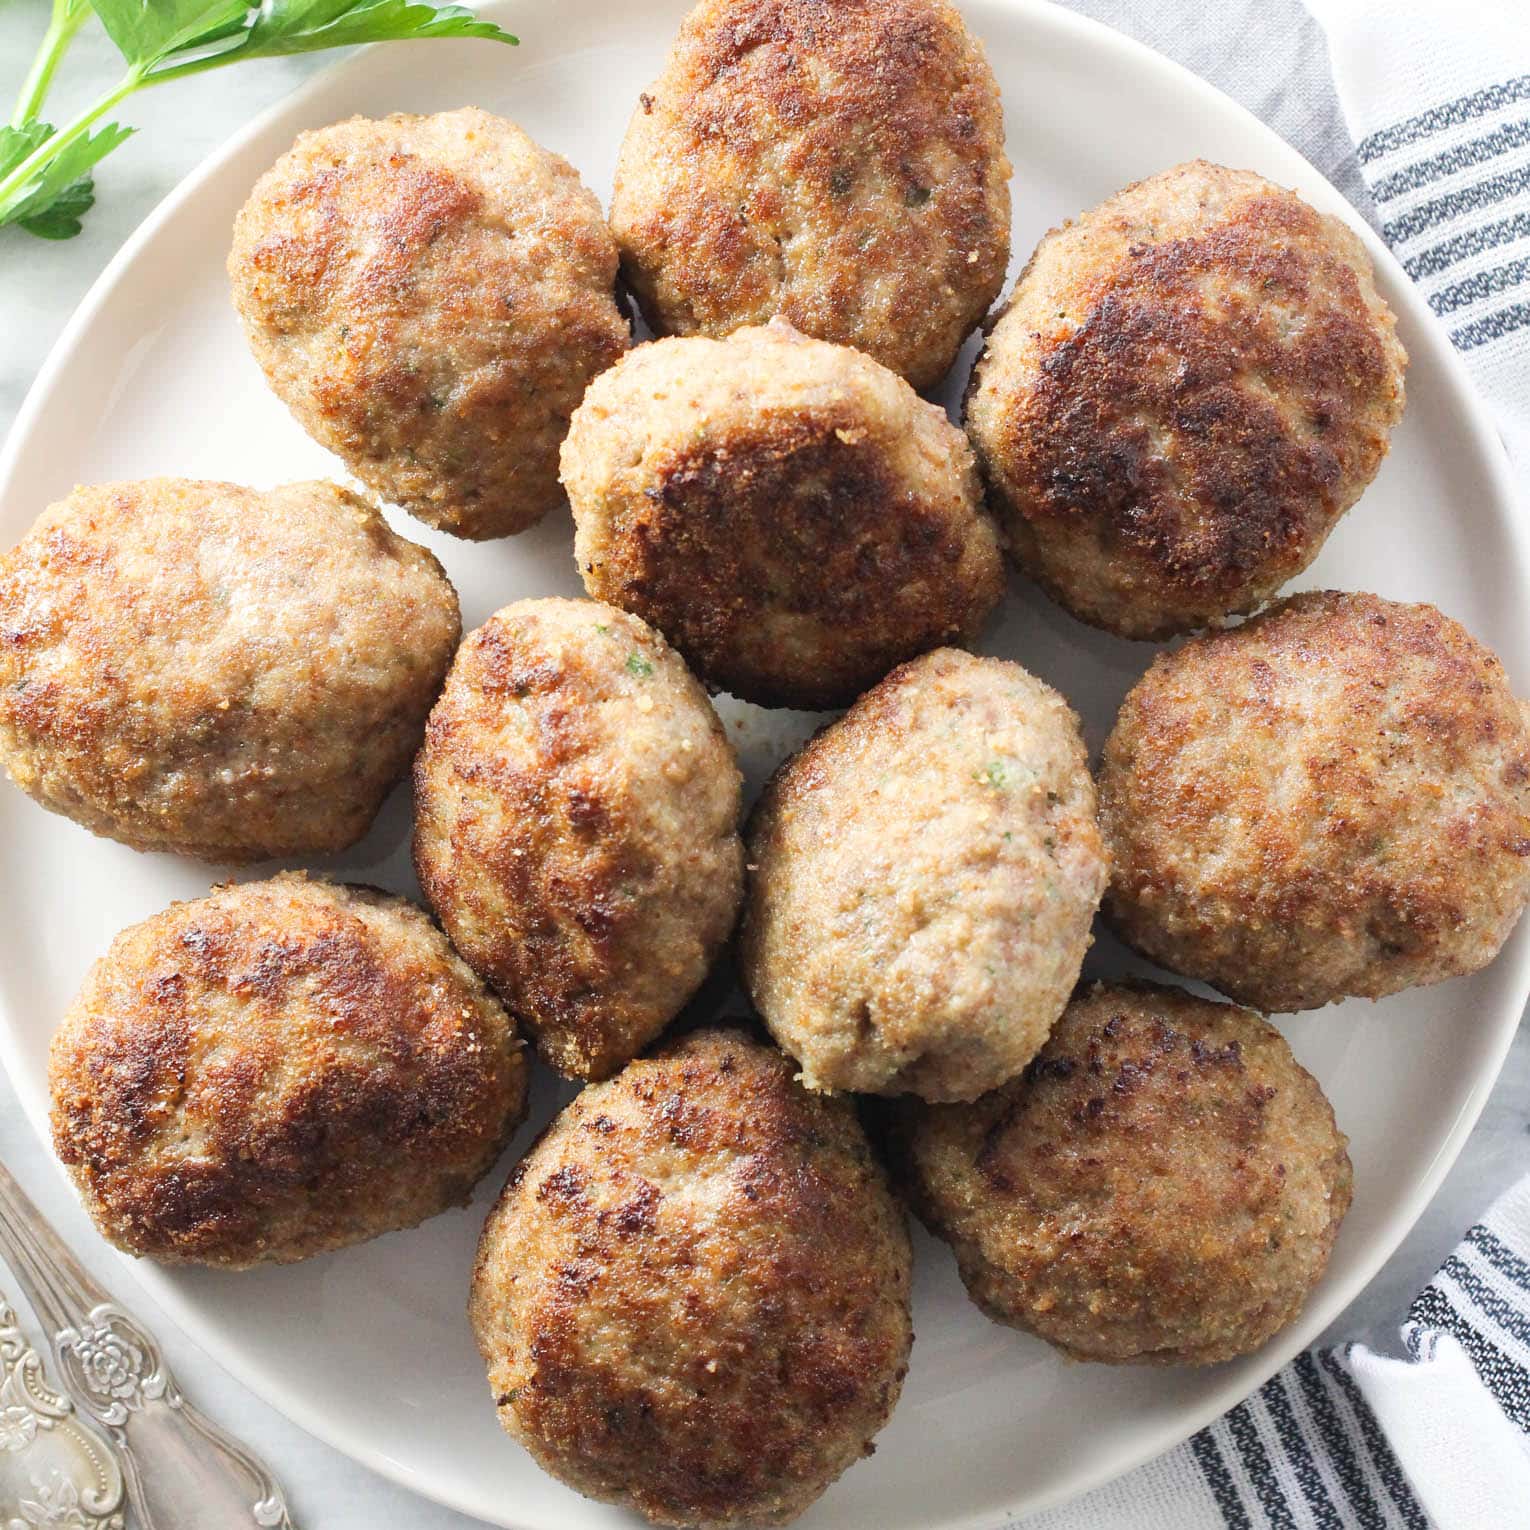
- Perfecting the oval – To achieve the classic Russian meat cutlet look, roll 3 to 4 tablespoons of the kneaded meat mixture into a ball, then gently taper the ends between your palms to create a flattened oval-shaped patty, about ¾ to 1 inch thick. Don’t forget to wet your hands between each patty to prevent sticking.
- Listen for the sizzle – Never add your patties to a cold pan! You want your frying oil between 350°F and 375°F. To check, drop a few breadcrumbs into the oil; if they sizzle immediately without scorching, it’s ready.
- Give them space – Frying in batches is key. If your pan is overcrowded, the patties will soak up grease and get soggy rather than developing a crisp crust.
- Let them rest – Just like a steak, let your cutlets rest for about 5 minutes after they come out of the oven. This allows the juices to redistribute so that when you finally cut into them, all that moisture stays inside instead of running out onto the plate.
How to Store and Reheat Kotlety
Storing
Once your meat cutlets have cooled to room temperature, place them in an airtight container and refrigerate for 2 to 3 days. To keep the crust from getting too soft, place a paper towel at the bottom of the container to absorb excess moisture.
Freezing
Place the cooled cutlets on a baking sheet in a single layer and flash-freeze. Once firm, transfer to a heavy-duty freezer bag or an airtight container, and keep frozen for up to 3 months.
Reheating (Best Methods)
- Skillet (best texture): Reheat the cutlets in a skillet over medium-low heat with a small amount of oil until warmed through, covering briefly to help retain moisture and keep the exterior crisp.
- Oven (from refrigerated): Place the cutlets on a baking sheet, cover loosely with foil, and reheat at 350°F (175°C) for 10–15 minutes until heated through.
- Oven (from frozen): Reheat at 350°F (175°C) for 20–25 minutes, covered with foil, until fully heated.
- Microwave (quick option): Place the cutlets on a plate and cover with a damp paper towel to prevent drying out. Heat in 30-second intervals, flipping once, until warmed through. The crust won’t stay crisp, but the inside will remain tender and juicy.
Food safety tip: For best results and safety, reheat until the internal temperature reaches 165°F (74°C).
Kotlety FAQs
More Traditional Russian Recipes
If you love this kotlety recipe, you won’t want to miss these other Russian comfort food classics:
- Shchi (Traditional Russian Sauerkraut Soup)
- Syrok (Russian Chocolate Glazed Cheesecake Bars)
- Pashtet (Russian Chicken Liver Pâté)
- Russian Stuffed Bell Peppers in Creamy Tomato Sauce
Kotlety (Traditional Russian Meat Cutlets)
Equipment
- Food Processor (or immersion blender; optional)
Ingredients
- 4 slices white or whole wheat bread (sandwich bread size)
- ¾ cups water
- 1 medium onion (peeled and quartered)
- 1 handful parsley
- 1 pound lean ground beef
- 1 pound ground pork
- 1 tsp salt (or to taste)
- 1 tsp garlic powder (optional)
- ½ tsp black pepper
- ½ cup breadcrumbs (as needed)
- 2 Tbsp clarified butter or beef tallow (or ghee, mild olive or avocado oil)
Instructions
- Tear the bread into small pieces and place it in a bowl. Pour in the water and let it soak for 2–3 minutes. Gently squeeze out excess liquid.4 slices white or whole wheat bread, ¾ cups water
- Transfer the soaked bread to a food processor (or keep it in the bowl if using an immersion blender). Add the onion and parsley and process until finely blended, but not completely smooth.1 medium onion, 1 handful parsley
- Place the ground beef and pork in a large bowl. Add the onion–bread mixture, garlic powder, black pepper, and salt.1 pound lean ground beef, 1 pound ground pork, 1 tsp garlic powder, ½ tsp black pepper, 1 tsp salt
- Using your hands, mix thoroughly, then knead the mixture for 3–4 minutes until it becomes sticky and uniform. The color will lighten slightly.
- Place the breadcrumbs in a shallow bowl. With wet hands, form oval-shaped patties and gently coat them in breadcrumbs on all sides.½ cup breadcrumbs
- Heat the fat in a large skillet over medium heat. Fry the cutlets in batches until golden brown on both sides, about 3–4 minutes per side.2 Tbsp clarified butter or beef tallow
- Transfer the cutlets to a baking sheet and bake in a 375°F (190°C) oven for 15-20 minutes, or until the internal temperature reaches 160°F (71°C) for beef/pork.
- Let the kotlety rest for 5 minutes and serve.
Recipe Notes
Tips
- Remove the crusts – Crusts are too firm and won’t blend into a smooth panade, which can leave tough bits in the patties.
- No food processor? No problem! – Finely grate the onion, mince the parsley, and mix with the soaked bread by hand until a uniform paste forms.
- Kneading is key – Kneading for a few minutes helps the mixture bind naturally and keeps the cutlets juicy without extra binders.
- Shape the oval – Roll 3–4 tablespoons of mixture into a ball, then gently form a flattened oval about ¾–1 inch thick. Wet your hands between patties to prevent sticking.
- Heat matters – Don’t add the patties to a cold pan. The oil should be hot enough that breadcrumbs sizzle immediately without burning.
- Don’t overcrowd – Cook in batches so the cutlets brown properly instead of steaming and becoming greasy.
- Let them rest – Rest for 5 minutes after baking to allow juices to redistribute and keep the cutlets moist.
How to Store and Reheat Kotlety
Storing
Let the cutlets cool to room temperature, then place them in an airtight container in the fridge for 3–4 days. Line with a paper towel to keep the crust crisp.Freezing
Freeze cooled cutlets in a single layer on a baking sheet. Once firm, transfer to a freezer-safe bag or container for up to 3 months.Reheating
- Skillet (best texture): Reheat over medium-low heat with a little oil, covering briefly to retain moisture and crisp the exterior.
- Oven (from refrigerated): Reheat at 350°F (175°C) for 10–15 minutes, loosely covered with foil.
- Oven (from frozen): Reheat at 350°F (175°C) for 20–25 minutes, covered with foil.
- Microwave (quick option): Place on a plate, cover with a damp paper towel, and heat in 30-second intervals, flipping once. The crust won’t stay crisp, but the inside will remain juicy.
Food Safety
- Reheat until the internal temperature reaches 165°F (74°C).
The nutrition facts are an estimate. Variations in ingredient brands, portion sizes, or substitutions can affect the final nutritional values. For the most accurate information, please use a nutrition calculator or consult with a healthcare provider. Always ensure that each of the ingredients is allowed in your diet.

Meet Maria
Maria Ushakova is a holistic nutritionist and food blogger. She focuses on developing easy recipes using real food ingredients. She believes that healthy food is delicious and anyone can learn how to cook it. Maria’s work has appeared on numerous popular websites as well as in print.