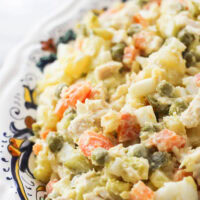
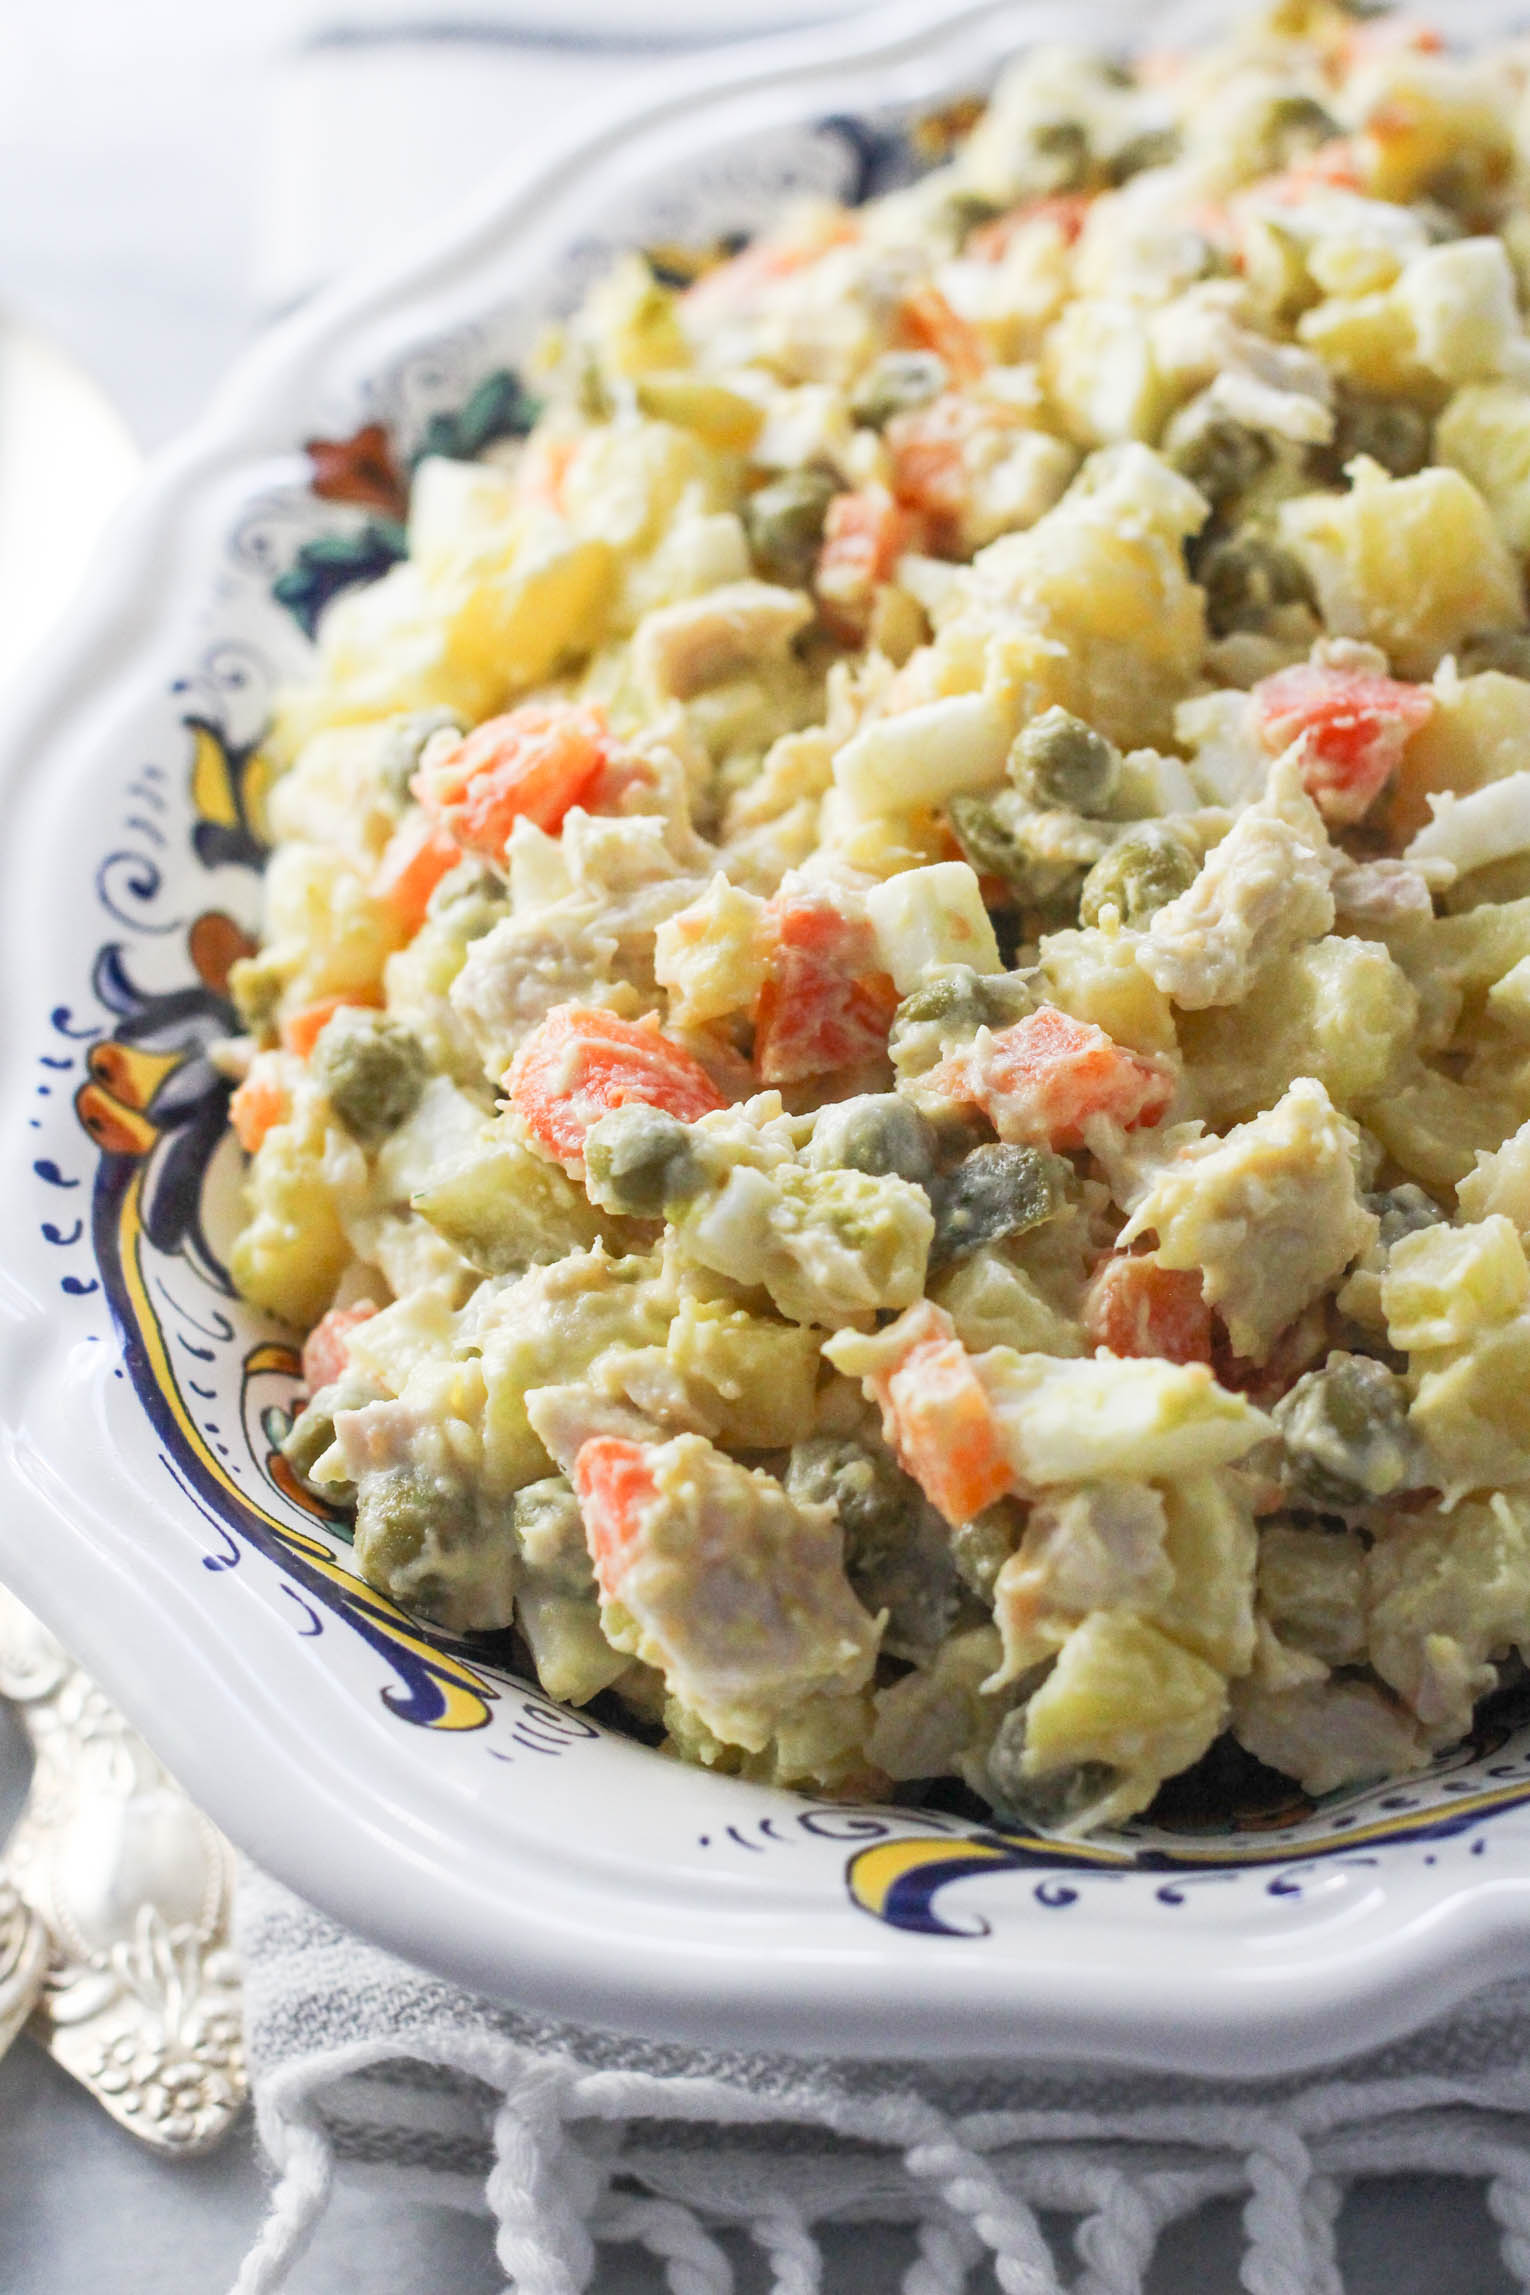
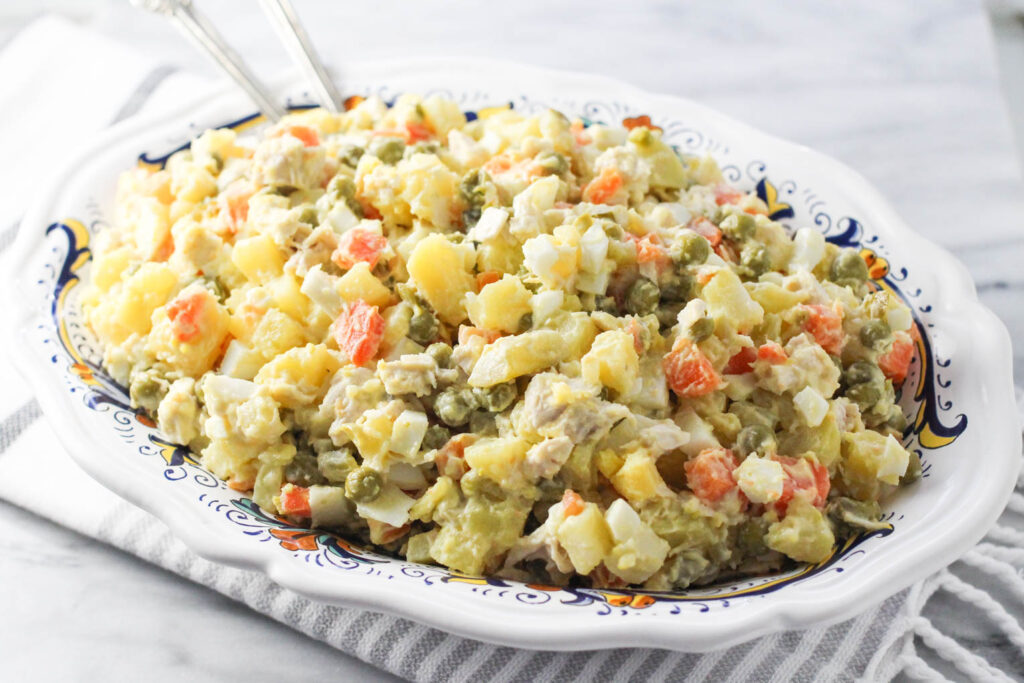
Learn how to make Russian-style Potato Salad, also known as Olivier Salad, the way it’s meant to be – finely diced, perfectly creamy, and full of nostalgic Eastern European flavor!
I grew up eating Olivier Salad, because in most Russian households, this dish isn’t just a side dish – it’s tradition.
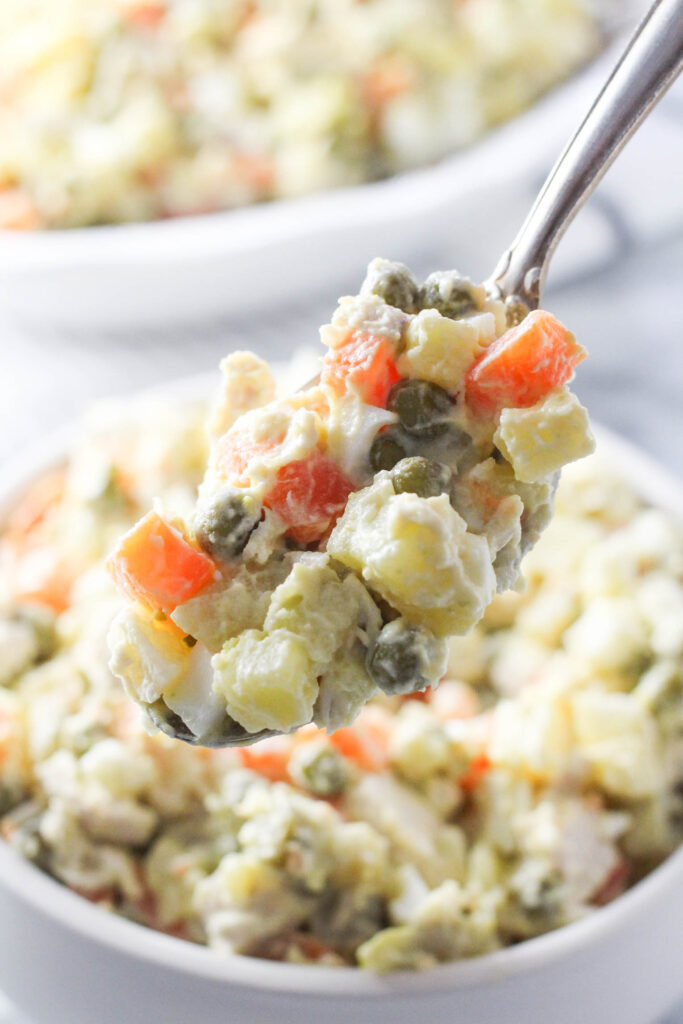
Every family has their own version, and I’ve tried them all, but no matter what, I always come back to what makes this Russian salad so delicious: finely diced ingredients, careful seasoning, just enough mayonnaise to bring it all together, and a little patience.
This version stays true to the classic recipe while offering the practical tips that make it approachable for home cooks anywhere in the world.
What is Olivier Salad?
Russian Potato Salad, also known as Olivier Salad (or Салат Оливье), isn’t your average potato salad.
Chef Lucien Olivier created this salad in the 1860s at the Hermitage restaurant in Moscow. Originally a refined dish featuring luxury ingredients, it gradually evolved into a beloved comfort food associated with holidays and family gatherings across Russia and Eastern Europe, and later spread to Latin America, where it’s known as Ensalada Rusa.
Traditionally, the salad includes finely diced boiled potatoes, carrots, eggs, peas, pickles, mayonnaise, and Doktor’s sausage (AKA doktorskaya kolbasa), which is a mild, bologna-style sausage common in Russia.
My version stays true to the spirit of the dish but swaps the mystery meat for real protein, like poached chicken breast or gently boiled beef. The result is authentic in texture and flavor, just a little more intentional.
While it’s commonly served as a side at celebrations, holidays (especially New Year’s Eve), and potlucks, the combination of potatoes, eggs, peas, and meat makes it hearty enough to stand on its own as a light main.
Olivier Salad Ingredients
The best Russian potato salad recipe starts with a shortlist of humble ingredients:
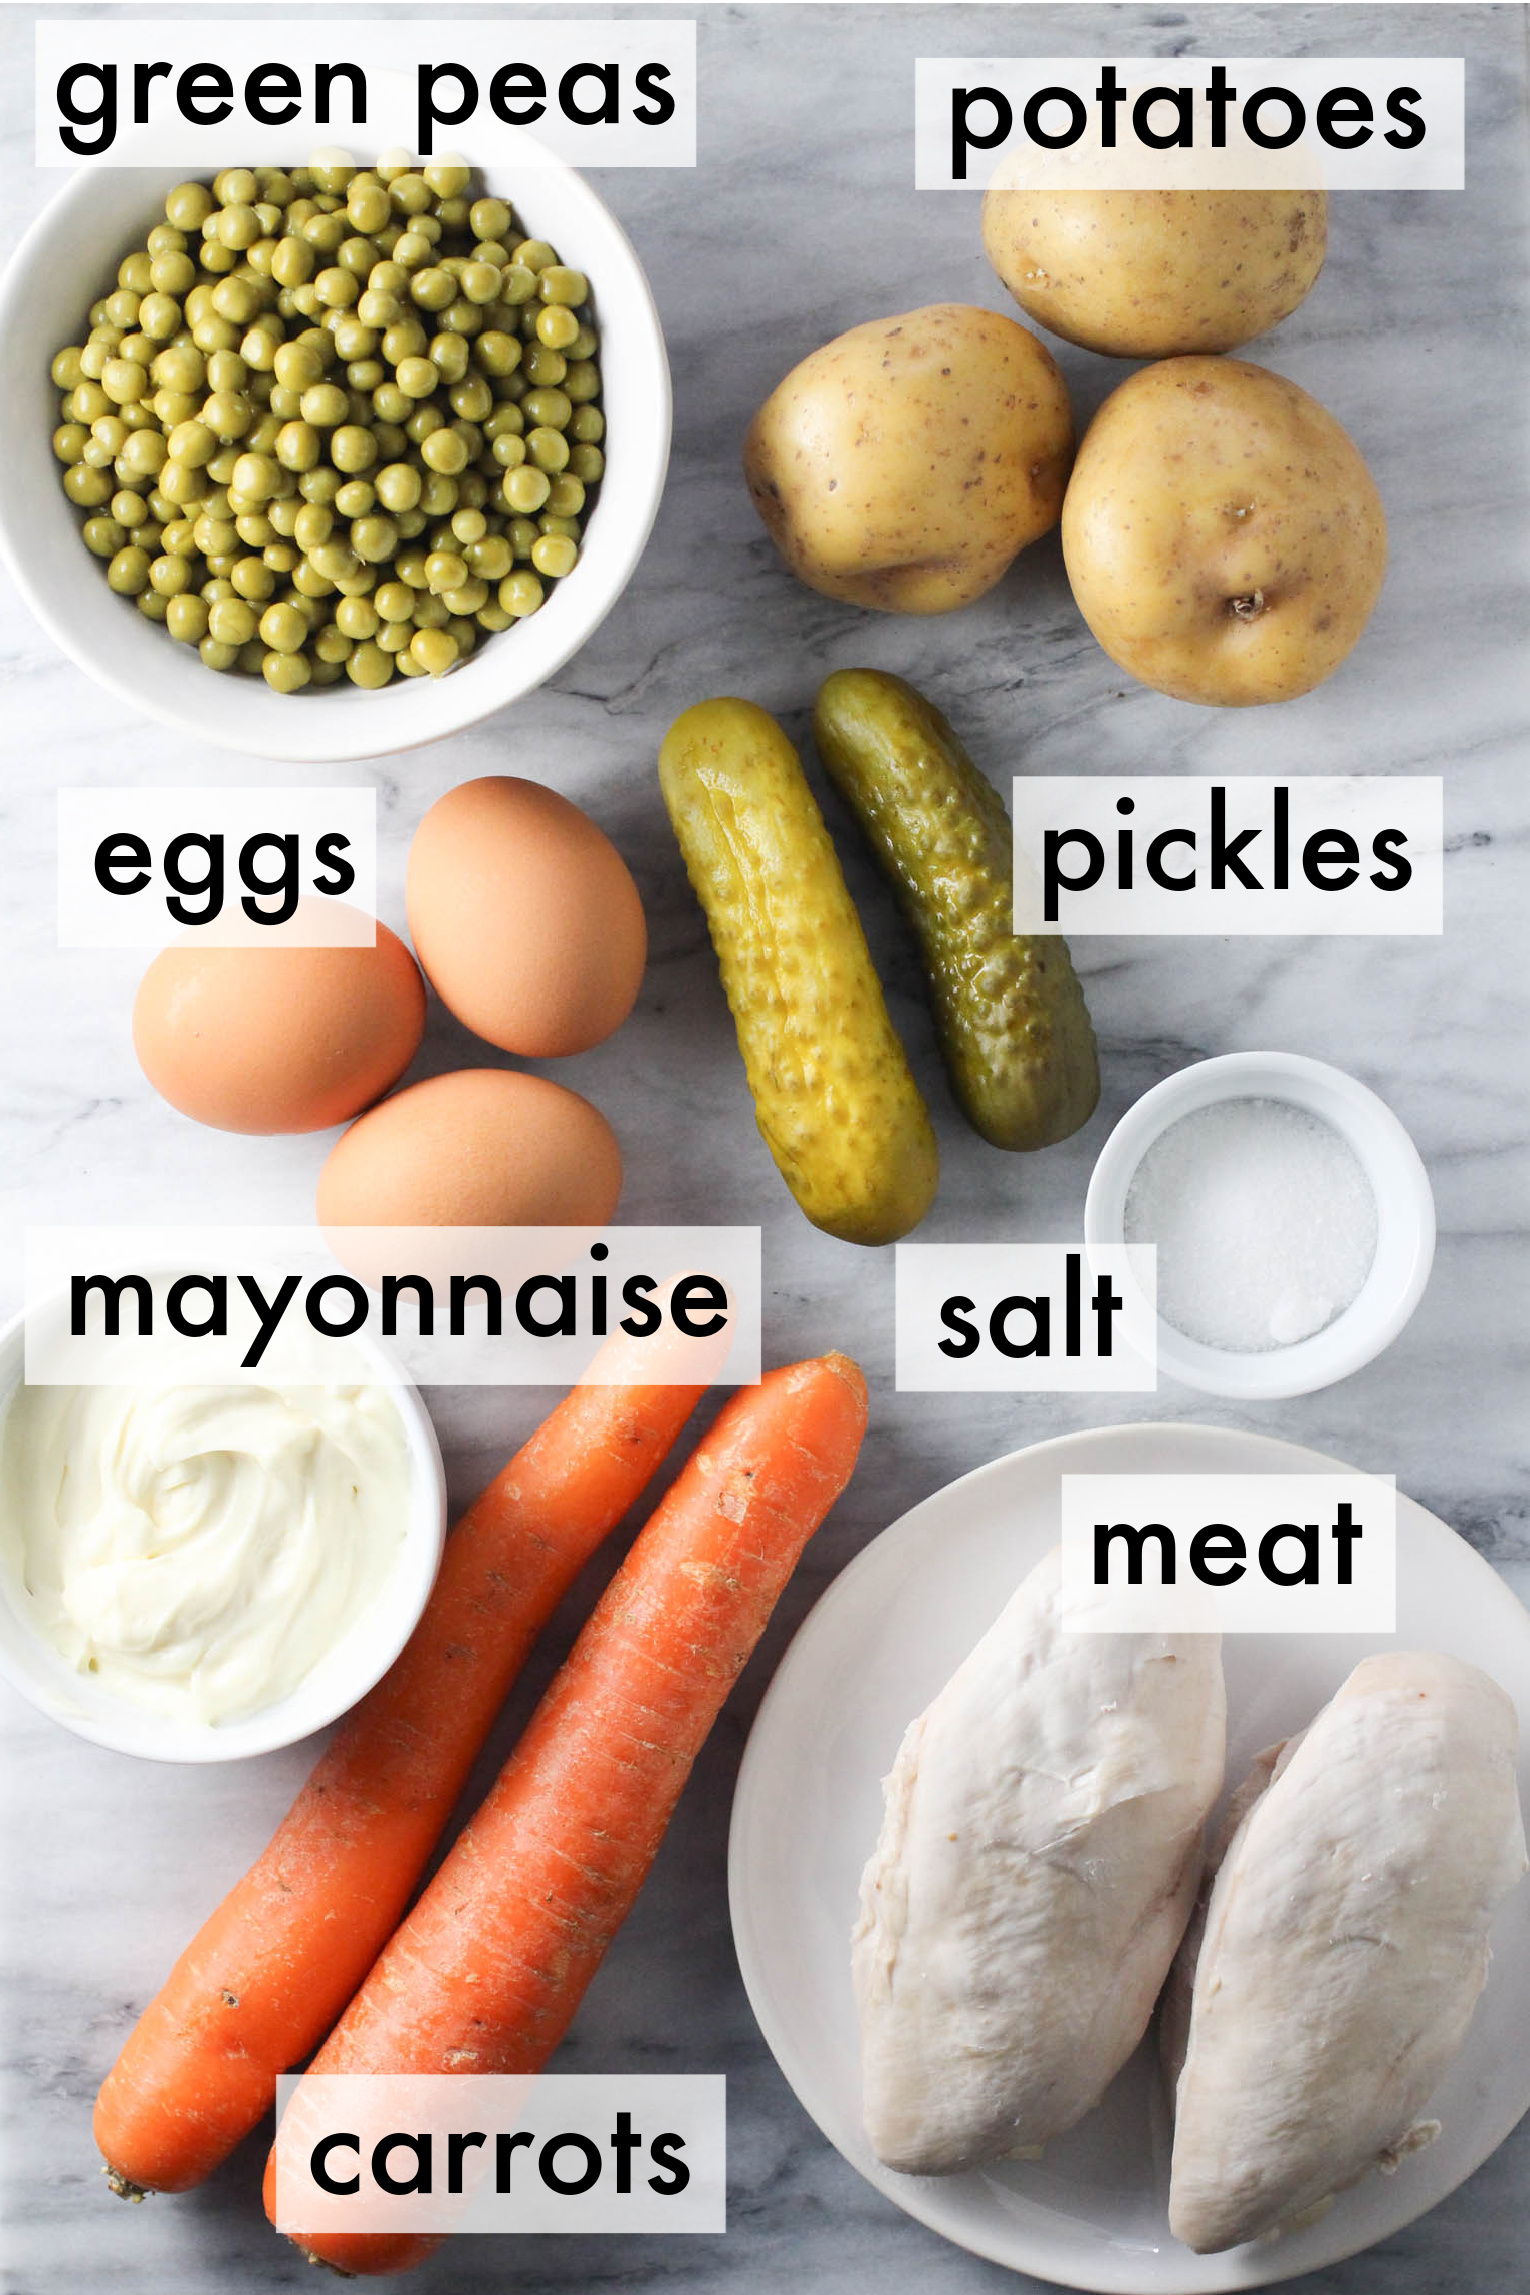
Before you begin, here are a few helpful notes about the ingredients:
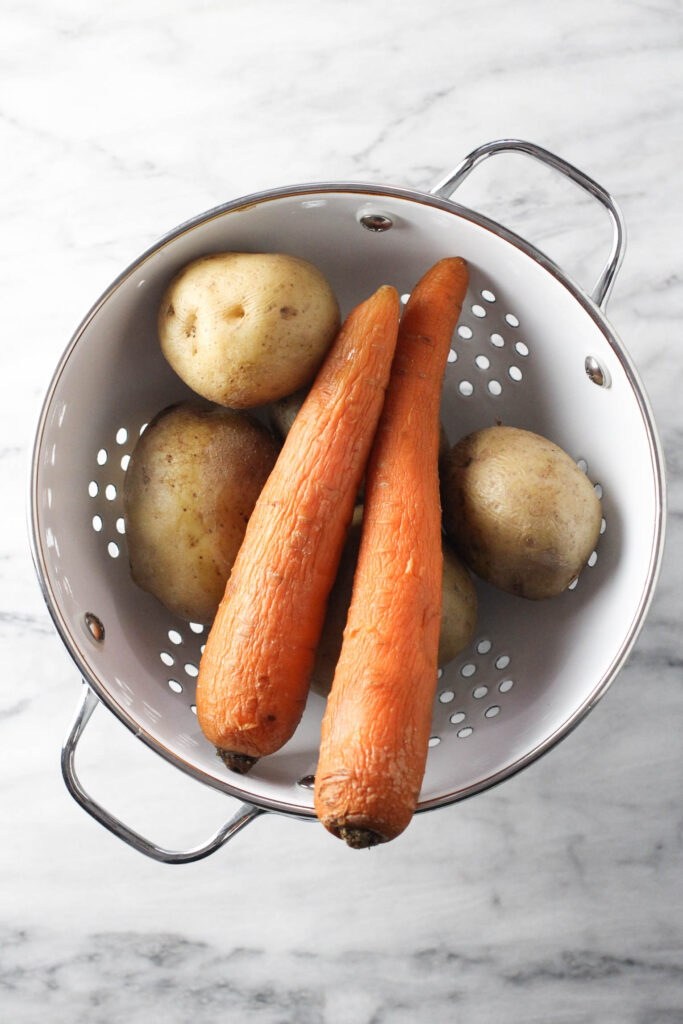
- Potatoes – A waxy potato variety, such as Yukon gold, red, or white, works best, as they’re creamy but sturdy enough to hold their shape after cooking and dicing. Starchy russets tend to turn mushy, so avoid those, if you can.
- Carrots – For the best texture and sweetness, I use standard orange carrots. You can use baby carrots in a pinch, but know they’re more prone to overcooking.
- Meat – Traditionally, this dish is made with a mild, bologna-style sausage called Doctor’s sausage. If you can’t find it, high-quality plain bologna or mortadella (without pistachios) is the closest substitute. Personally, I prefer real meat, and like using poached chicken breast or gently boiled beef here.
- Eggs – Perfectly hard-boiled eggs with fully cooked yolks and firm whites bring structure and give the mayo something to cling to.
- Pickles – For crunch and tang, skip sweet or bread-and-butter pickles and go for a firm, brined variety like gherkins or kosher dill pickles. If you can find Russian-style pickles, even better!
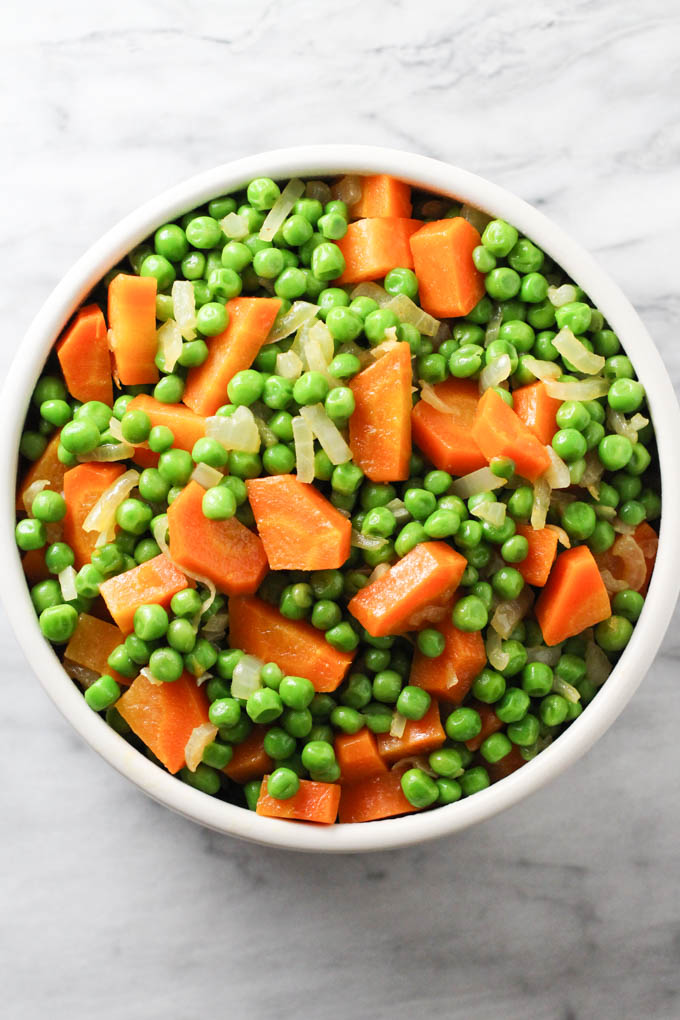
- Green peas – Well-drained canned peas are classic and convenient. However, frozen sweet peas or even fresh peas can also work. You’ll just have to briefly blanch them first.
- Mayonnaise – Choose one without any questionable ingredients. I prefer avocado mayo, but any type made with clean, simple ingredients works just as well. You can even do half mayo and half plain yogurt for a lighter, slightly tangier version.
- Salt – I season the salad with fine sea salt or kosher salt at the very end, if needed. Between the pickles, peas, and mayonnaise, this dish often needs less salt than you’d expect.
How to Make Olivier Salad
Olivier Potato Salad comes together with a few simple steps, and it all starts with how you prep and combine the ingredients:
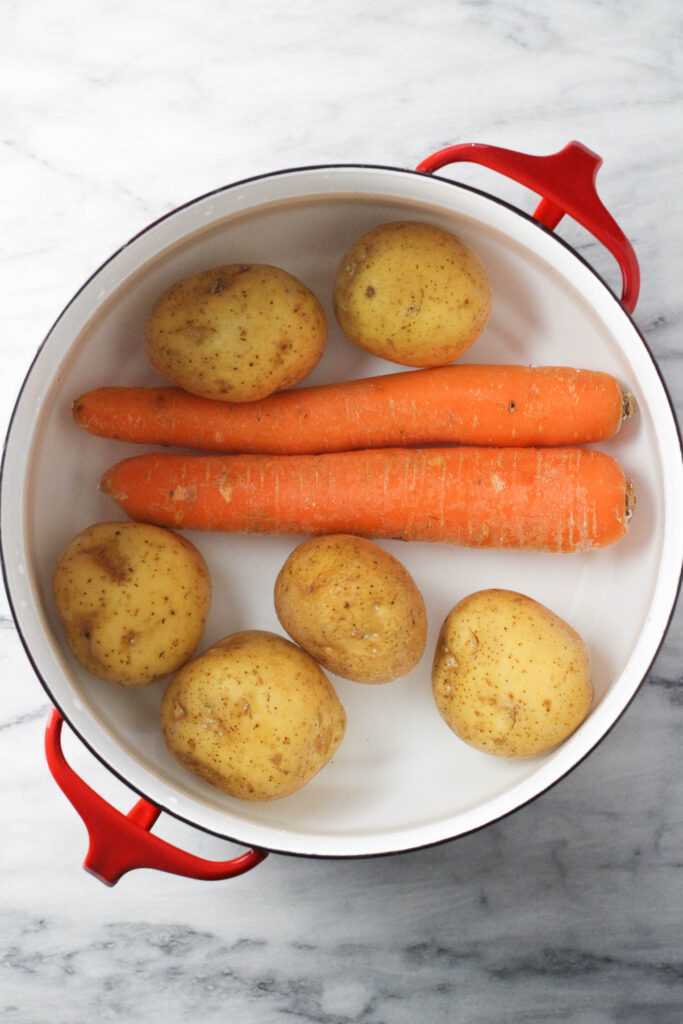
Step 1: Simmer the vegetables.
Start by placing the potatoes and carrots in a large pot and covering them with cold water by 2–3 inches. Bring the water to a boil, then reduce the heat, cover, and simmer until the vegetables are just tender but not falling apart. Drain and set aside to cool completely.
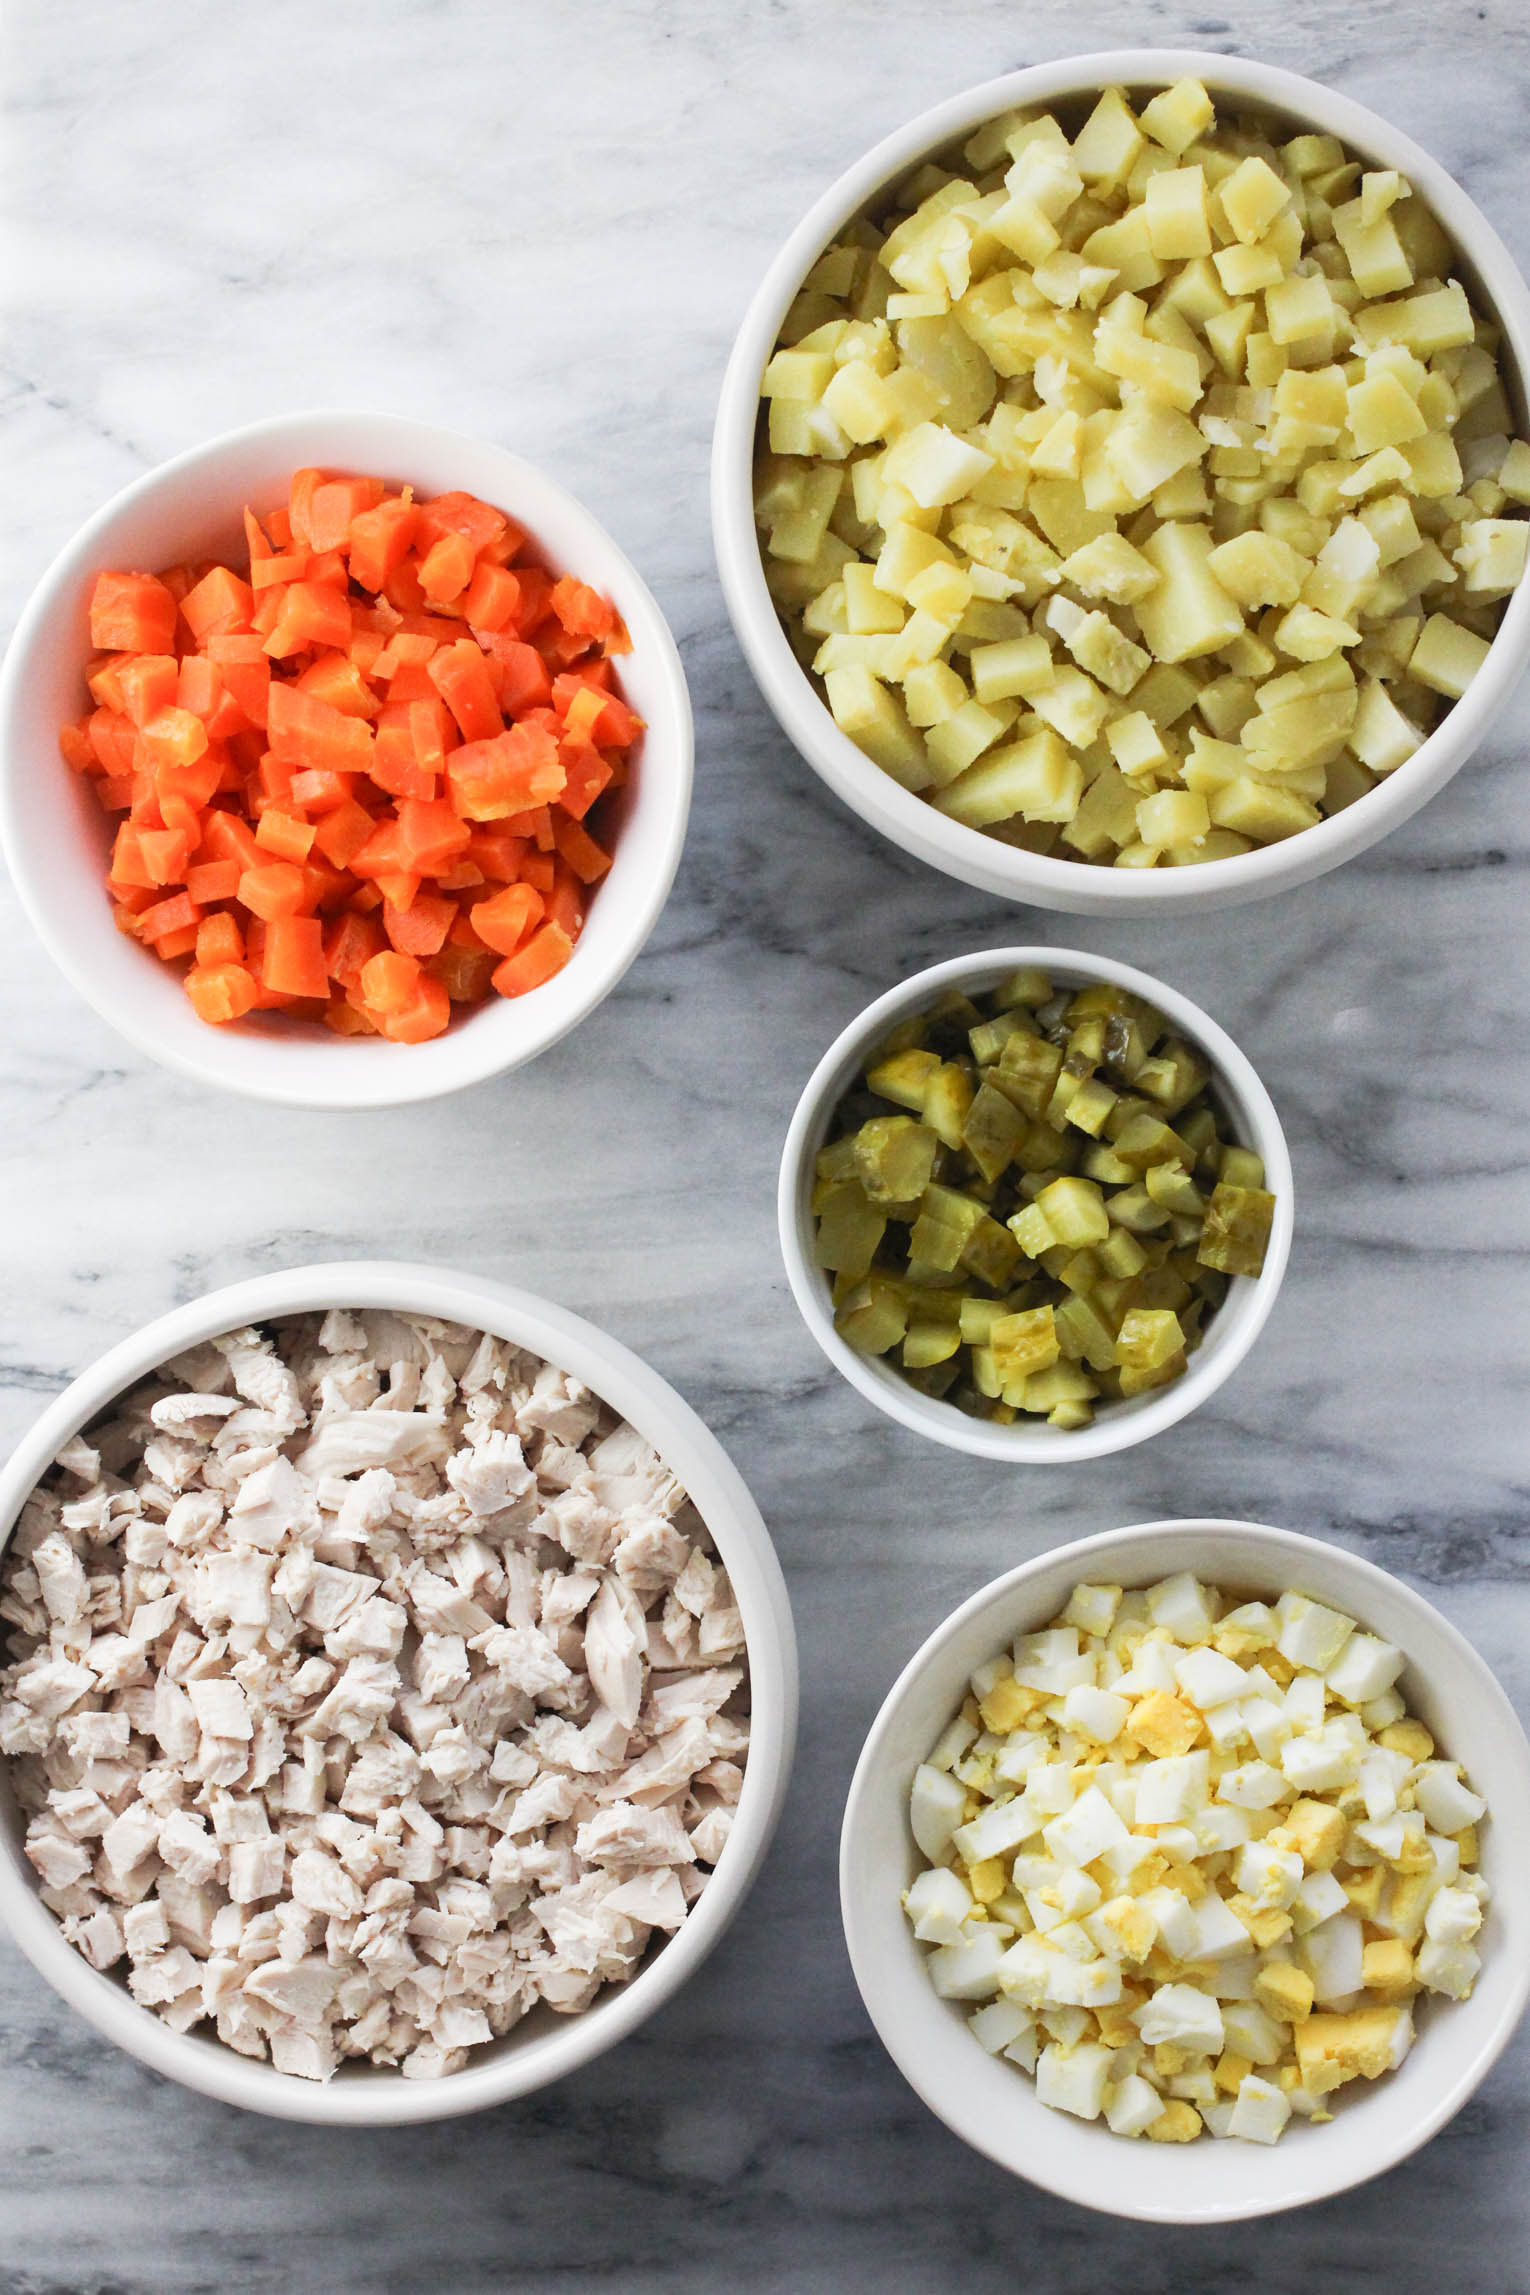
Step 2: Prep the base ingredients.
While the potatoes and carrots simmer, cook the eggs and meat, and let them cool.
Once the now-cooked potatoes, carrots, eggs, and meat are fully cooled, dice them evenly. Gently squeeze excess liquid from the pickles before dicing them as well.
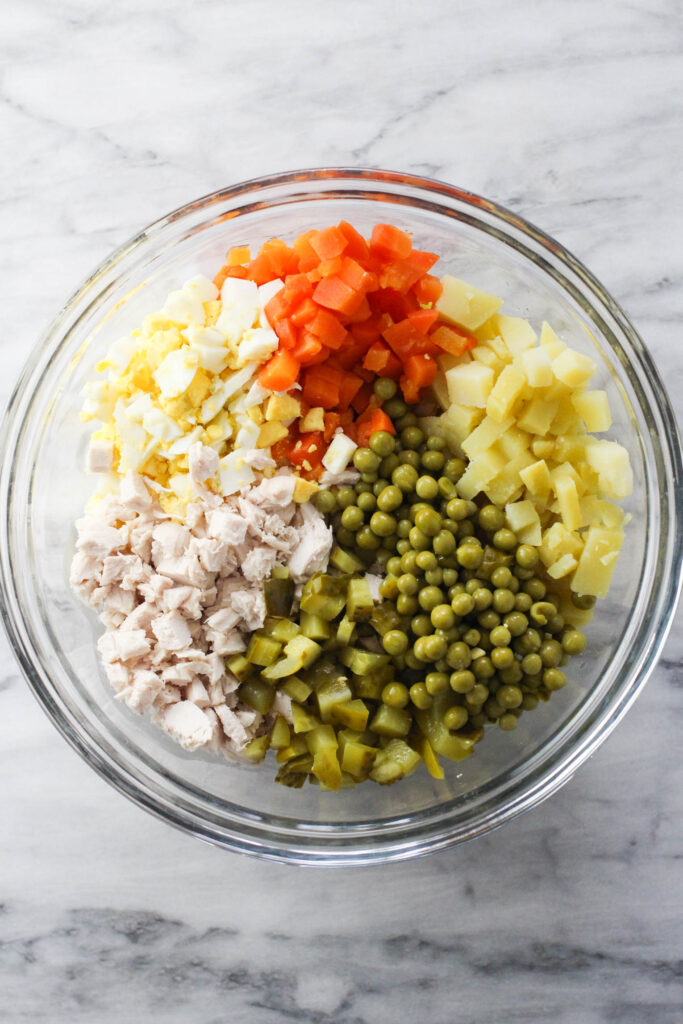
Step 3: Assemble the salad.
Add all the diced ingredients to a large mixing bowl along with your well-drained green peas. Then, gradually mix in the mayonnaise until everything is evenly coated and holds together.
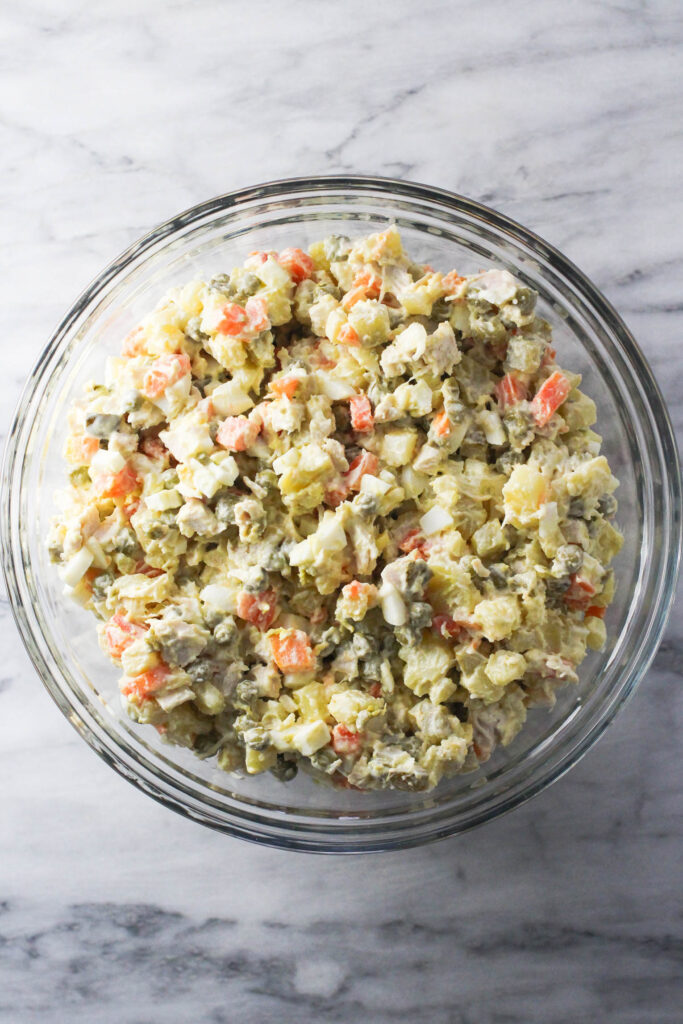
Step 4: Season and chill before serving.
Taste the salad and add salt only if needed, then cover and place it in the fridge for 30 to 60 minutes to allow the flavors to meld before serving.

Recipe Tips
Nailing this recipe is all about attention to detail, and these tips will help ensure you get it right the first time:
- Don’t overcook the vegetables – Overcooking your carrots and potatoes is the quickest way to ruin them. The goal is tender but firm enough to hold their shape when diced.
- Keep everything cool – If you add the veggies, eggs, or meat while they’re still warm, it can melt the mayonnaise and make the salad runny. To avoid this, I often cook and cool everything a day ahead.
- Dice everything evenly – Small, uniform ¼-inch cubes define an authentic Olivier Salad. Take your time here, so every bite has a little bit of everything: potatoes, carrots, eggs, meat, and pickles.
- Go easy on the mayo – You don’t want a mushy, soupy mess, so it’s important to fold the mayo in gently, just until you have a creamy, cohesive potato salad. You can always add a touch more mayo after chilling if needed.
- Don’t skip the resting step – Refrigerating the salad for at least 30 minutes before serving lets the flavors meld and make the salad taste complete. Many would argue that this dish tastes even better the next day, so feel free to prep the whole thing in advance.
Variations
One of the reasons this potato salad recipe has stood the test of time is all the delicious ways you can make it your own:
- Use roasted vegetables – For a deeper, slightly caramelized flavor, toss the whole potatoes and carrots with a bit of oil and roast them at 400°F (200°C): medium potatoes for 45–60 minutes; medium carrots for 35–45 minutes.
- Swap the meat for tuna – If you’re pescetarian (or just curious), well-drained canned tuna makes an excellent substitute for the meat. Just make sure to use a mild variety packed in water or oil.
- Make it vegetarian – To create a vegetarian version, simply omit the meat and add an extra egg or two. Between the eggs and green peas, you’ll still get a satisfying salad with plenty of protein.
- Play with fresh herbs & spices – Adding a handful of finely chopped fresh dill, green onions, or parsley can add a pop of brightness and color, while a pinch of paprika, a little freshly ground black pepper, or a small spoonful of Dijon mustard can add depth without overpowering things.
- Add something sweet or sharp – Consider adding finely diced apple for gentle sweetness and crunch, or thinly sliced red onion or shallots for a sharper bite.
How to Store
Storing: Leftover Olivier Salad keeps well in an airtight container in the refrigerator for 2 to 3 days. If the salad looks a bit dry after sitting, give it a stir and refresh it with a little extra mayo.
Freezing: I highly advise against freezing. Unfortunately, mayonnaise-based potato salads just don’t freeze well.
FAQs
More Traditional Russian Recipes
Looking to continue your journey through classic Russian cooking? These recipes are staples I grew up with and still cook today:
- Syrok (Russian Chocolate Glazed Cheesecake Bars)
- Shchi (Russian Sauerkraut Soup)
- Pashtet (Russian Chicken Liver Pâté)
- Okroshka (Russian Cold Soup)
- Easy Borscht (Beet Soup with Beef)
Olivier Salad (Authentic Russian Potato Salad)
Ingredients
- 4-5 medium potatoes
- 2 medium carrots
- ¾ pound (340 g) meat (Choose one: Doctor’s sausage (traditional), plain bologna (best substitute), poached chicken breast, or boiled beef)
- 6 hardboiled eggs
- 2-3 medium pickles (salted, not sweet)
- 1 can (14 oz/398 ml) green peas (drained)
- ¾-1 cup mayonnaise (to taste)
- salt (to taste)
Instructions
- Place the potatoes and carrots in a large pot and cover with cold water by 2–3 inches. Bring to a boil, then reduce the heat, cover and simmer until tender but not falling apart, about 25–35 minutes. Drain and let cool completely.
- Hard-boil the eggs, then cool, peel, and set aside.
- Cook the meat if needed and let it cool fully.
- Once cooled, peel the potatoes and carrots. Dice the potatoes, carrots, eggs, meat, and pickles into very small, even cubes. Gently squeeze excess liquid from the pickles before chopping.
- Add all diced ingredients to a large bowl. Stir in the drained green peas.
- Add the mayonnaise gradually, mixing carefully just until the salad is evenly coated and holds together.
- Taste and add salt only if needed.
- Cover and refrigerate for 30–60 minutes before serving to allow the flavors to meld.
Recipe Notes
Ingredient Notes
- Potatoes: Use waxy varieties like Yukon Gold, red, or white. Avoid russets, which can turn mushy.
- Carrots: Standard orange carrots give the best texture. Baby carrots may overcook more easily.
- Meat: Traditionally made with Doctor’s sausage. Plain bologna or mortadella (no pistachios) are good substitutes. Poached chicken or boiled beef also work well.
- Eggs: Hard-boil until yolks are fully set and whites are firm.
- Pickles: Use firm, brined pickles (gherkin or kosher dill). Avoid sweet varieties.
- Green Peas: Well-drained canned peas are classic. Frozen peas can be blanched and used instead.
- Mayonnaise: Use good-quality mayo. For a lighter version, replace half with plain yogurt.
- Salt: Season at the end to taste.
Tips
- Don’t overcook the vegetables: They should be tender but firm enough to hold their shape when diced.
- Cool completely: Let all ingredients cool before mixing.
- Dice evenly: Cut everything into small, uniform ¼-inch cubes for the best texture and authentic look.
- Add mayo gradually: Fold in just enough for a creamy texture.
- Chill before serving: Refrigerate at least 30 minutes to let the flavors meld (even better the next day).
Storing
- Refrigerate: Store in an airtight container for 2-3 days. Stir and refresh with a little mayo if needed.
- Do not freeze: Mayonnaise-based salads do not freeze well.
The nutrition facts are an estimate. Variations in ingredient brands, portion sizes, or substitutions can affect the final nutritional values. For the most accurate information, please use a nutrition calculator or consult with a healthcare provider. Always ensure that each of the ingredients is allowed in your diet.

Meet Maria
Maria Ushakova is a holistic nutritionist and food blogger. She focuses on developing easy recipes using real food ingredients. She believes that healthy food is delicious and anyone can learn how to cook it. Maria’s work has appeared on numerous popular websites as well as in print.